X Marks the Scot - An on-line community of kilt wearers.

   X Marks Partners - (Go to the Partners Dedicated Forums )
USA Kilts website Celtic Croft website Celtic Corner website Houston Kiltmakers

User Tag List

Page 1 of 3 123 LastLast
Results 1 to 10 of 22

Thread: Corduroy X-Kilt

  1. #1
    Panache's Avatar
    Panache is offline
    Retired Forum Manager
    Gentleman of X Marks

    Join Date
    24th February 06
    Location
    San Jose, California
    Posts
    9,715
    Mentioned
    4 Post(s)
    Tagged
    0 Thread(s)

    Corduroy X-Kilt

    Originally posted by The F-H.C.A.G. on 3/8/07


    I am probably going to regret this, but I am answering the challenge inherent in these sentences from Alan H's X-Kilt manual: "Corduroy, well.... I haven't made a kilt out of corduroy yet, so I can't comment. If you make an X-Kilt out of corduroy, let us all know how it comes out."

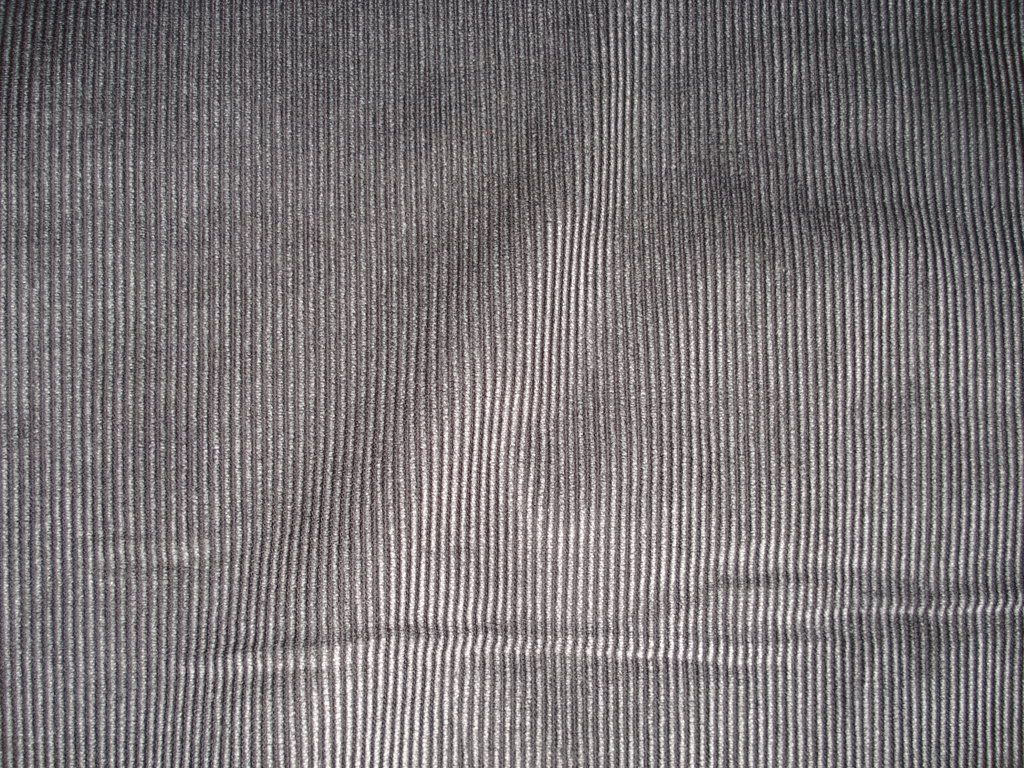
    Went to the store today and picked out the cloth-a charcoal grey medium weight 100% cotton corduroy. The color was per the request of the recipient, an X-marker who shall remain unnamed until the kilt is finished and accepted, at which time, said member can post pictures of the finished product being worn. After today, I am a little more confident that it will eventually be finished, but it's going to take a while.

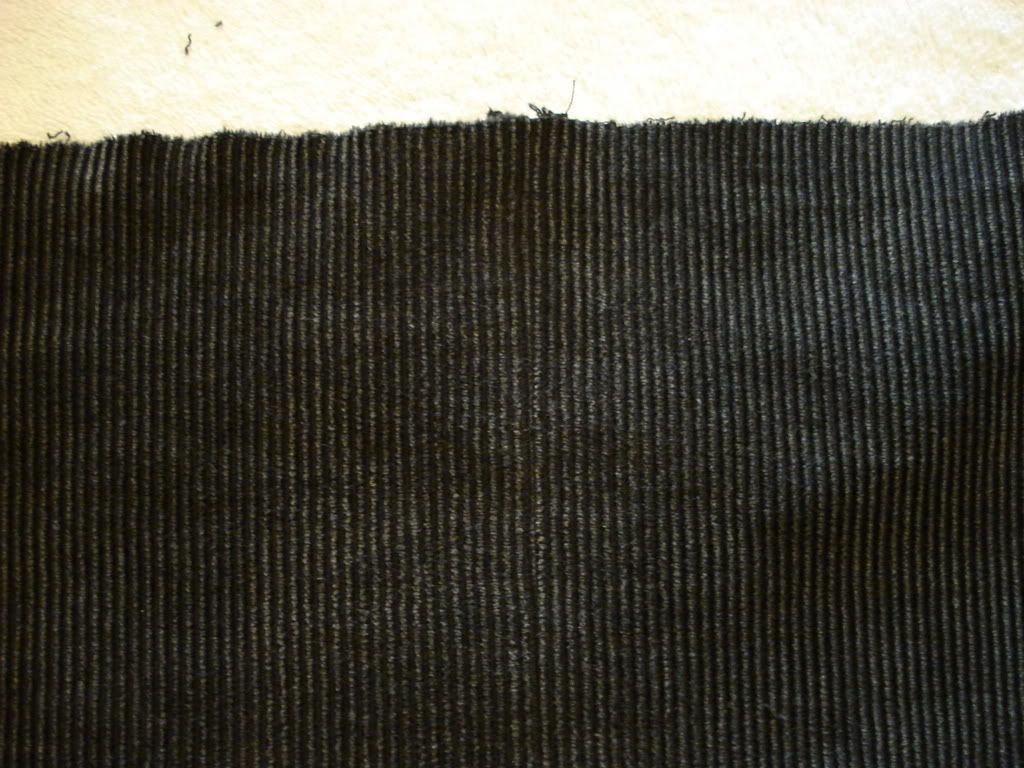
    Here's the fabric, straight from the store, not yet washed
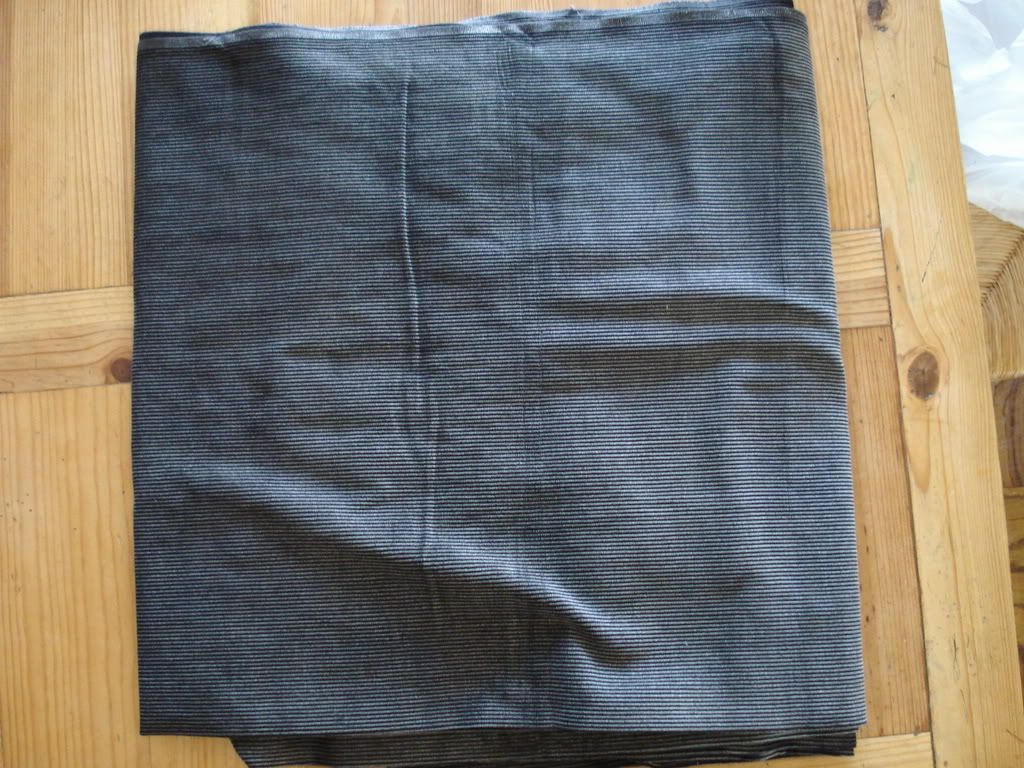


    A close up to show how this fabric changes with the angle and the light-it's really nice stuff


    I threw it in the washing machine-hot water, plenty of detergent, heavy duty cycle. At this point, I was sweating a little, since the washing instructions on the bolt said "cold wash, gentle cycle", but I figured, if it couldn't stand up to this, it wasn't worth using. Besides, it was on sale for less than $5.00 per yard anyway-I could always start over.


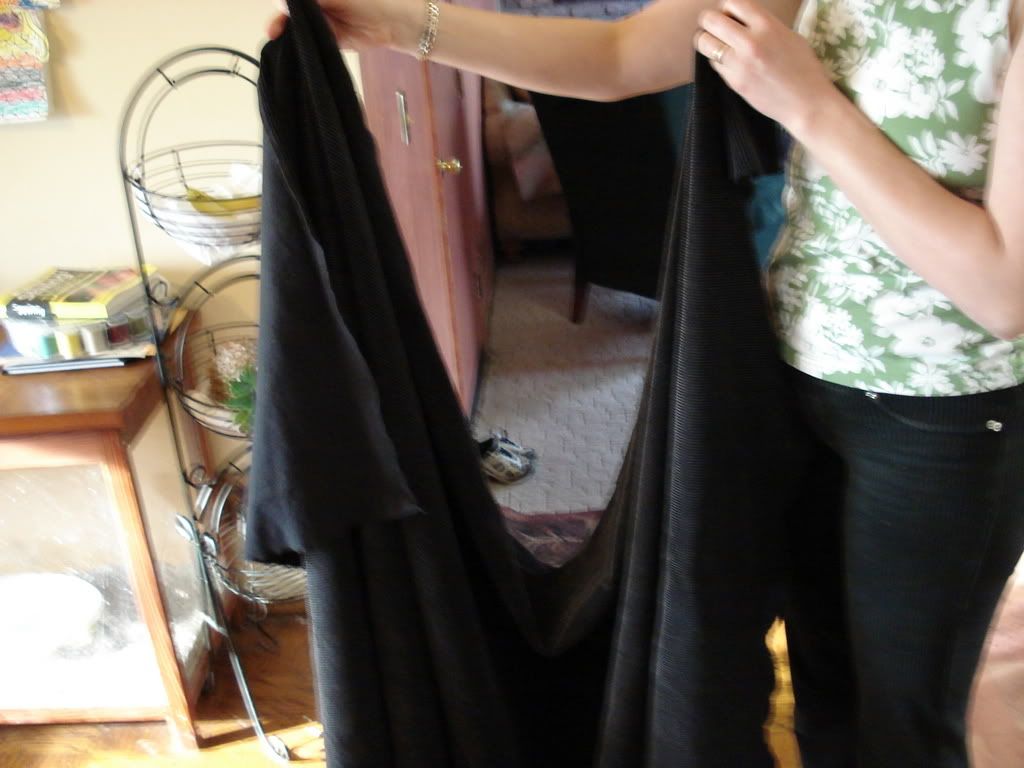
    Here's what it looked like right out of the dryer (cotton/high setting). Note that it is not even very wrinkled.
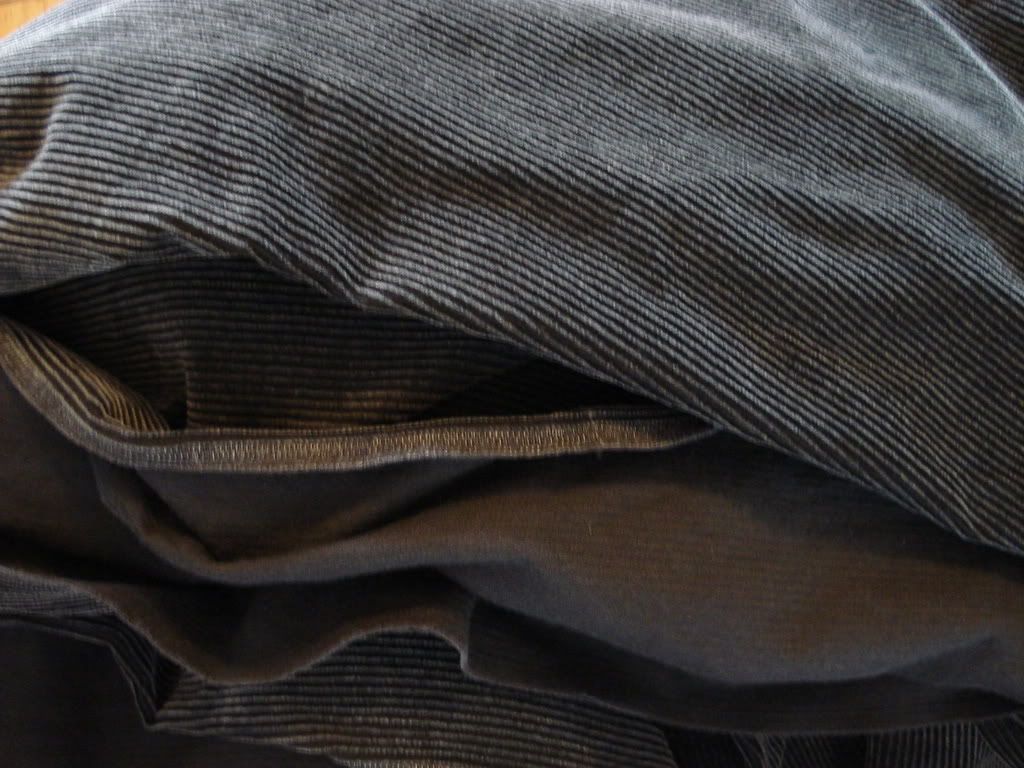


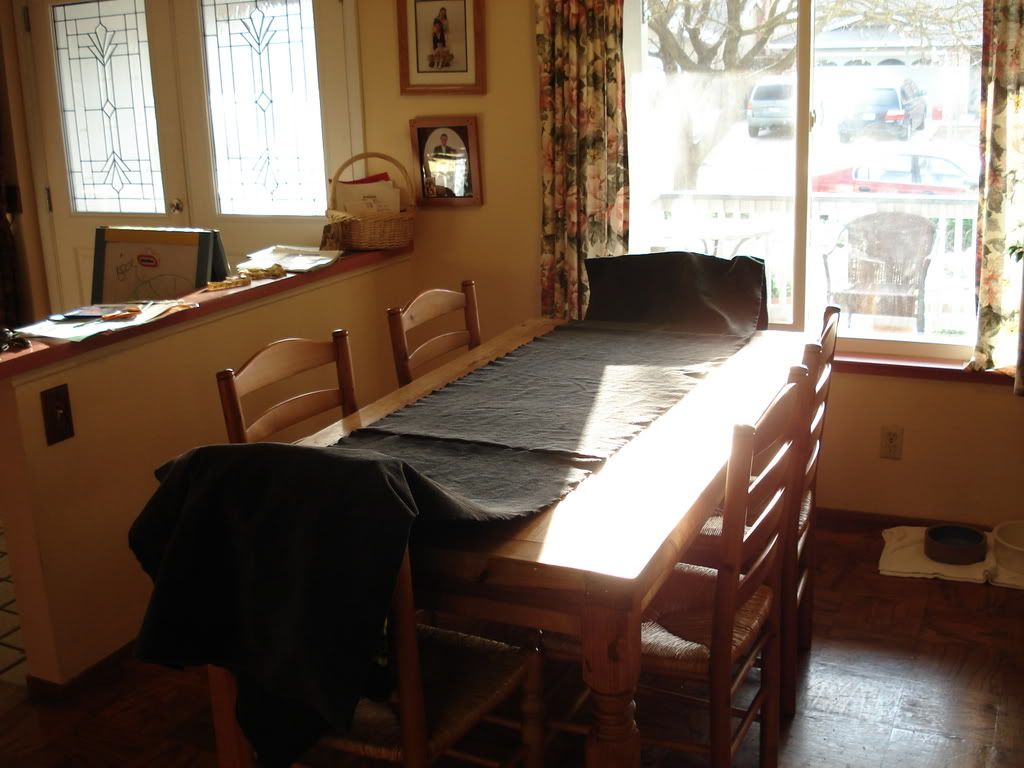
    In fact, I did not need to iron it prior to measuring and cutting-it smoothed out well just by shaking it out. Besides, my work surface looked like this.
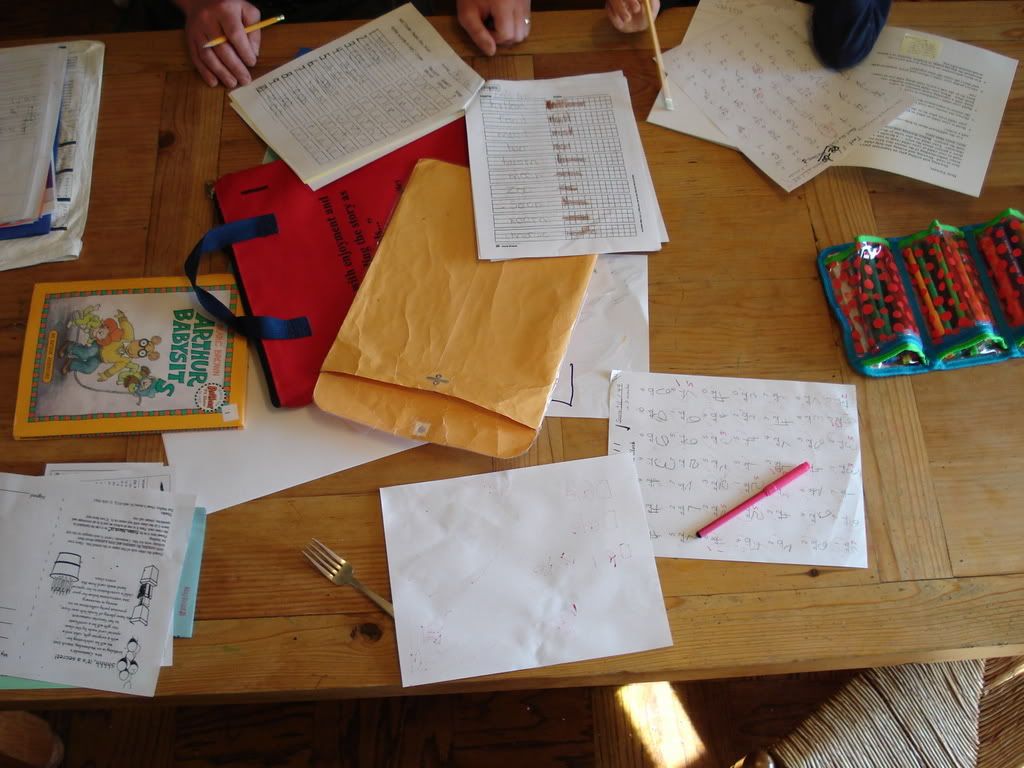


    So, I needed to kick the boy off the table, but he had to finish his homework first.
    -See it there, a white plume
    Over the battle - A diamond in the ash
    Of the ultimate combustion-My panache

    Edmond Rostand

  2. #2
    Panache's Avatar
    Panache is offline
    Retired Forum Manager
    Gentleman of X Marks

    Join Date
    24th February 06
    Location
    San Jose, California
    Posts
    9,715
    Mentioned
    4 Post(s)
    Tagged
    0 Thread(s)
    I cleared off my work surface and realized that I had not played with the fabric yet. I did not know if corduroy would rip evenly or not. So, I tried it on the slightly uneven ends.


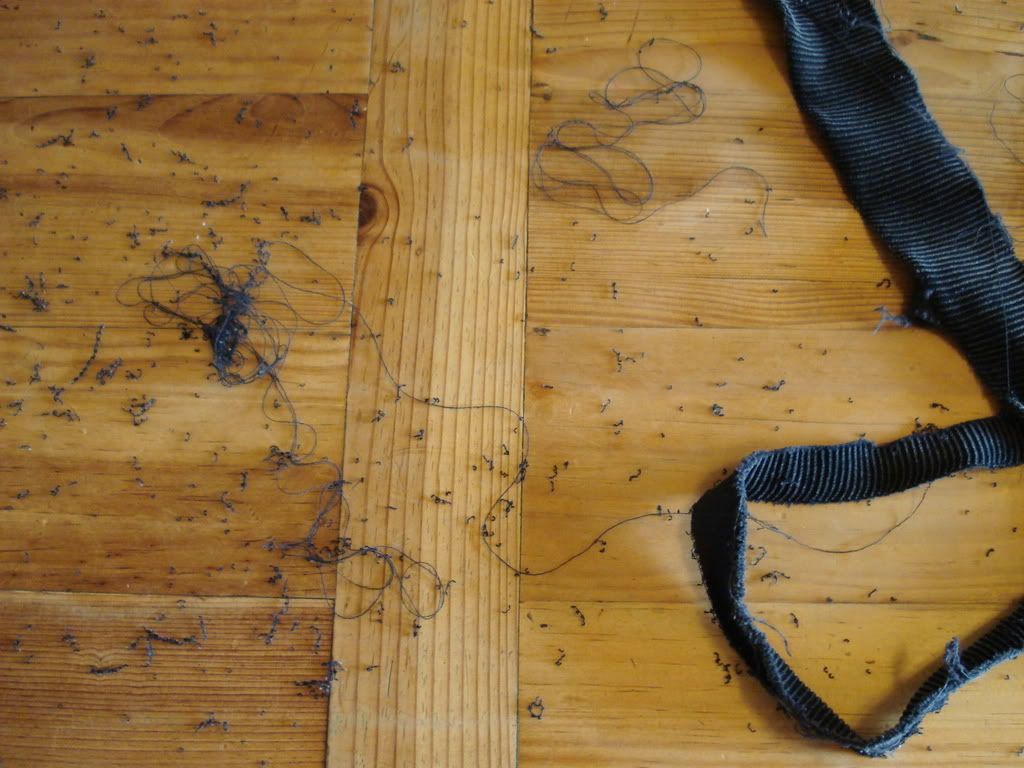
    Yep, it rips just fine. It does leave a bit of a mess though-all the little bits from when the thread unravels (only a bit though-no straighter line than ripped fabric).


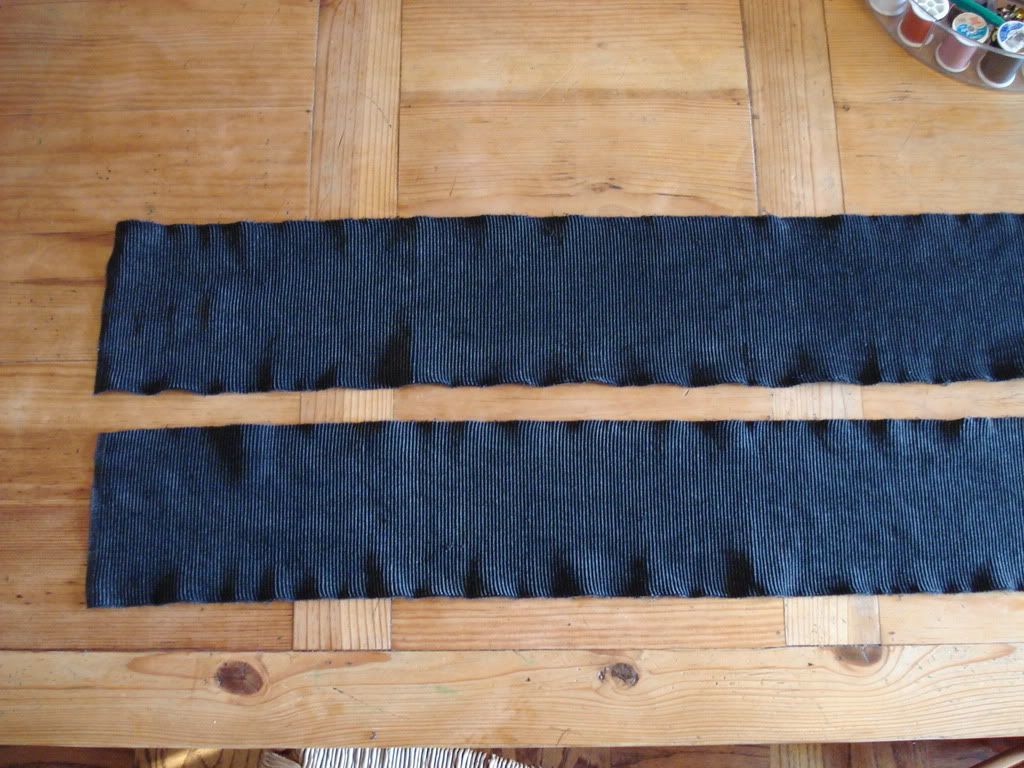
    I ripped both ends off and also ripped them to be perfectly straight. These will be the waistbands.


    Yes, I said waistbands, plural, because, once I finished measuring...


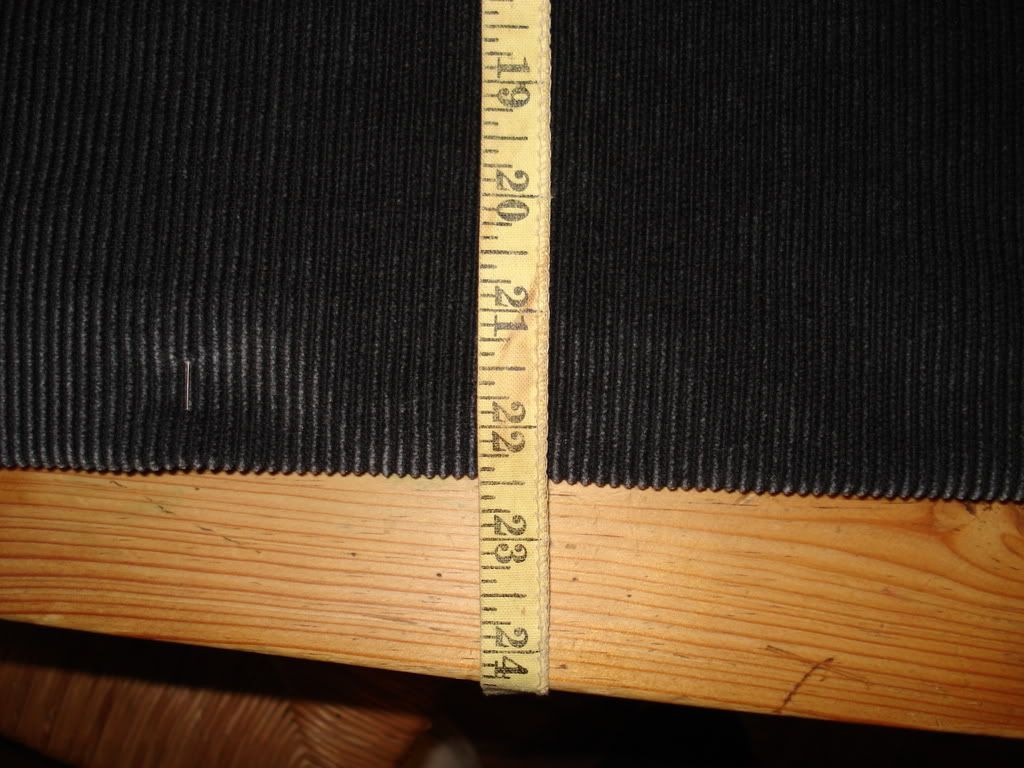
    And ripping out three lengths (the drop of the mystery recipient is 22.5 inches, but I measured 24 inches to make room for a hem and any "slop"), this is what I had left-enough for another X-Kilt for Panache!


    To follow...some of the "complications" of working with corduroy...
    -See it there, a white plume
    Over the battle - A diamond in the ash
    Of the ultimate combustion-My panache

    Edmond Rostand

  3. #3
    Panache's Avatar
    Panache is offline
    Retired Forum Manager
    Gentleman of X Marks

    Join Date
    24th February 06
    Location
    San Jose, California
    Posts
    9,715
    Mentioned
    4 Post(s)
    Tagged
    0 Thread(s)
    The complications:

    1) I anticipate that when I finally pleat the kilt, I may have a hard time hiding the joins (as Alan H says "...they could buy two yards of the 60-inch wide fabric, cut it in half and sew the halves together, end to end....Well, I'm going to tell you NOT to do that.
    Why? Because it's complicated. You can't predict ahead of time where that seam is going to fall, and it's complicated to design the kilt so that the seam is hidden inside the pleat").

    2) There is the issue of the knap of corduroy being "one way" as the clerk at the fabric store (and O'Neill-thank you!) pointed out. So, if you join it wrong, it looks "upside down" on part of the kilt.

    It is necessary to join fabric when using corduroy, because the lines of the corduroy run the length, not the width of the fabric (if they ran the width, I could follow Alan H's directions to the letter). Unless you can get fabric that is about 140 inches wide, you have to cut sections and join them to get enough to make a kilt. Or, you could make a kilt with the cords running horizontally...which would look very strange, in my opinion.

    So, next is how I joined the fabric...
    -See it there, a white plume
    Over the battle - A diamond in the ash
    Of the ultimate combustion-My panache

    Edmond Rostand

  4. #4
    Panache's Avatar
    Panache is offline
    Retired Forum Manager
    Gentleman of X Marks

    Join Date
    24th February 06
    Location
    San Jose, California
    Posts
    9,715
    Mentioned
    4 Post(s)
    Tagged
    0 Thread(s)
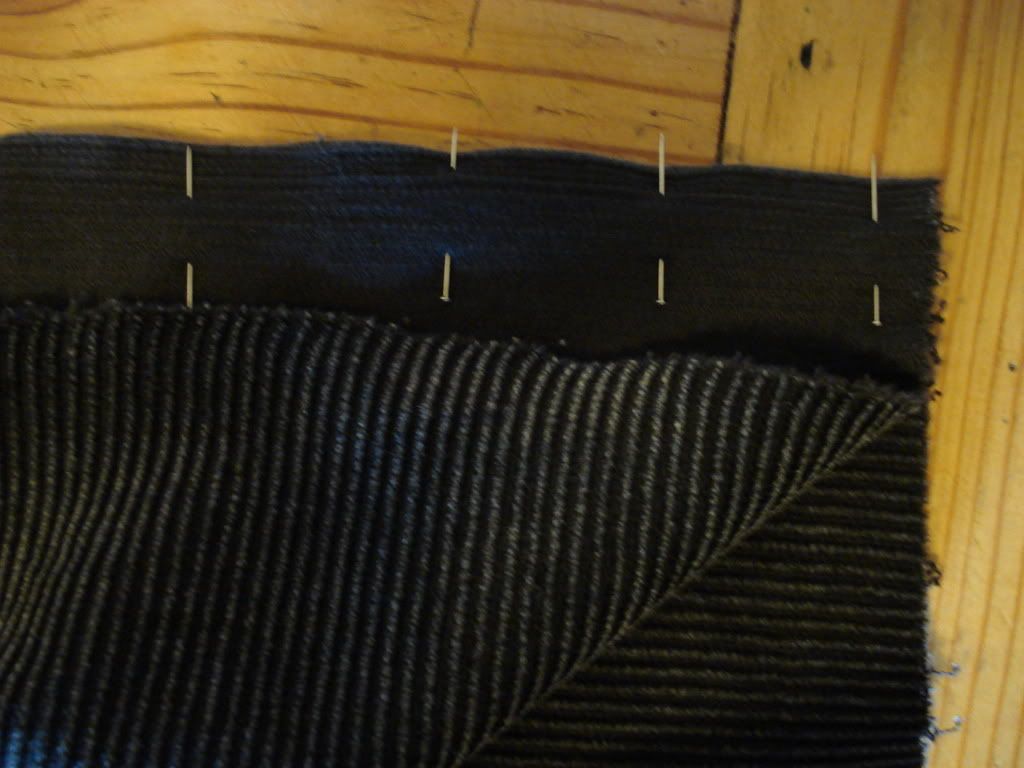
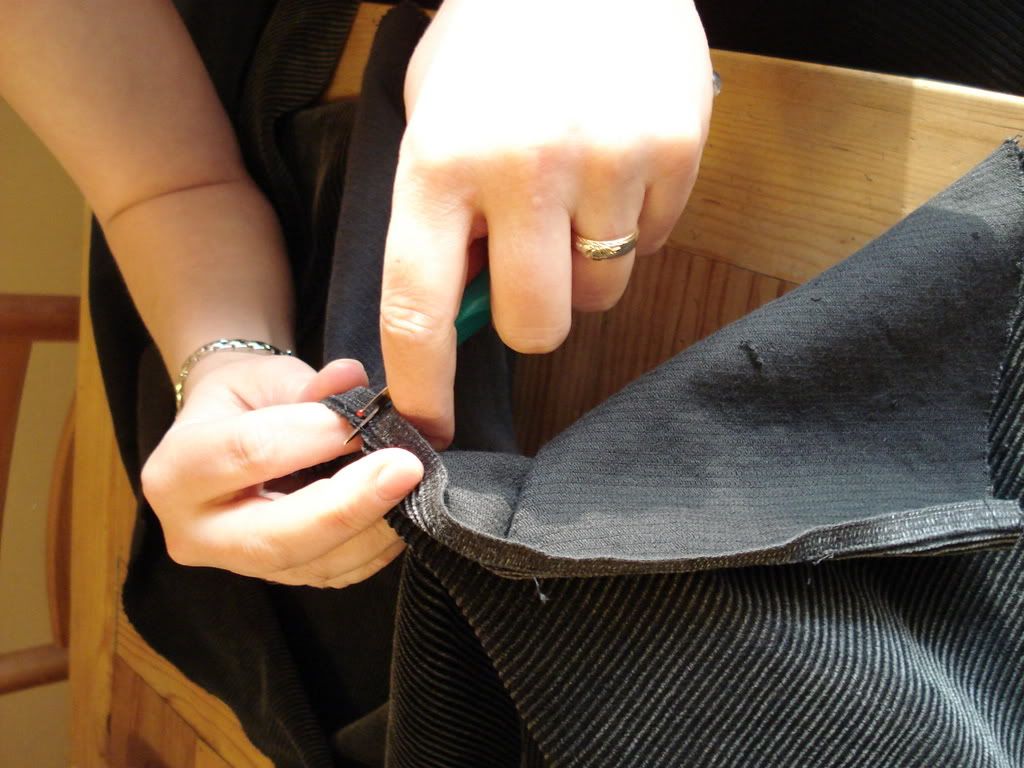
    I ripped out three sections of 24 inches from my 45 inch wide fabric and pinned them together (along the selvedged edges-no unraveling at the joins!)


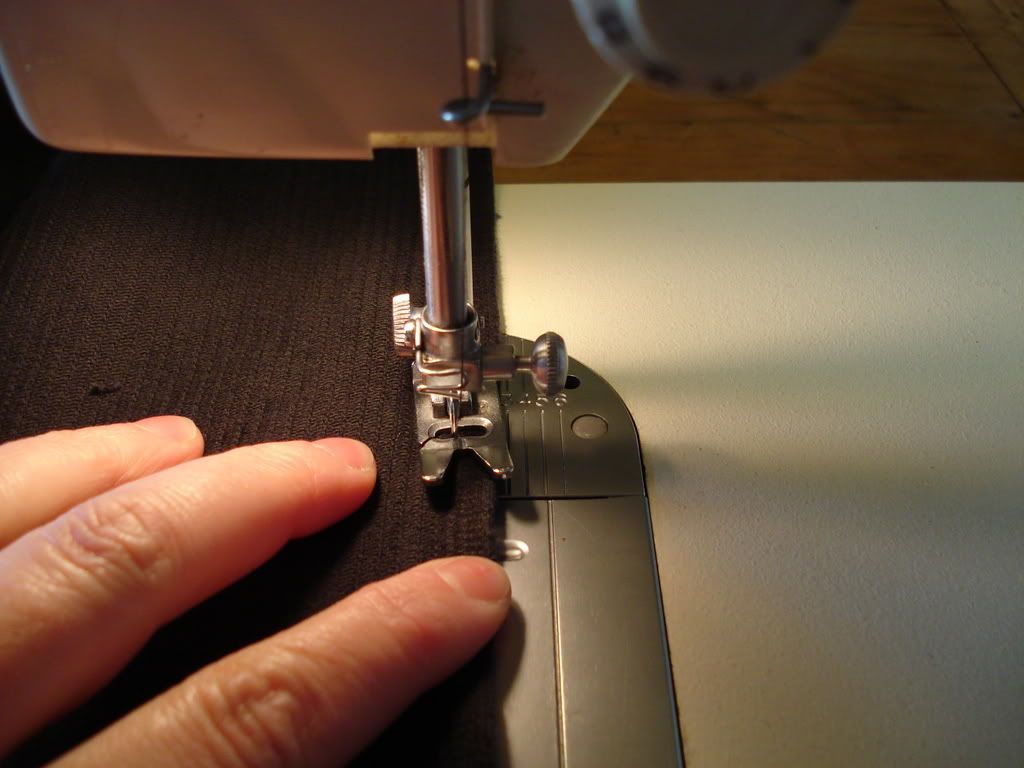
    Sew them up


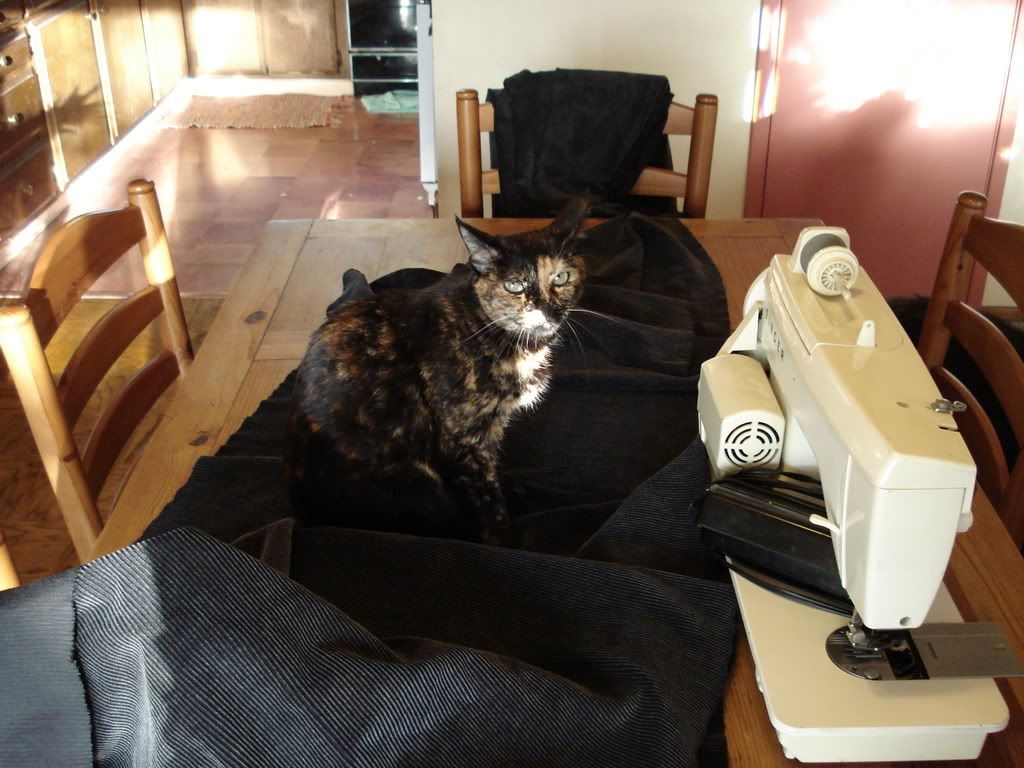
    With the usual interference from the cat


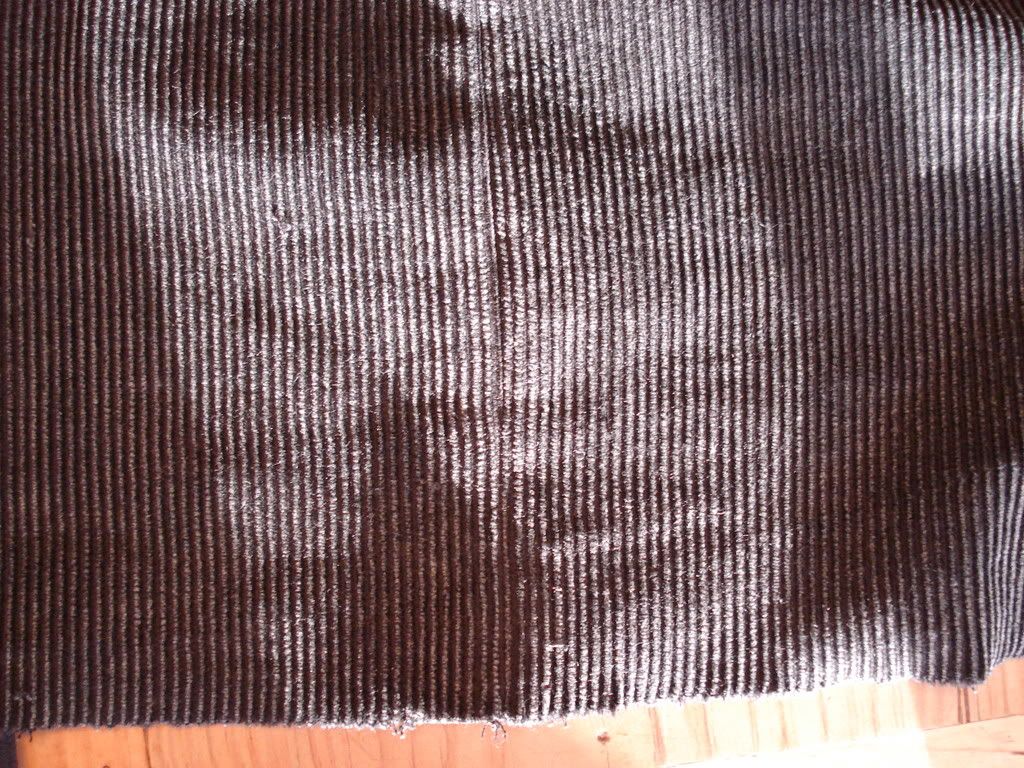
    But, my first mistake. I sewed a little too close to the selvedge on one section, so it showed on the outside. I'm not sure if this picture shows it well or not.


    So, I ripped out this seam


    More...
    -See it there, a white plume
    Over the battle - A diamond in the ash
    Of the ultimate combustion-My panache

    Edmond Rostand

  5. #5
    Panache's Avatar
    Panache is offline
    Retired Forum Manager
    Gentleman of X Marks

    Join Date
    24th February 06
    Location
    San Jose, California
    Posts
    9,715
    Mentioned
    4 Post(s)
    Tagged
    0 Thread(s)
    I've joined the lengths of fabric, so I've now got about 135 inches of fabric.


    With some fairly good seams


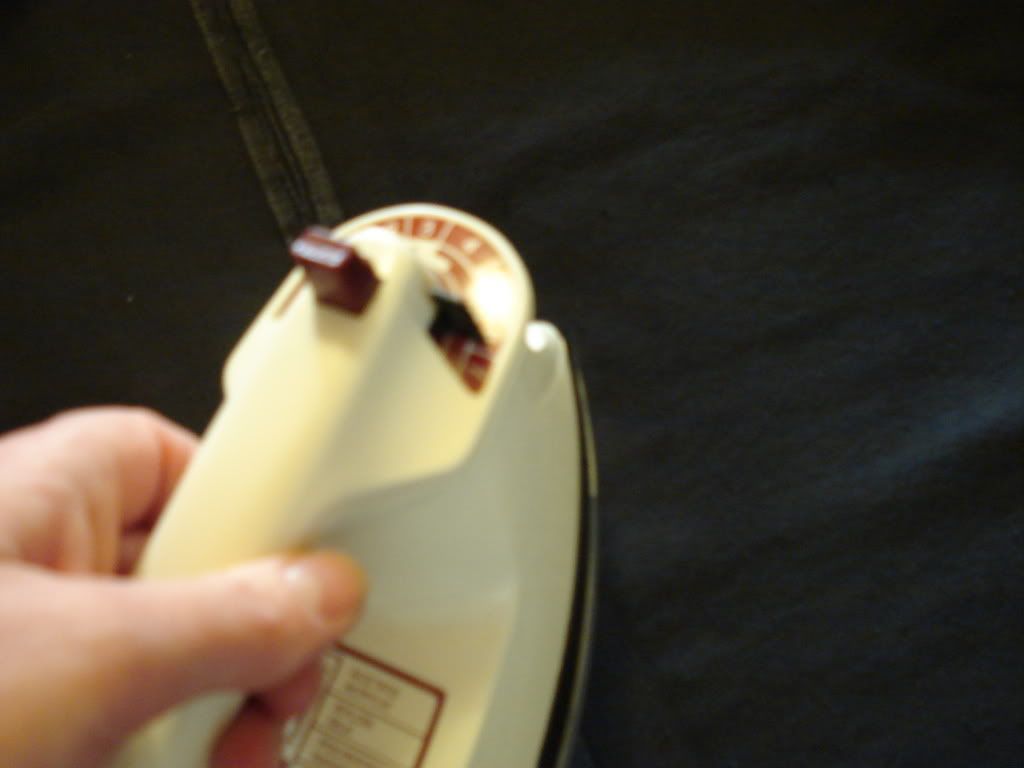
    But, there is a little bit of a "lump" where the seams are, so I'll iron them out flat


    Here's the end product


    It looks so good, I'm not sure it will matter if I'm not able to hide the seams inside a pleat! Also, I could not tell if there was any difference between the naps, whether sewn one way or the other, despite what the clerk at the store said. Hopefully, I won't finish the whole darn thing and find out I was wrong!
    -See it there, a white plume
    Over the battle - A diamond in the ash
    Of the ultimate combustion-My panache

    Edmond Rostand

  6. #6
    Panache's Avatar
    Panache is offline
    Retired Forum Manager
    Gentleman of X Marks

    Join Date
    24th February 06
    Location
    San Jose, California
    Posts
    9,715
    Mentioned
    4 Post(s)
    Tagged
    0 Thread(s)
    Because the bottom of the fabric does not have a selvedged edge when joined like I have done (and even if it did, it didn't look like it would make an attractive hem), I decided to hem the length.

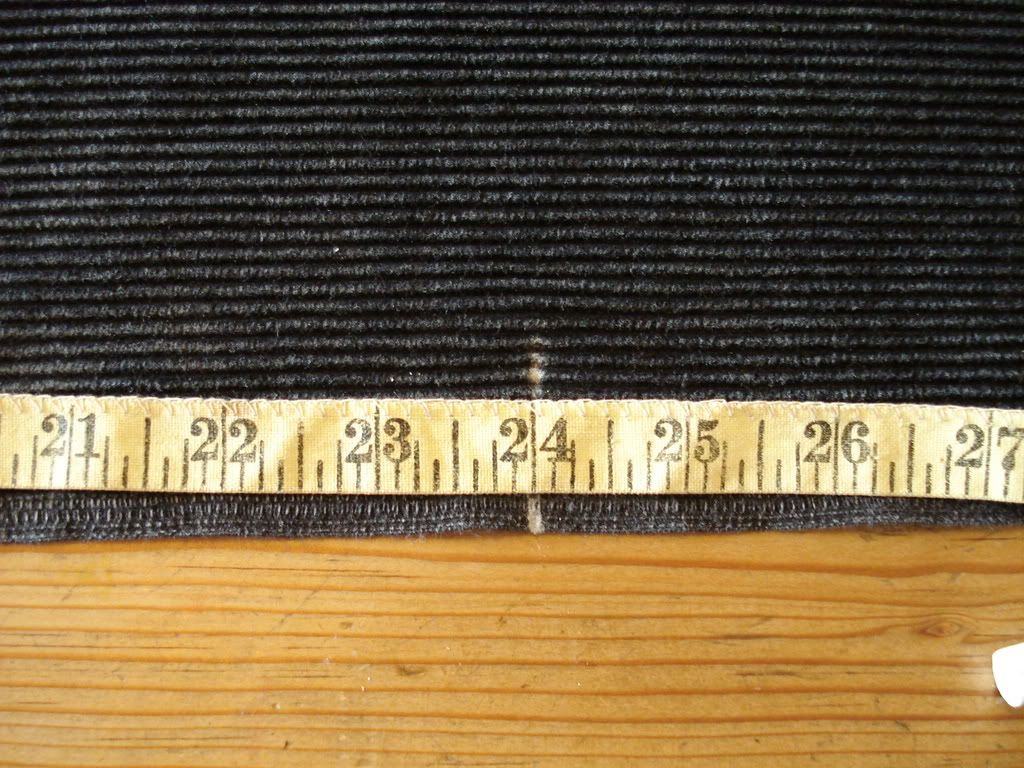
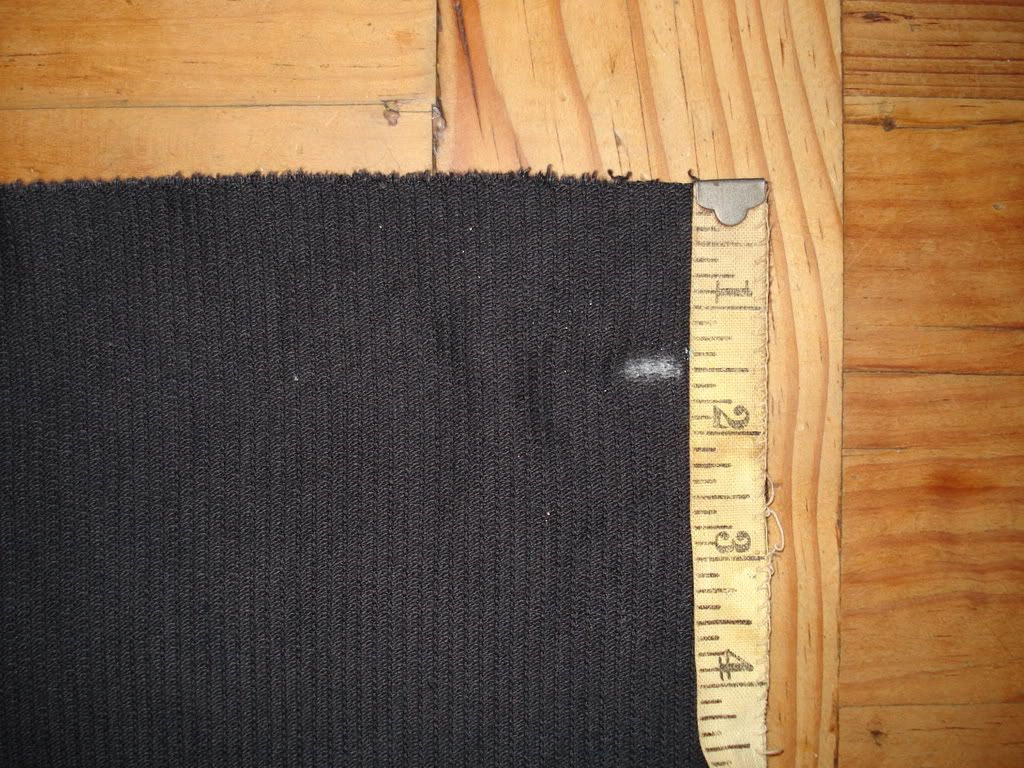
    So, I marked 1.5 inches (remember, my "victim" has a drop of 22.5 inches and I have a 24 inch wide strip of fabric now)


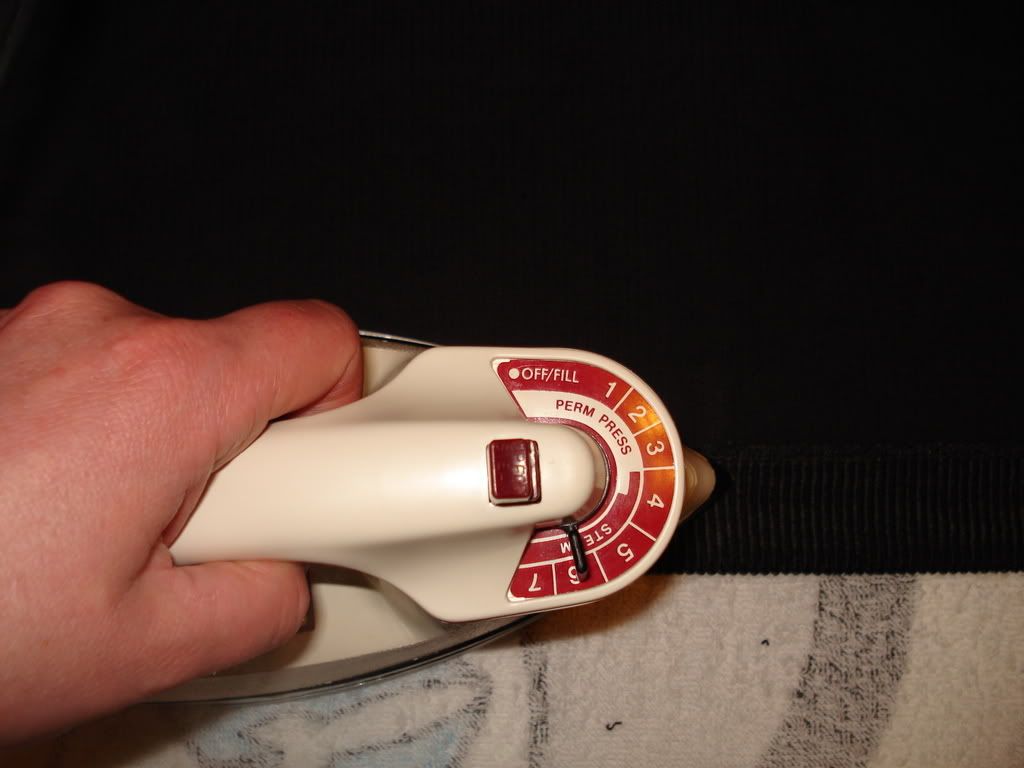
    Then I started to iron the hem in


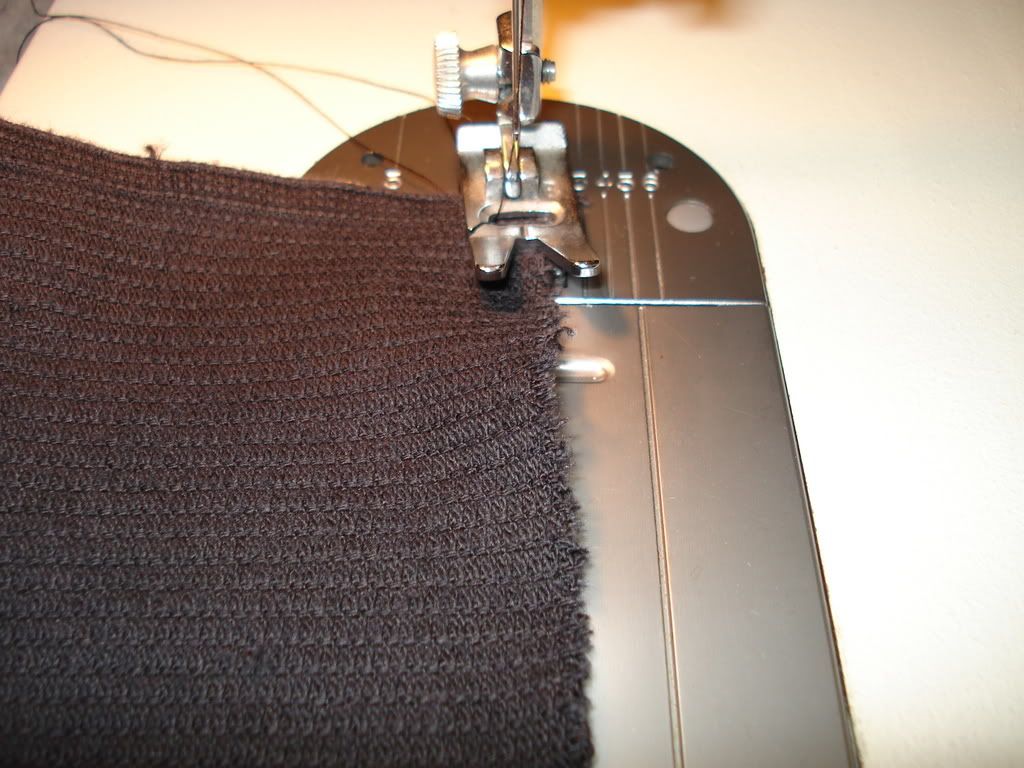
    But realized I had not yet "locked in" the edge to keep it from fraying. My tired old machine does not have an overlock stitch, so I had to run zig zags back and forth and a line of straight stitching down the middle of these. Instead of turning the fabric around when I got to the end of the zig zag and wanted to go back the other way, I flipped it over (so I didn't have to deal with all the material under the arm of the machine.


    Next, I finished ironing the edge up and pinned it, checking to be sure it is indeed at 22.5 inches.


    Next step...the over apron strip with velcro and the actual sewing of the hem
    -See it there, a white plume
    Over the battle - A diamond in the ash
    Of the ultimate combustion-My panache

    Edmond Rostand

  7. #7
    Panache's Avatar
    Panache is offline
    Retired Forum Manager
    Gentleman of X Marks

    Join Date
    24th February 06
    Location
    San Jose, California
    Posts
    9,715
    Mentioned
    4 Post(s)
    Tagged
    0 Thread(s)
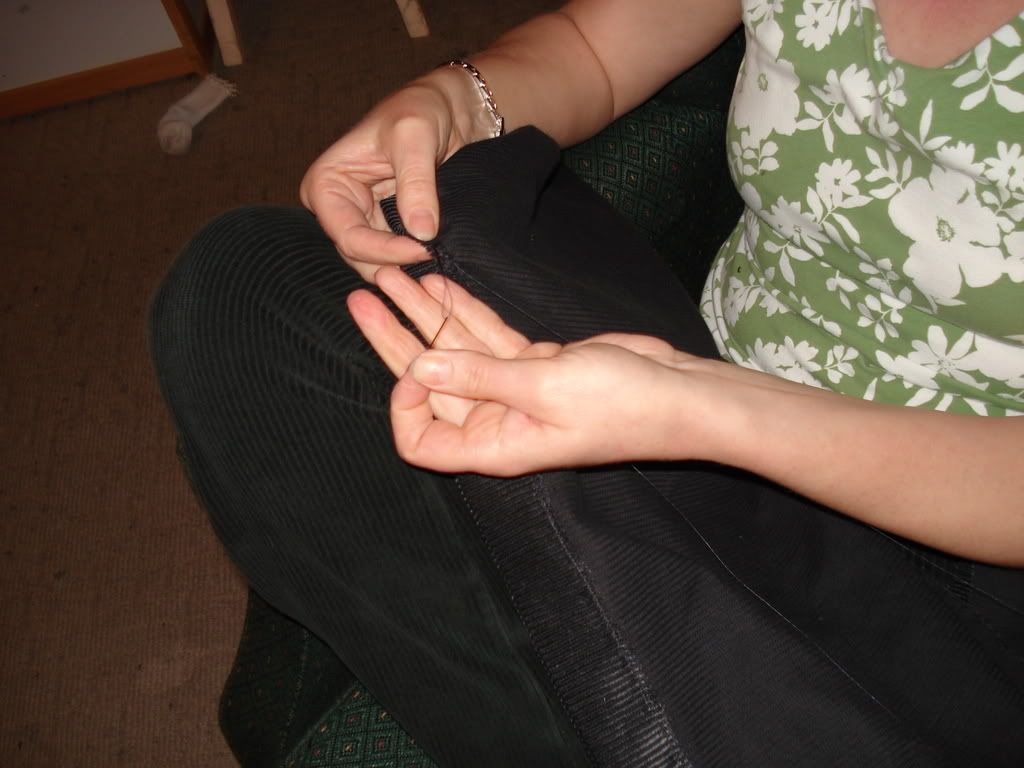
    Now, this is a modern kilt and the hem could very well have been machine sewn, but I, as many know, am an anal-retentive, obsessive-compulsive, perfectionist. I did not want this hem to show. So, just as I did with Panache's Stillwater, I blind stitched the hem. This time did not require as much alcohol to cut the boredom, because I was watching Shogun, and because 135 inches is substantially less that the ~250 inches of the Stillwater. I got comfy in my chair, and sewed it up (I finished in about 1.5 hours).
    -See it there, a white plume
    Over the battle - A diamond in the ash
    Of the ultimate combustion-My panache

    Edmond Rostand

  8. #8
    Panache's Avatar
    Panache is offline
    Retired Forum Manager
    Gentleman of X Marks

    Join Date
    24th February 06
    Location
    San Jose, California
    Posts
    9,715
    Mentioned
    4 Post(s)
    Tagged
    0 Thread(s)
    I've only been able to do a little bit today-laid it out and measured. For reference (and I did ask my subject if posting these measurements was OK first): Waist 44", Rump 47.5" (I am using 48"-it's just easier), Fell 6.5", Drop 22.5". Very close to Alan H's measurements actually

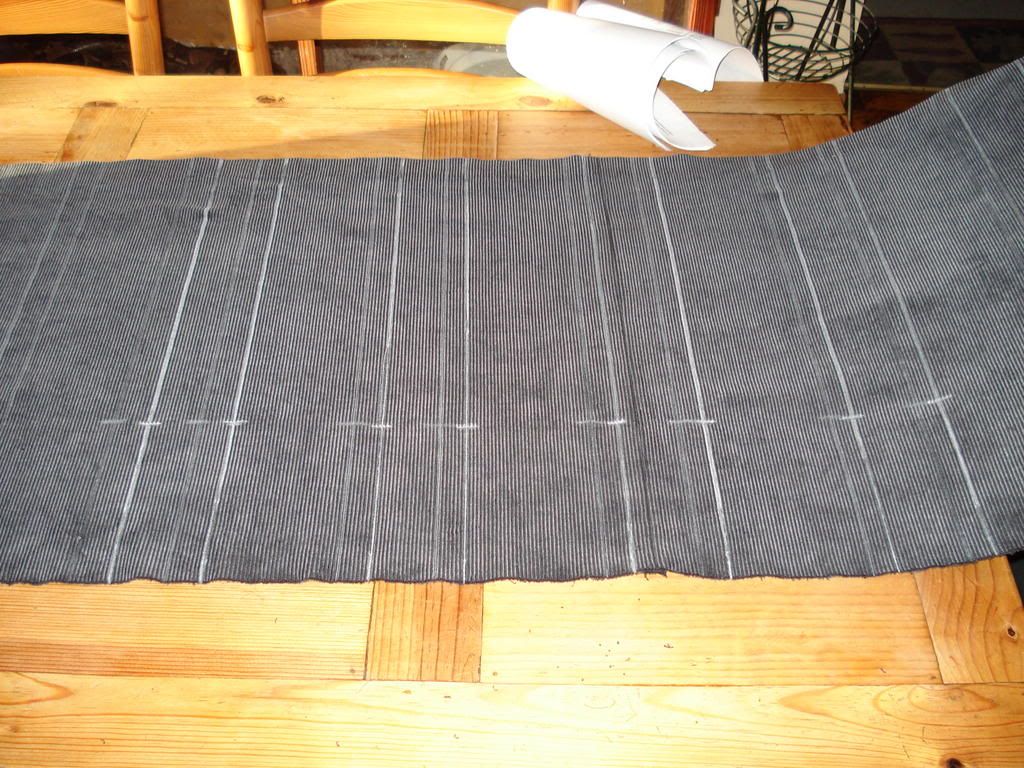
    Remember, I said corduroy presented some unique challenges? Well it also has one wonderful quality: the lines are already there, so you don't have to worry about chalking a straight line when marking out the pleats. Just mark on the edge and then follow one of the wales/cords/whatever down to the other edge
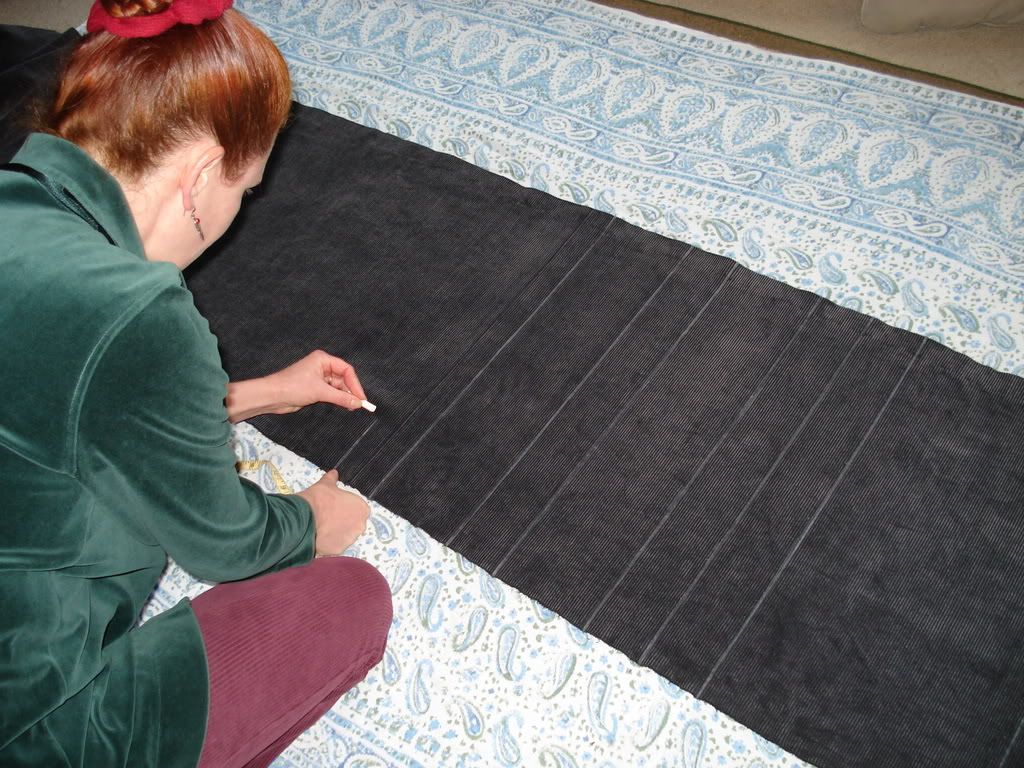


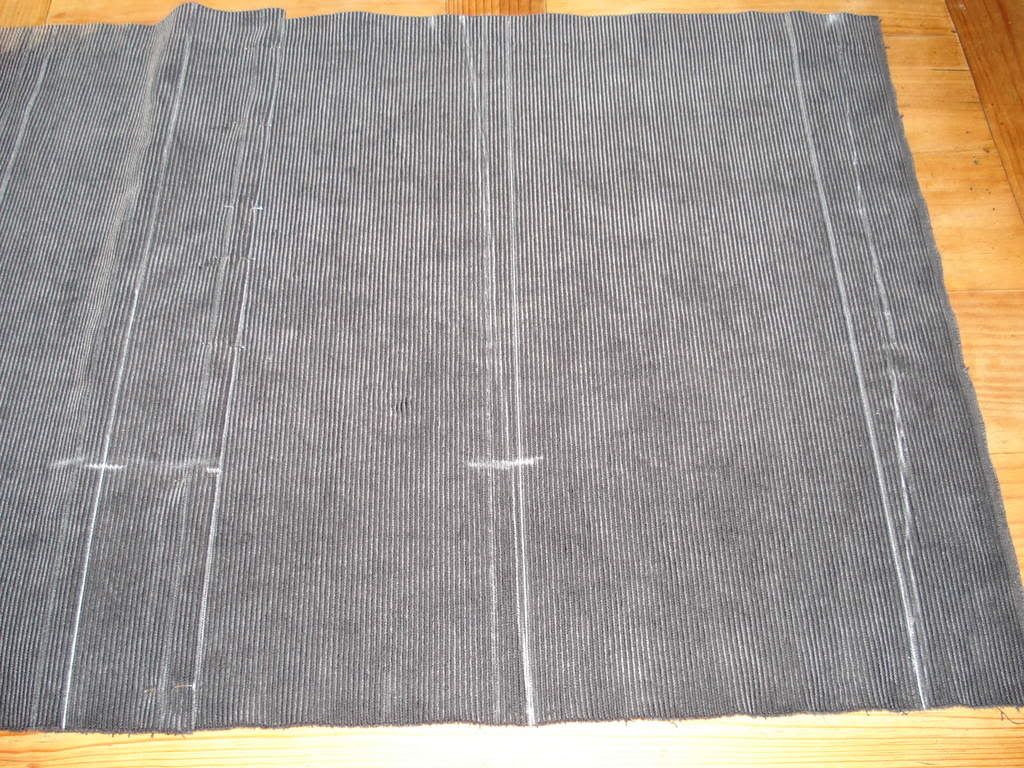
    Here's everything marked-12 pleats (3"), 10" over-apron, fell line (I just marked on the pleat lines-figured this was all I needed to do). Note that my floor is not large enough to lay it all out at once. Also, you may be able to see on the right, that one of the joins is visible, right on top of a pleat. Sigh. Oh well, I was warned, and at least it's barely visible. Also, note the marks for the A-shaping of the front apron.
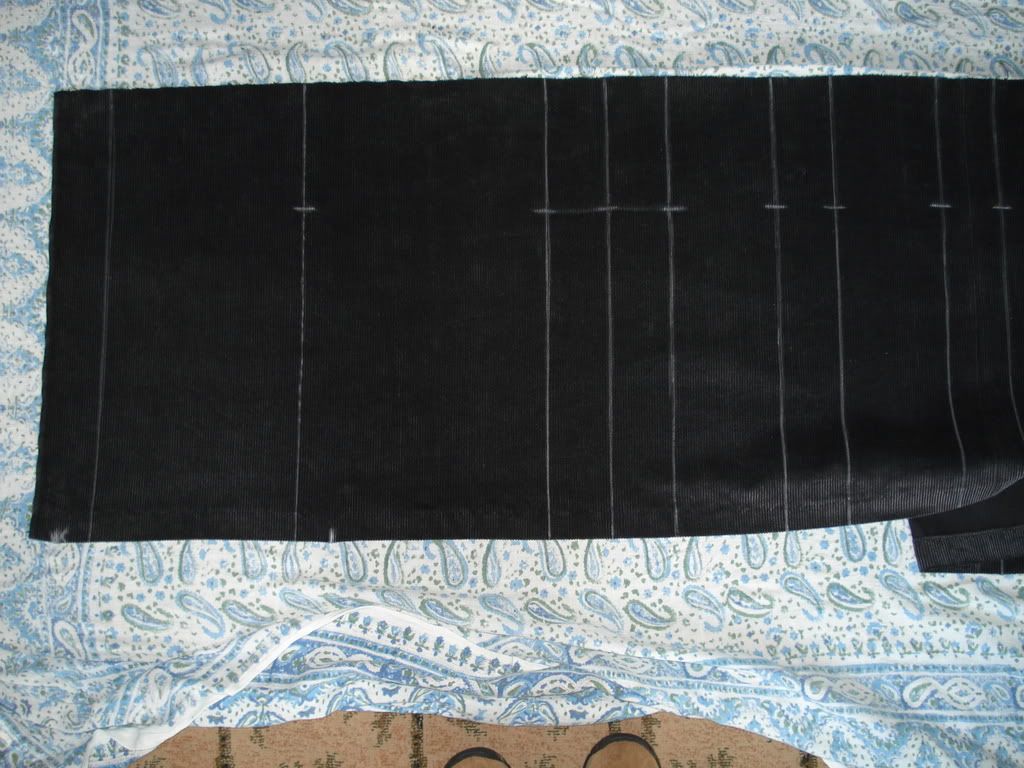


    I'm probably not going to be able to do more today. Hopefully, the chalk won't rub off too much when I roll up the fabric.
    -See it there, a white plume
    Over the battle - A diamond in the ash
    Of the ultimate combustion-My panache

    Edmond Rostand

  9. #9
    Panache's Avatar
    Panache is offline
    Retired Forum Manager
    Gentleman of X Marks

    Join Date
    24th February 06
    Location
    San Jose, California
    Posts
    9,715
    Mentioned
    4 Post(s)
    Tagged
    0 Thread(s)
    AAAUGH! Just had a horrible thought-went back to the kilt, all neatly covered up with cloth on the living room floor and counted the pleats-I only put in 10! Not enough for 48" (10" over apron, plus 10 3" pleats only equals 40"). So I squeezed in 2 more pleats, but that puts the under apron at only 13" (at least I don't need seam allowance since the edge is selvedged). I'm not sure if this is going to be a problem when it comes to modesty? It should be ok, since it is still wider than the over apron. We'll see.

    Hmmmm... 3" times 12 pleats plus 10 inches only equals 46" and I need 48", but I figure I can fudge on a few (or all) of the pleats by a bare fraction of an inch and come out OK.
    -See it there, a white plume
    Over the battle - A diamond in the ash
    Of the ultimate combustion-My panache

    Edmond Rostand

  10. #10
    Panache's Avatar
    Panache is offline
    Retired Forum Manager
    Gentleman of X Marks

    Join Date
    24th February 06
    Location
    San Jose, California
    Posts
    9,715
    Mentioned
    4 Post(s)
    Tagged
    0 Thread(s)
    Last night, I ripped out a small portion of the hem, added another panel and blind stitched that portion of hem.

    This afternoon, I laid it out again, brushed off the old chalk marks as best I could and marked it out again-this time with a 9" apron and 13 3" pleats.


    I A-shaped the front apron again-much harder to get a straight line when going diagonally on corduroy, but the general idea is chalked in.


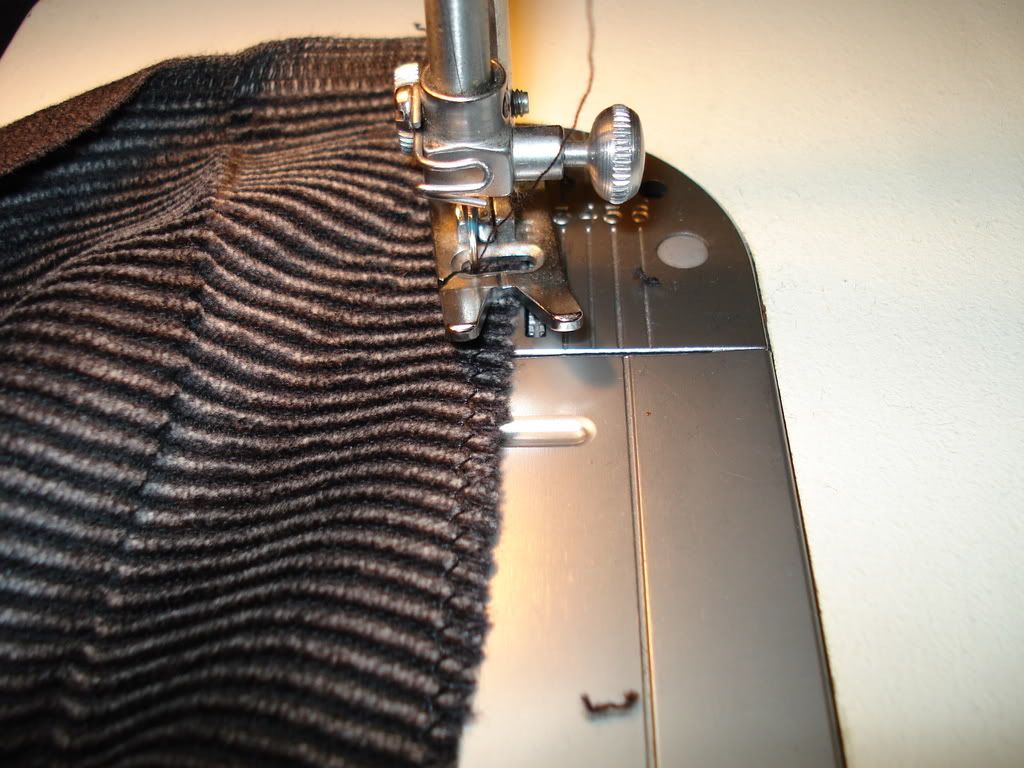
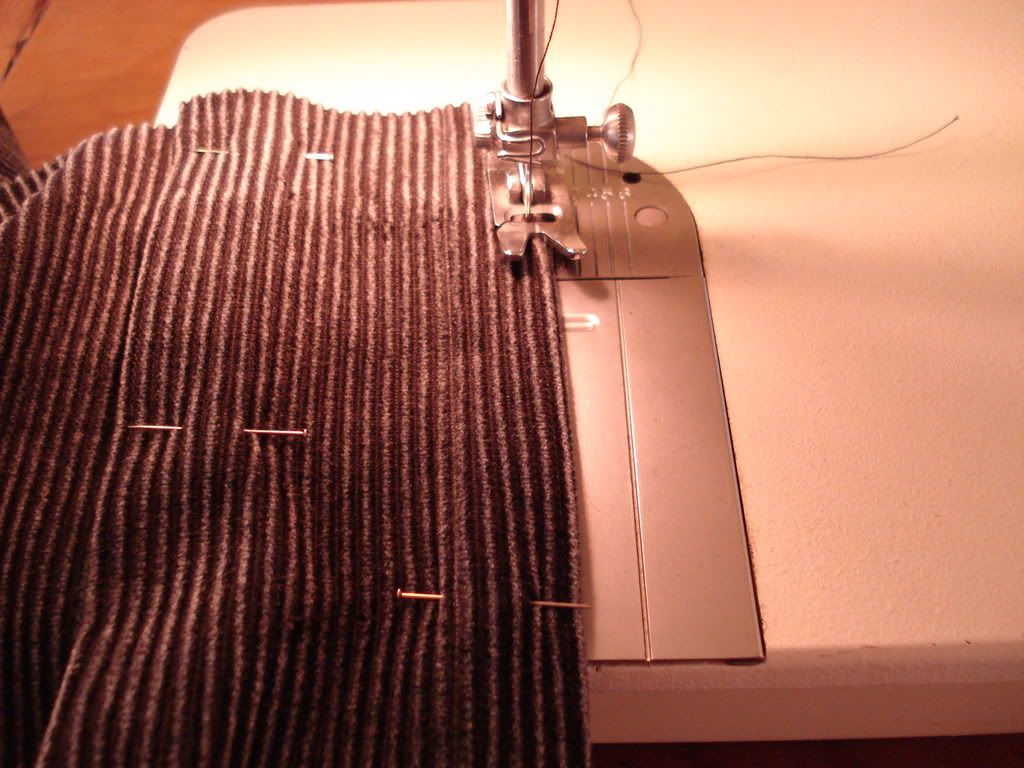
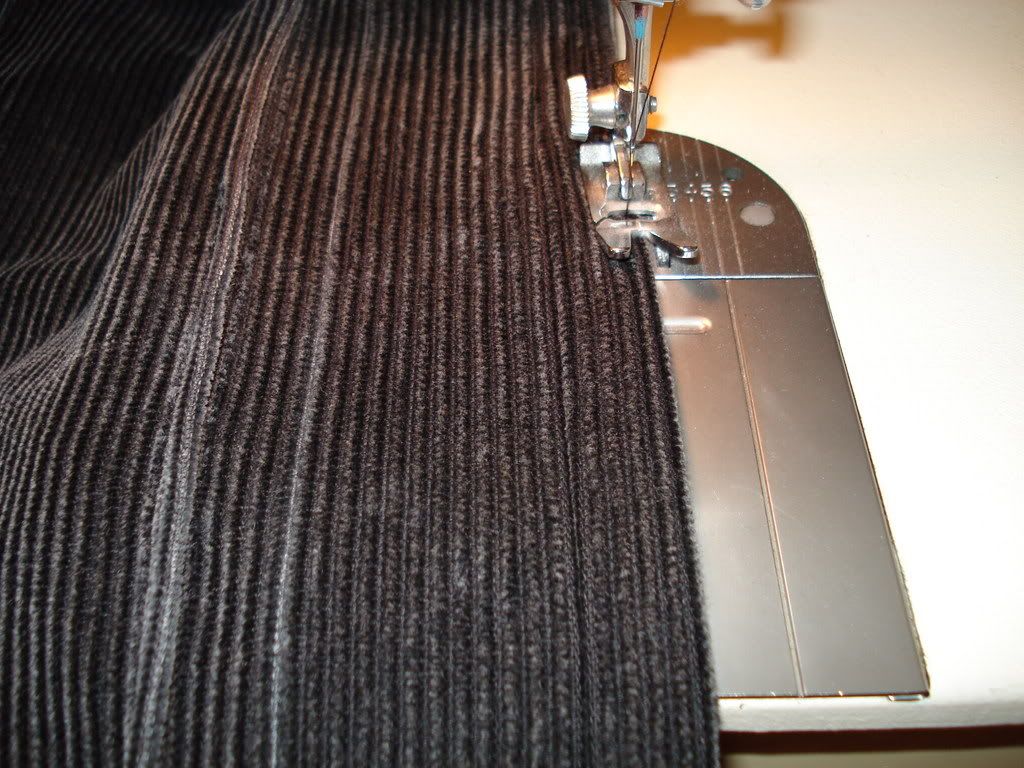
    Here I am sewing the outer portions of the pleats. Again, note how corduroy has its own guide lines so it is very easy to stay consistently close to the edge.


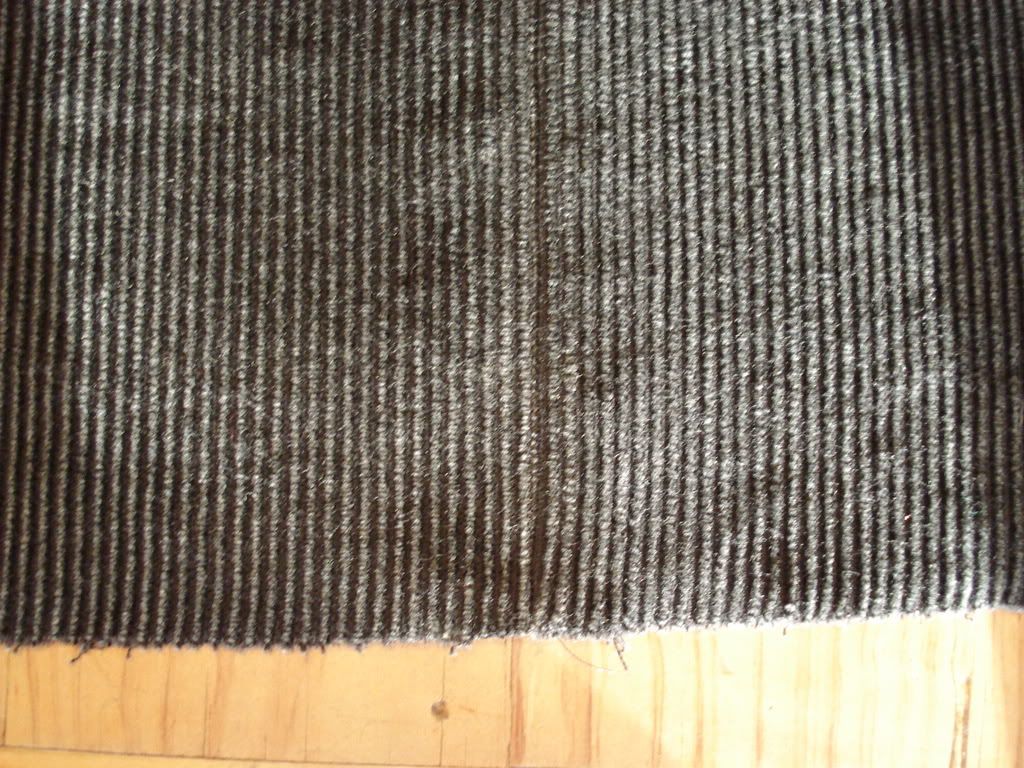
    This picture is to show just how close to invisible the joins are between the panels of fabric. The seam is just to the left of the sewing machine foot. Really, I swear.


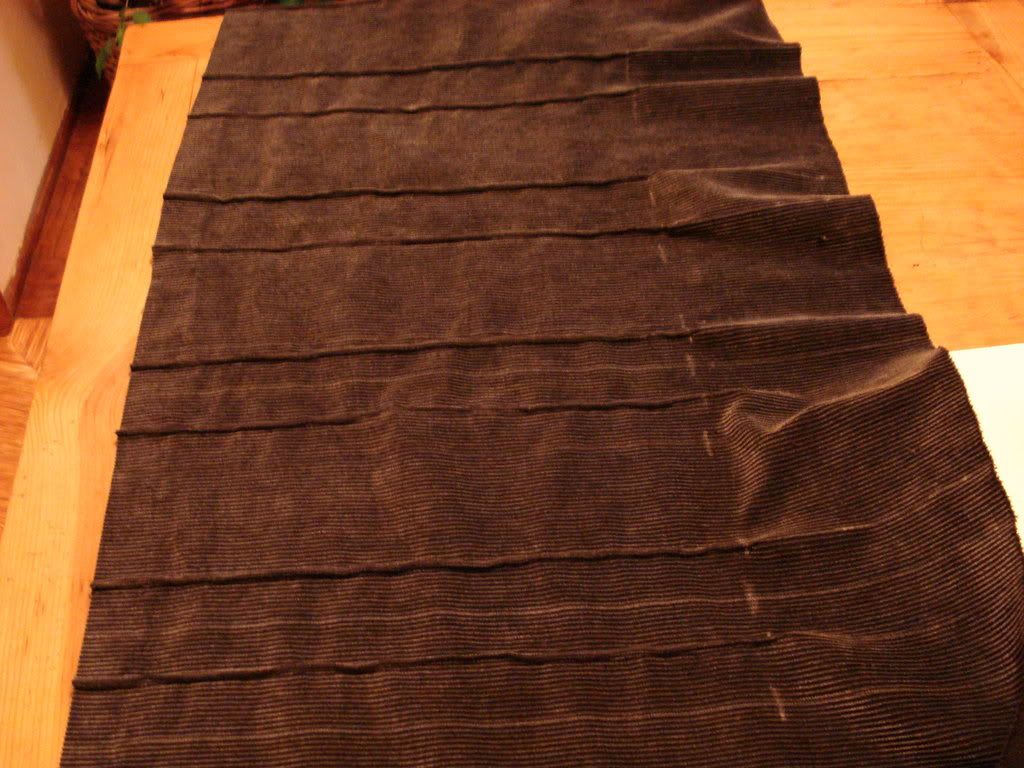
    Here it is with all the "ridges" sewn in-it took about 1 hour, 15 minutes to do 13 pleats. The hem is to the left and the waist band will be to the right.

    -See it there, a white plume
    Over the battle - A diamond in the ash
    Of the ultimate combustion-My panache

    Edmond Rostand

Page 1 of 3 123 LastLast

Similar Threads

  1. Corduroy X-Kilt
    By The F-H.C.A.G. in forum DIY Showroom
    Replies: 101
    Last Post: 25th August 08, 10:25 PM
  2. Alt Kilt Urban Tiger Stripe Camo Corduroy
    By Racer96 in forum Contemporary Kilt Wear
    Replies: 12
    Last Post: 4th February 08, 01:53 PM
  3. Corduroy K-Kilt #1
    By BozemanboB in forum Show us your pics
    Replies: 25
    Last Post: 8th October 07, 05:59 AM

Tags for this Thread

Bookmarks

Posting Permissions

  • You may not post new threads
  • You may not post replies
  • You may not post attachments
  • You may not edit your posts
  •  

» Log in

User Name:

Password:

Not a member yet?
Register Now!
Powered by vBadvanced CMPS v4.2.0