|
-
23rd November 08, 09:46 AM
#1
-
-
23rd November 08, 09:50 AM
#2
That's a great look, semi Craftsman-ish to my eyes. And even I can work with butt joints! Now I'm thinking picture frames. . .
OK, I thought so. You are also the one posing in front of that fabulous wainscoting in another new thread. The story behind that, if there is one, please? Thank you!
Proudly Duncan [maternal], MacDonald and MacDaniel [paternal].
-
-
23rd November 08, 10:15 AM
#3
-
-
23rd November 08, 10:15 AM
#4
That is great looking! What kind of stain , if any, are you using on the wood?
-
-
23rd November 08, 10:32 AM
#5
The Same Question
Exactly. What stain did you use to achieve the "brown" colour? My cabinet makers have nearly finished installing the oak paneling in the library here at Edge Hill, but none of the sample stains match -- or even come close -- to the bit of panel I brought with me from the dining room at my place in Ireland.
The door surrounds look first rate, by the way.
-
-
23rd November 08, 10:49 AM
#6
Definately has a craftsman feel to it. I might leave the doors the lighter color and add some matching (the doors) "pegs" to the lintel piece.
-
-
23rd November 08, 11:54 AM
#7
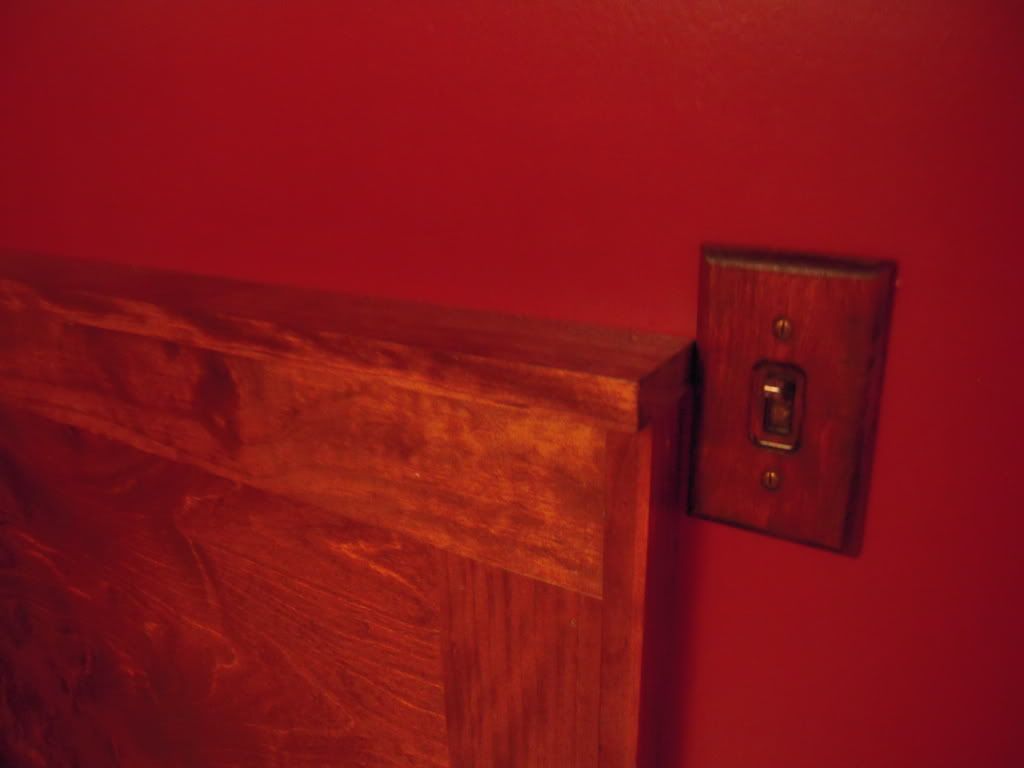
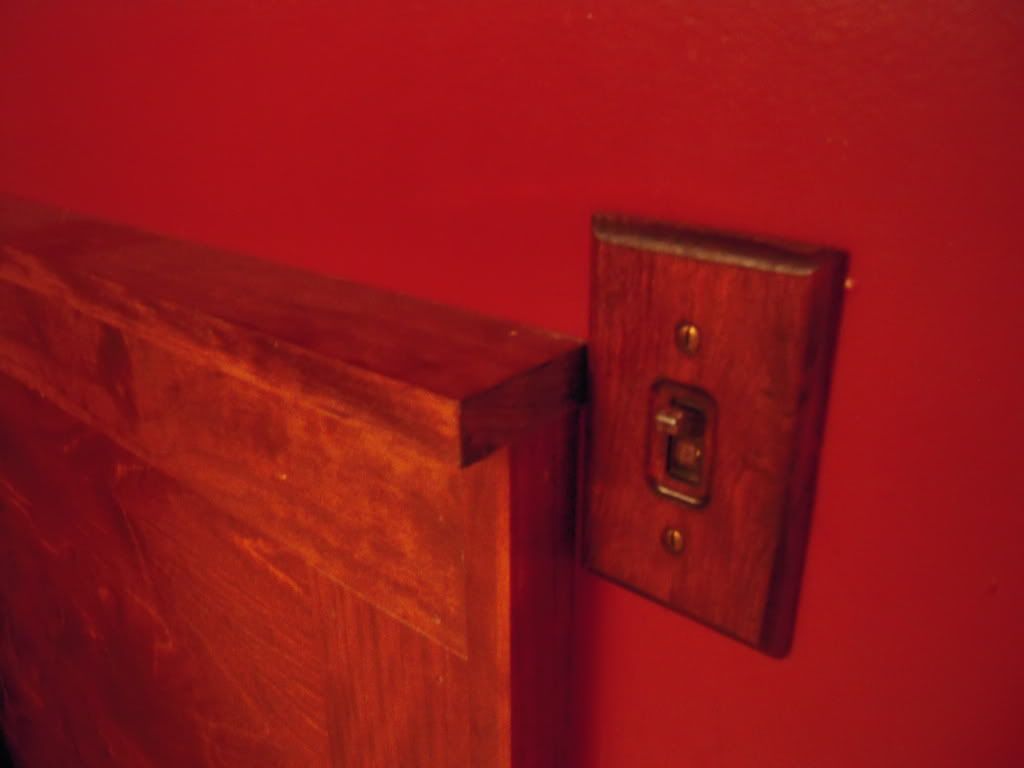
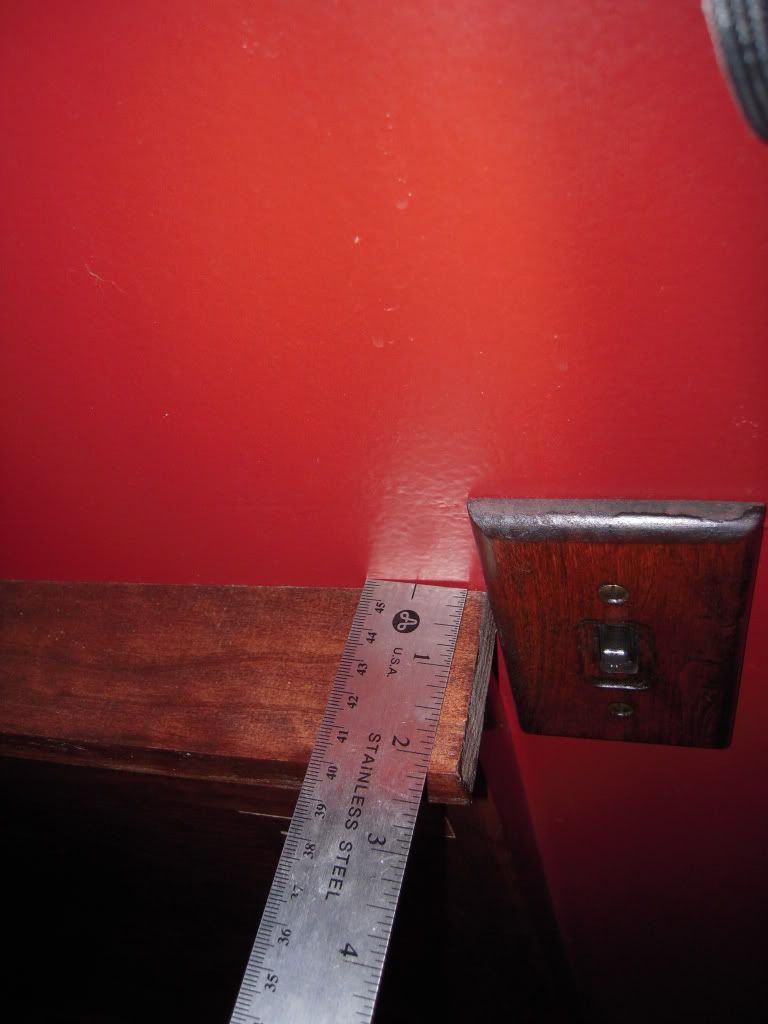
The stain is by Minwax, Poly Shades Bombay Mahogany Satin #380, it is not my favorite way to stain and seal wood but if you are pressed for time then this is great stuff.
The wainscoting in the basement is high grade 4’x 8’ birch plywood sheets surrounded by 1x4 pine trim. I used regular stain and floor polyurethane. This project was fairly simple. First I dry fit the plywood sheets against the wall, cut to fit and where there were gaps used the 1x4 pine to conceal the gaps, then I laid down the 1x4 pine baseboards and liquid nailed and secured them with my nail gun. Then I did basically the same for the top of the sheeting, but then I had to add a small shelf that was about 2 ¼ wide, I wanted to go wider, for a beer shelf but it just did not look right. Oh, the paint color is Boston Brick Red by Behr.
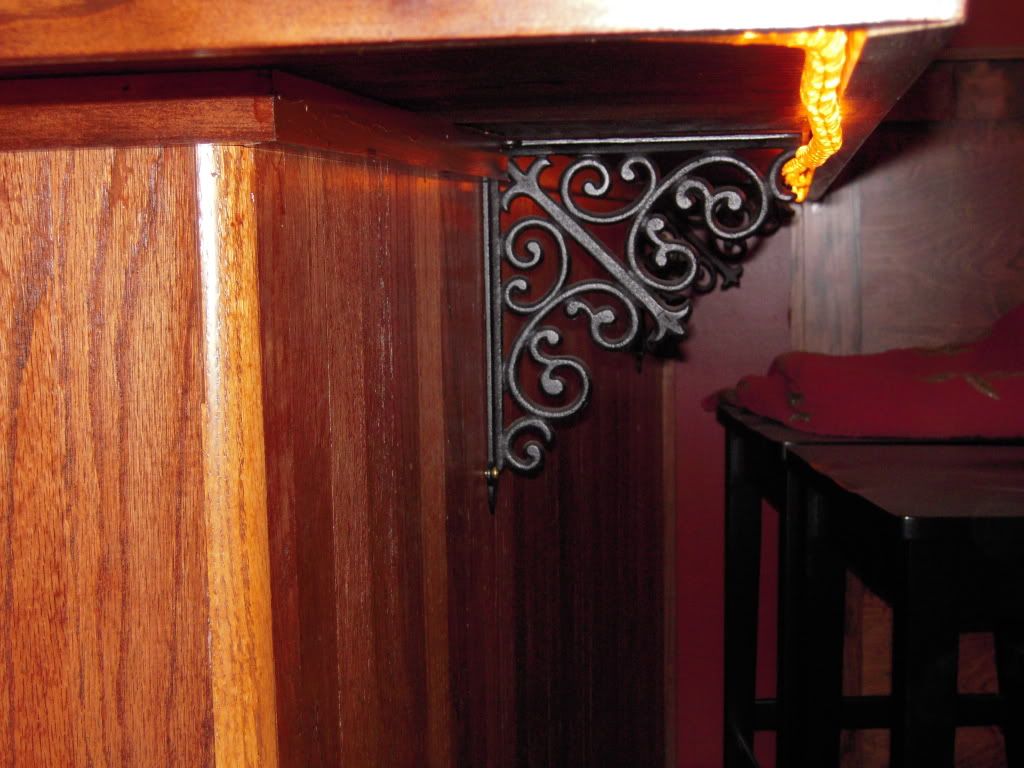
For the bar I used red oak flooring strips and installed them vertically for the face and rear of the bar area, the top is very strong with two sheets of ¾ plywood and then the same red oak flooring strips were installed in the standard fashion. I used pine to form a curb around the bar in order to keep beer mugs etc., from falling off. Although the bar top is extremely solid I still installed two wrought iron shelving brackets for aesthetic purposes. The bar was a simple and very fun project to do, and it is 100% better than the previous bar, which was carpeted in the front and the top was wobbly and falling apart.
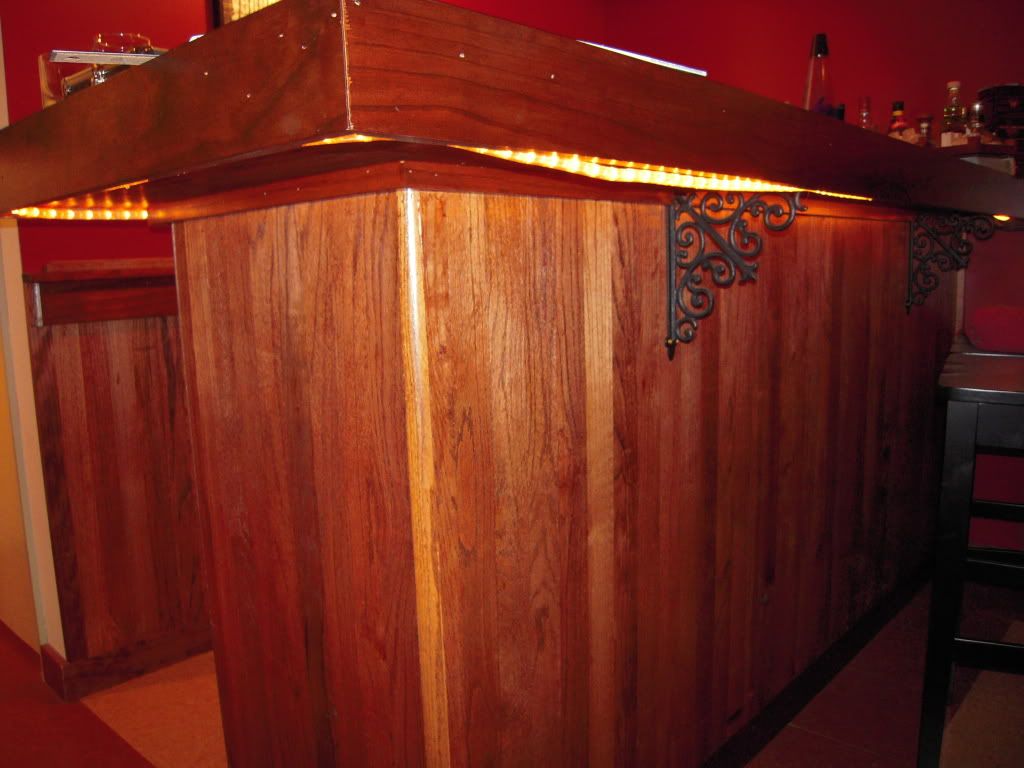
The nail gun holes sure do show up under flash, but take my word you can not see them when you are standing in the basement.
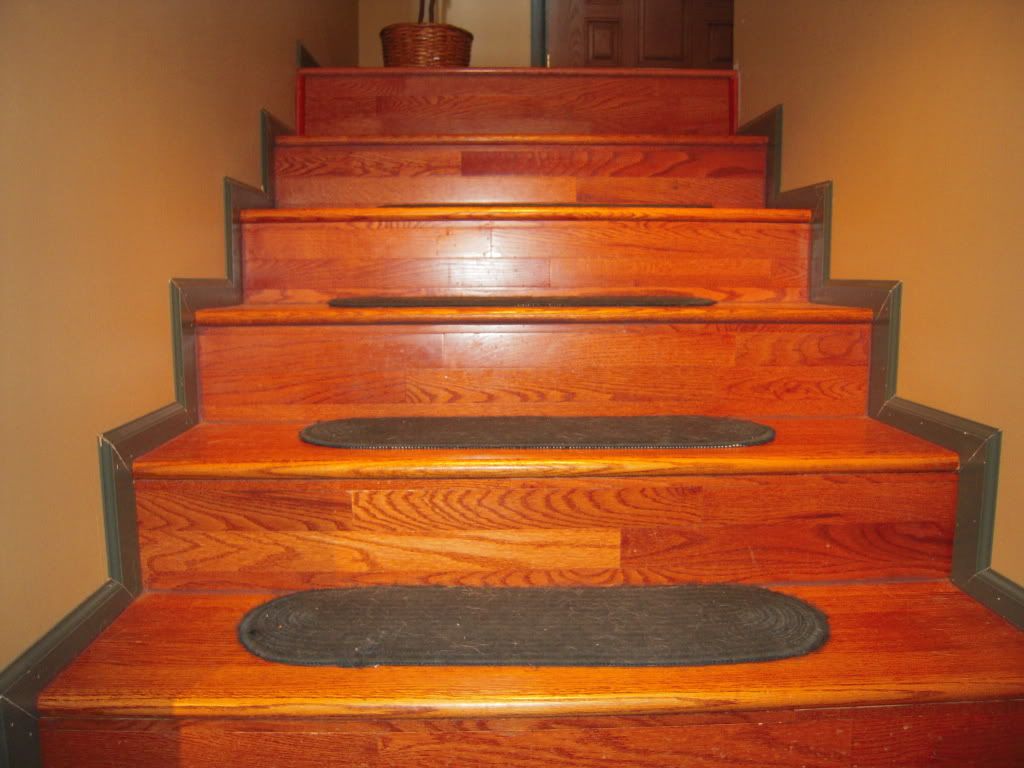
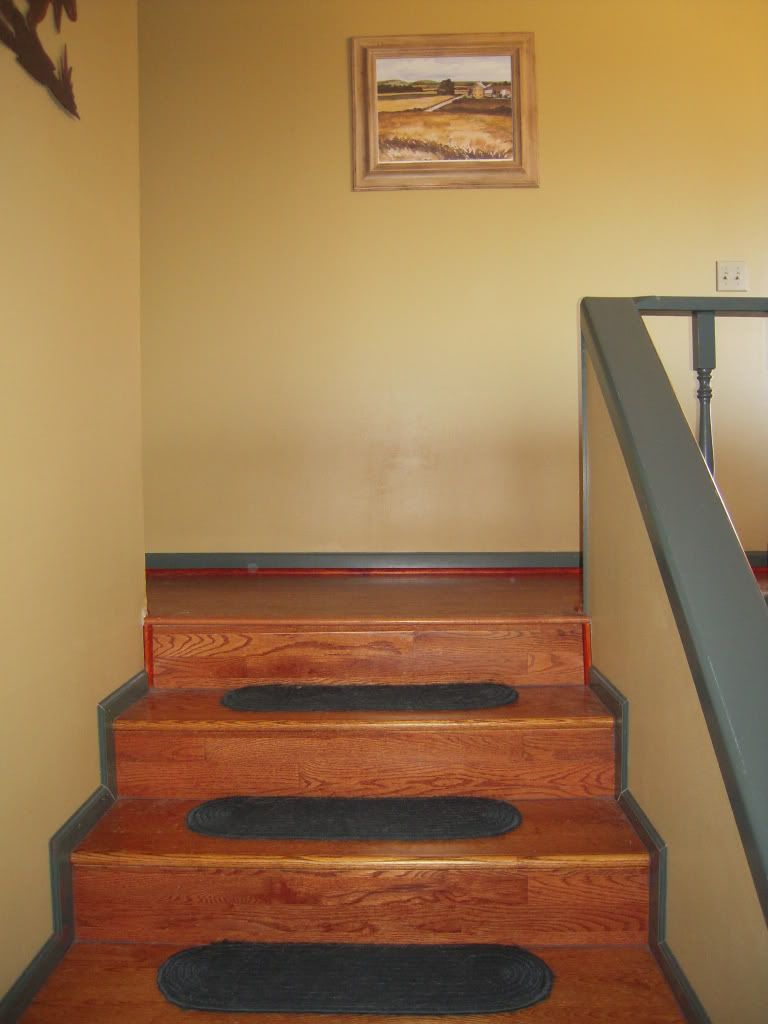
When the upstairs flooring was installed it was going to cost over $100 per stair and there are 14 stairs, so I used the extra flooring from the upstairs flooring and used it for the kick face. I was originally going to use the oak for the stair treads but I found solid red oak stair treads at Home Depot and all I had to do was cut, stain and seal them. The stair baseboard molding was by far the most difficult, because not one single staid was square.
Too bad I am not staying here and the ex-wife is keeping the house. However, if she ever sells then I will make a decent profit from my custom work. With everything I did to this house I will chalk it up as a big learning experiment and will know what or not to do when I buy my next house.
C.P.Rogerson
Kwajalein Atoll, Republic Marshall Islands
-
-
23rd November 08, 04:12 PM
#8
Great work there, Chris. My father is an interior designer and did the same type of trim on his windows in Estes Park. EXCEPT, he used pine and stained it a golden oak.
-
-
23rd November 08, 06:33 PM
#9
You can have it fast, or you can have it good
 Originally Posted by Rogerson785

The stain is by Minwax, Poly Shades Bombay Mahogany Satin #380, it is not my favorite way to stain and seal wood but if you are pressed for time then this is great stuff.
I'm not in the least pressed for time-- we started the project in May and it will finish up towards the end of January. What would you suggest as a better stain than the Minwax? Around here, if you can't get it at Lowes most folks assume that it's not available. My attitude is if you can't get it at Lowes, where can you get get it? Then I go get it.
And I commiserate with you over the holes left by the nail gun. I'm currently rewaxing and buffing more than 300 tiny nail holes in the gilding strips that edge the wall paper in my drawing room, in the hopes that they will fill up and VANISH! 
-
Similar Threads
-
By OFCJAX in forum DIY Showroom
Replies: 22
Last Post: 13th January 09, 01:01 PM
-
By ForresterModern in forum Professional Kiltmakers Hints and Tips
Replies: 5
Last Post: 18th August 08, 09:15 AM
-
By thatcelticband in forum General Celtic Music Talk
Replies: 8
Last Post: 20th December 07, 12:26 AM
-
By auld argonian in forum DIY Showroom
Replies: 5
Last Post: 27th April 07, 12:22 PM
-
By arrogcow in forum How to Accessorize your Kilt
Replies: 1
Last Post: 17th January 05, 04:58 PM
 Posting Permissions
- You may not post new threads
- You may not post replies
- You may not post attachments
- You may not edit your posts
-
Forum Rules
|
|


