|
-
14th March 12, 09:41 AM
#1
Set In Stone (OK, concrete...)
Hi all,
not sure precisely where this post should go, particularly as it's not actually kilt- or Highland-themed, but I think here is the closest match, as this is an experimental, not-for-profit exercise, and I'm just really excited to share my "Yessss!" moments as a crafter/artisan with you guys!
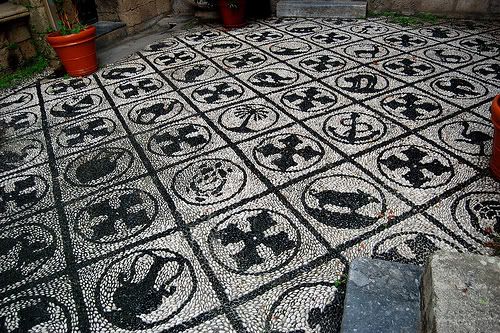
So: a while back I went to Rhodes on holiday, and when visiting Rhodes Old Town, noticed that all the streets there were paved with rounded stones set in patterns, like this:
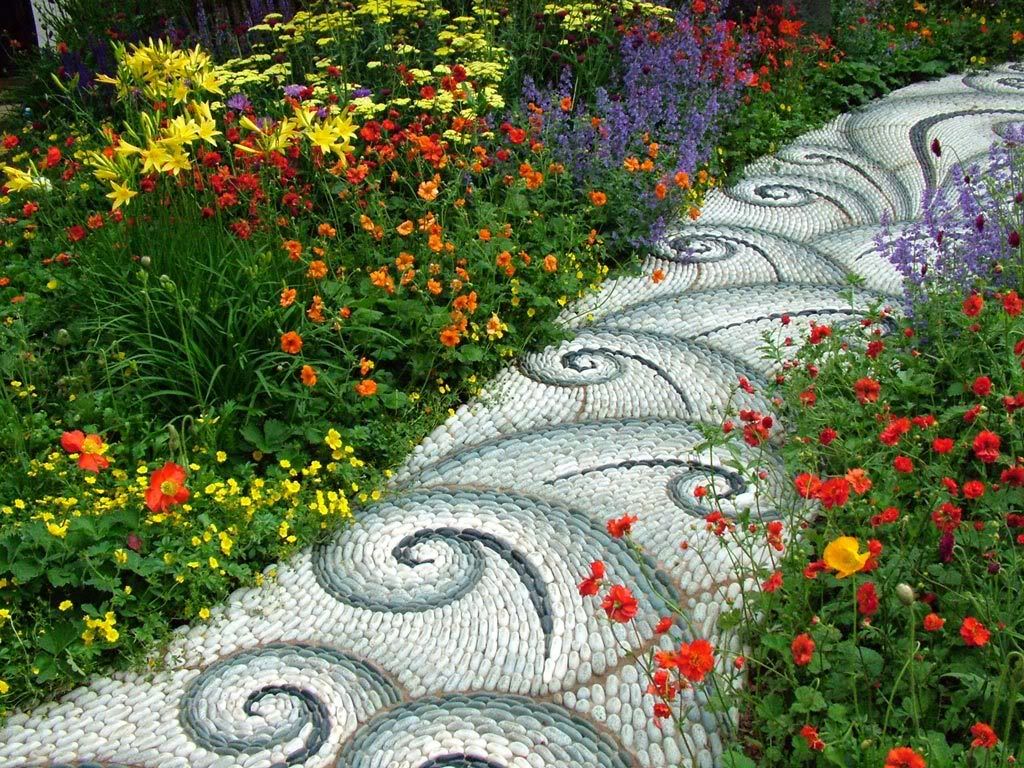
I was entranced, but forgot about it until I happened to see a picture online of a pebble mosaic path in one of the show gardens at the Chelsea Flower Show:
This addressed a problem I have with my garden path - I got a friend to take up the stupid line of slabs that forced you to walk practically IN the hedge, and re-lay them in a relaxed snakey curve down the centre of the garden, sideways on to give a decent width, dropped just lower than the surrounding grass to make mowing easy, and placed about 10 inches apart, like stepping stones. Looked fab, but the next time it rained, I suddenly had twenty-two little rectangular ponds down the centre of the garden! It's an old lawn, and very evidently, the drainage was practically non-existent.
Back to the drawing board.
Brainwave.
I got the same friend to cut out the pieces of turf in between the slabs, excavate to a depth of 4 inches or so, and line the gaps with weed-suppressing membrane. Then I filled the gaps with golden flint up to the level of the slabs' surface.
It looked FAAAANTASTIC! Grey and gold in a lazy S, like a giant necklace dropped in my garden. I was VERY pleased.
Until...
Until I tried to walk down the path.
Disaster! The flint gravel sank horribly beneath your foot, producing a Quasimodo-like lurch every couple of steps. I had made the gaps too deep, and the whole thing was just not working as I'd hoped.
This bugged me very deeply. I like things to work properly.
Then, one day, I suddenly had a flash of inspiration (yes... another): I was looking at an acrylic paperweight, and suddenly thought, "Oh, if only I could pour this stuff into the gaps and have the gravel LOOK like loose flint but actually be set firmly in place."
From there, it was only a small (non-Quasimodo) step to remembering pebble mosaics, and now I have a set of design drawings for the path, to be executed when the threat of frost has gone from here (so, about June).
In the meantime, I was enthusing to my next-door neighbours about the whole thing. The guy works as a landscape gardener, and when I saw he was 'doing out' his front garden (a tiny low-walled strip of dirt between house and pavement), I suggested I design a mosaic for him, for free, as a practice piece. He and his wife agreed, and I produced a fairly simple design involving leaves and stems, to be pre-cast in my shed and put into place this Spring.
Here's how it went!
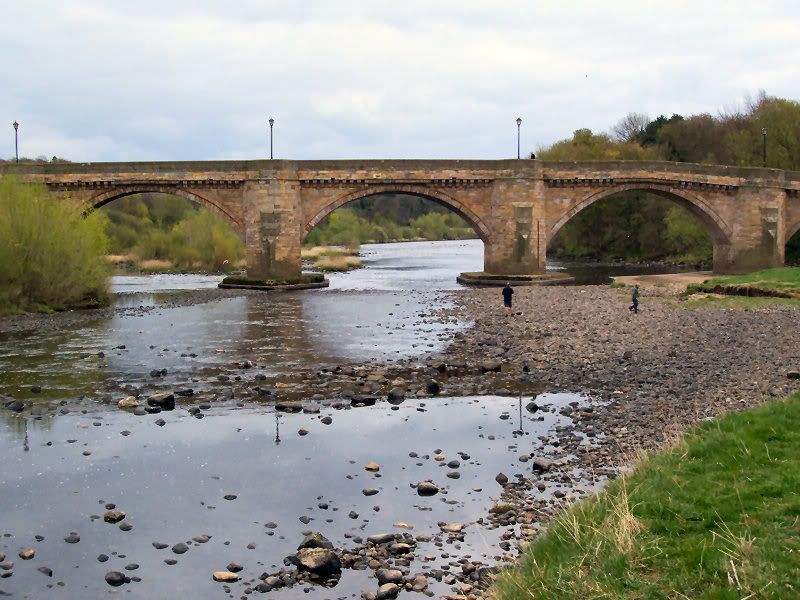
Collected stones from the riverside:
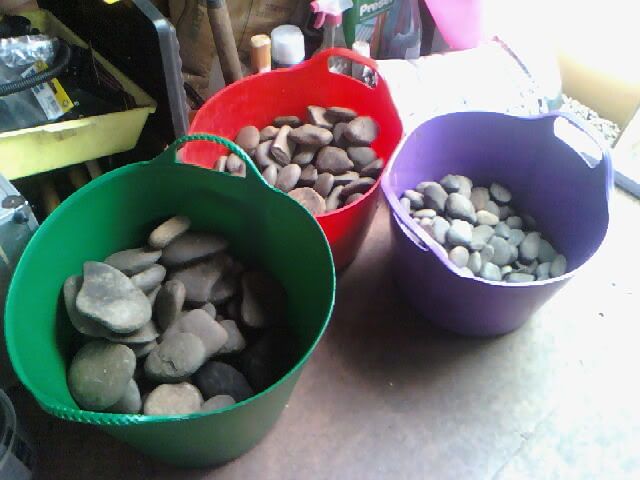
Sorted them by size and shape:
Cut hardboard into 4" strips and made the 'form' for the biggest piece, the leaf, by fixing wood blocks to a baseboard to curve the hardboard into the right shape:
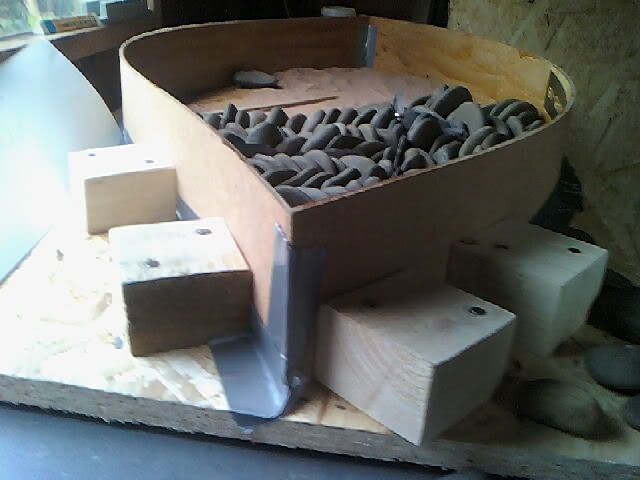
A layer of dry sand, then I started placing the pebbles in the pattern I wanted:
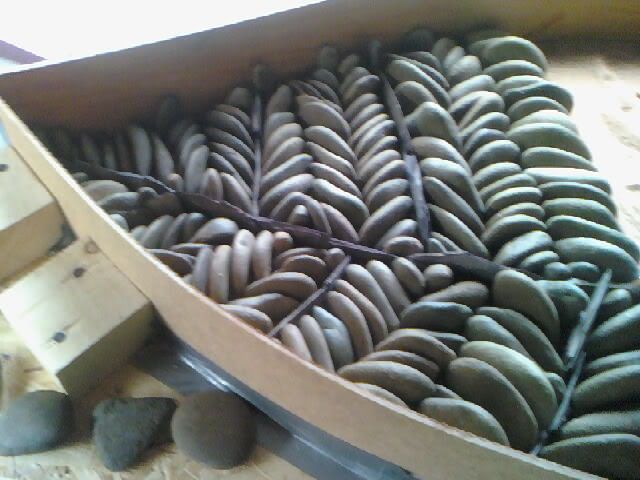
Always bearing in mind that you're working upside-down - basically this is a pineapple upside-down pudding made of stones and concrete!
The veins of the leaf are fragments of slate, bought as broken pieces from a local builders' yard and bashed up, then nipped roughly to size.
The sand layer is important as it affects the 'rebate' - how much of the pebbles' surface will stick up above the cement once it's been poured and set. Too much sand, and the smaller pebbles will come loose; too little and you have a lovely cement block with bits of pebbles showing here and there.
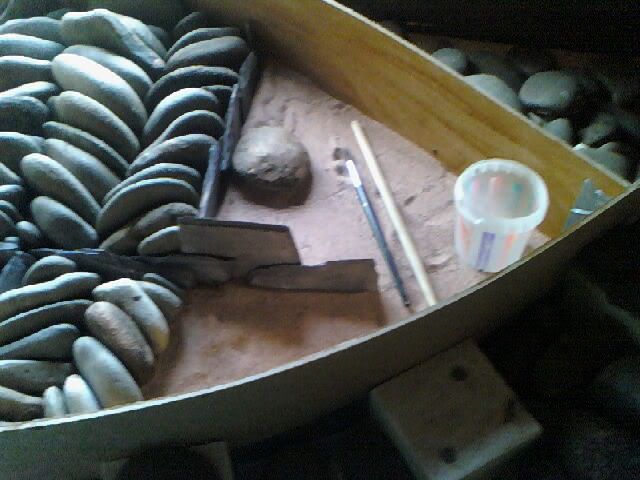
Once all the pebbles were in place, I poured my first layer of cement - technically, a non-shrinking cementitious grout - which was heart-stoppingly liquid at this point!
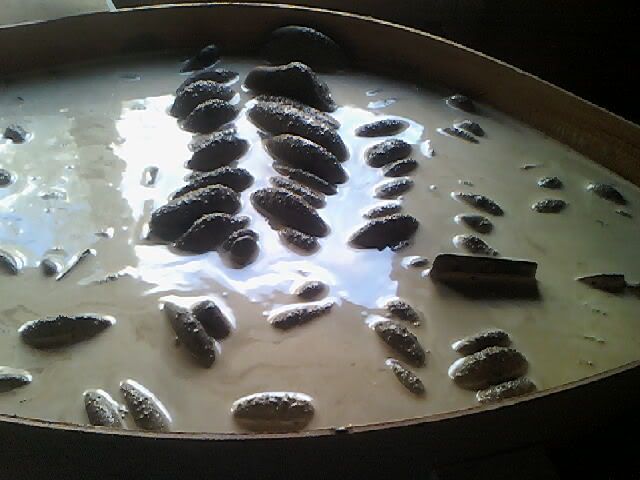
However, it EVENTUALLY set beautifully - a really dense, smooth layer.
This being the first time I'd ever done any of this, I had to cock it up somehow, so to fill up the rest of the mould, I poured a layer of post-mix cement mixed with some gravel I had lying around. Alas, the post-mix was also an opened bag I'd had lying around for two years at least, and while it did set, it was a grotty failure, crumbling round the edges from finger pressure. Thankfully, considering the robust nature of the main block, the crumbly bottom edge buried in the soil won't matter. But I'll know better next time. That's a lesson I won't forget in a hurry!
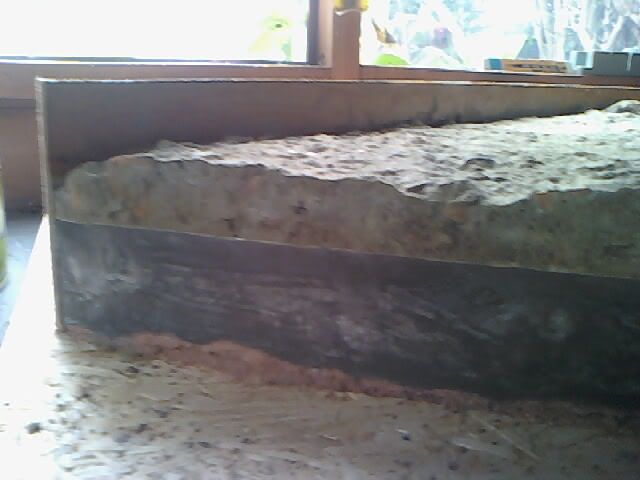
I'm searching for the photos I took of the finished object, and I can't find it! Dang. Well, never mind, just imagine the item above... the other way up.

I'll post more when I finally get it placed in next door's garden.
Last edited by Kinetikat; 14th March 12 at 10:01 AM.
-
-
14th March 12, 09:51 AM
#2
Re: Set In Stone (OK, concrete...)
Very interesting. Perhaps you could make a tartan mosaic.
I tried to ask my inner curmudgeon before posting, but he sprayed me with the garden hose…
Yes, I have squirrels in my brain…
-
-
14th March 12, 09:52 AM
#3
Re: Set In Stone (OK, concrete...)
Impressive!!!!!
You have made "exposed aggregate precast concrete"!!!
Thank you for sharing the details of the form and sand bed.
-
-
14th March 12, 09:55 AM
#4
Re: Set In Stone (OK, concrete...)
By the way, sugar will retard (slow) the cure of cementitious materials. If you were to mix sugar or molasses with the sand, and any grout soaked past the sand, the water in it would mix with the sugar, and should make it softer than the grout that beds the stones.
From there, it would be relatively easy to flip the plates over, and use a coarse bristle brush and a bit of water to scrub away any bleed-through grout and leave the stones clean.
A clear urethane will leave the stones looking shiny and wet.
-
-
14th March 12, 10:04 AM
#5
Re: Set In Stone (OK, concrete...)
Thanks for that hint, Runner! I knew sugars retarded the set of a grout, but admit I had never thought of mixing granulated sugar with the sand. Ingenious!
-
-
14th March 12, 10:10 AM
#6
Re: Set In Stone (OK, concrete...)
I used to work precast concrete. We used commercial retarders on the form faces. For the troweled (usually top) face, we used molasses mixed with hot water and sprayed on the surface with a garden sprayer. Floated in and cured overnight, we would then wash off the "soup" with a pressure washer. Since the center mass of concrete was not retarded in its cure, it held the stones nicely.
This would work great for stones set flat, but your method works beautifully for the vertical stones. I have never seen that before, but I'd like to follow your lead!!
Edit: I am very eager to see your finished product. It will look amazing also when some moss starts growing on the grout.
....and I'm told one can cultivate moss by blending a handful of moss with beer and buttermilk, and painting it onto the desired substrate. I'm in a bit too dry of climate to cultivate moss. 
Last edited by MT4Runner; 14th March 12 at 10:13 AM.
-
-
14th March 12, 10:30 AM
#7
Re: Set In Stone (OK, concrete...)
Runner, if you're interested in the vertical stone approach, have a look at this website: http://maggyhowarth.co.uk/
Maggy is the maker of that awesome garden path from the Chelsea Show, and much mindbogglingly amazing stuff besides. It was her books and example that enabled me to do this.
-
-
14th March 12, 10:33 AM
#8
Re: Set In Stone (OK, concrete...)
That looks really interesting! I imagine you will find photos of the finished work and post them. Looking forward to it.
-
-
14th March 12, 11:45 AM
#9
Re: Set In Stone (OK, concrete...)
 Originally Posted by Kinetikat

Another summer project to add to my list!
-
-
14th March 12, 01:46 PM
#10
Re: Set In Stone (OK, concrete...)
That's really beautiful in progress and quite imaginative -- looking forward to the finished project!
Proudly Duncan [maternal], MacDonald and MacDaniel [paternal].
-
Similar Threads
-
By wscottmac in forum Highland Games and Celtic Event Discussion
Replies: 42
Last Post: 28th November 08, 06:52 AM
-
By Kilted_MJM in forum Highland Games and Celtic Event Discussion
Replies: 2
Last Post: 27th April 08, 08:16 PM
-
By Shriner in forum Show us your pics
Replies: 9
Last Post: 31st October 07, 10:16 AM
-
By Shriner in forum Show us your pics
Replies: 26
Last Post: 29th October 07, 03:20 PM
-
By dpseadvr in forum Highland Games and Celtic Event Discussion
Replies: 48
Last Post: 23rd October 07, 12:04 PM
 Posting Permissions
- You may not post new threads
- You may not post replies
- You may not post attachments
- You may not edit your posts
-
Forum Rules
|
|


Bookmarks