|
-
3rd March 07, 08:33 PM
#1
Hemming a Stillwater
For Christmas this year, I bought Panache a Stillwater Heavyweight Green Shadow Tartan kilt and we were very impressed by the length, swing, appearance in the sunlight, etc. Now, he had bought himself a Black Shadow Tartan previously and I couldn't help but notice that it was somewhat too long compared to the Green. We got out the handy tape measure-sure enough, 2 inches too long! He e-mailed Jerry, who said this had happened once before, but since he had owned it nearly a year before noticing the length, Panache certainly did not expect him to fix the problem. So, we decided it was time to hem. We checked with Panache's favorite tailor, who offered to hem it for about $30.00, and I (foolish immortal) thought to myself-I can do this, it's just a hem, right? Panache mentioned to me that many people are put off by the fact that Stillwater only does one length, and that hemming it strikes them as a difficult chore. So, here is the process.
Pictorial to follow.
Be well,
-
-
3rd March 07, 08:44 PM
#2
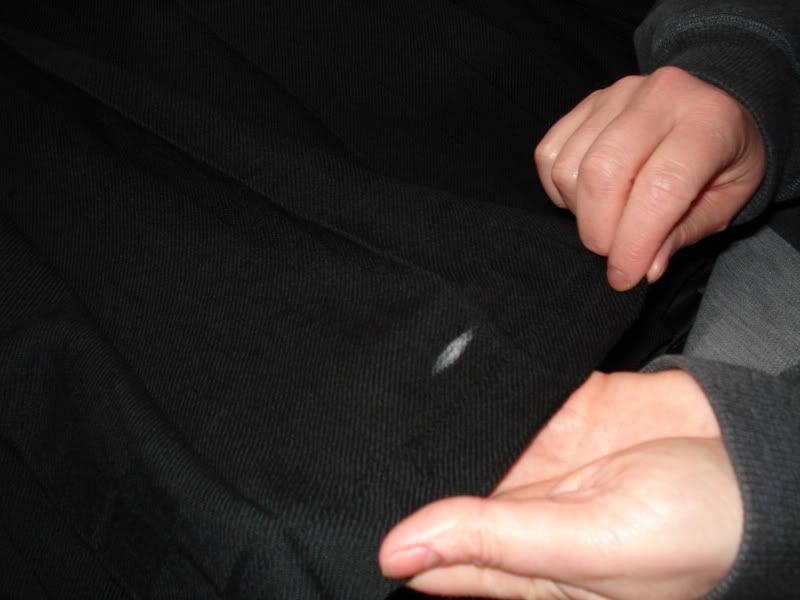
The first step, is to measure the hemming length. You can either measure where you are going to fold it, or where the current hem is going to be folded to.
Here, I did the former
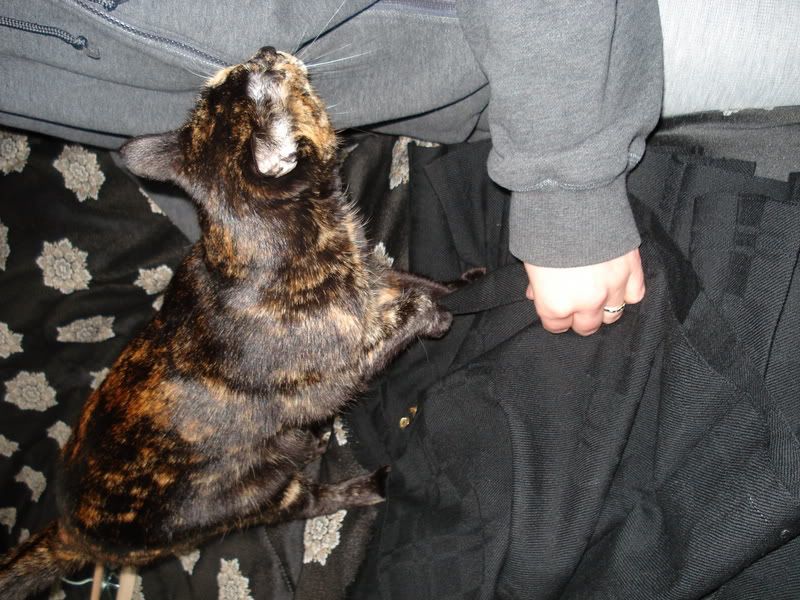
And Smudge helped, as usual
Then, I must press the hem (I made sure the cat was not around for this-an iron on wool setting with lots of steam is unsafe for a cat)

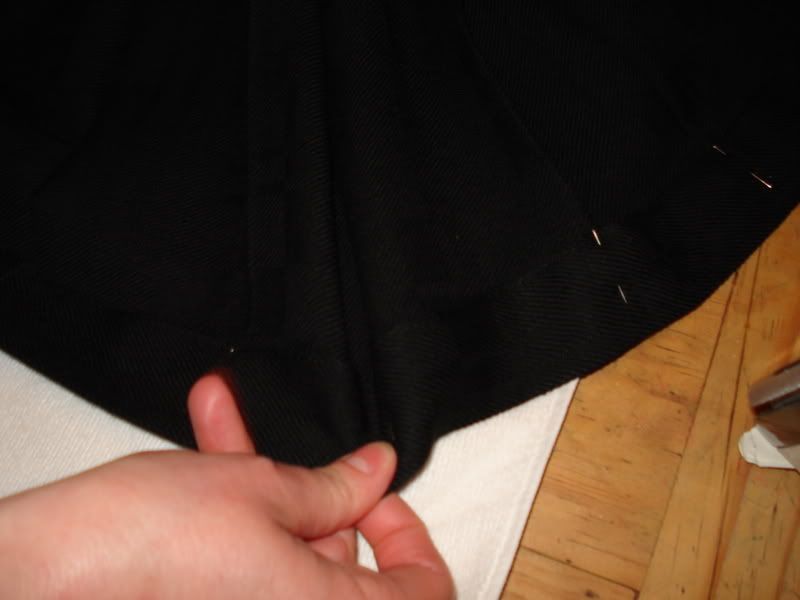
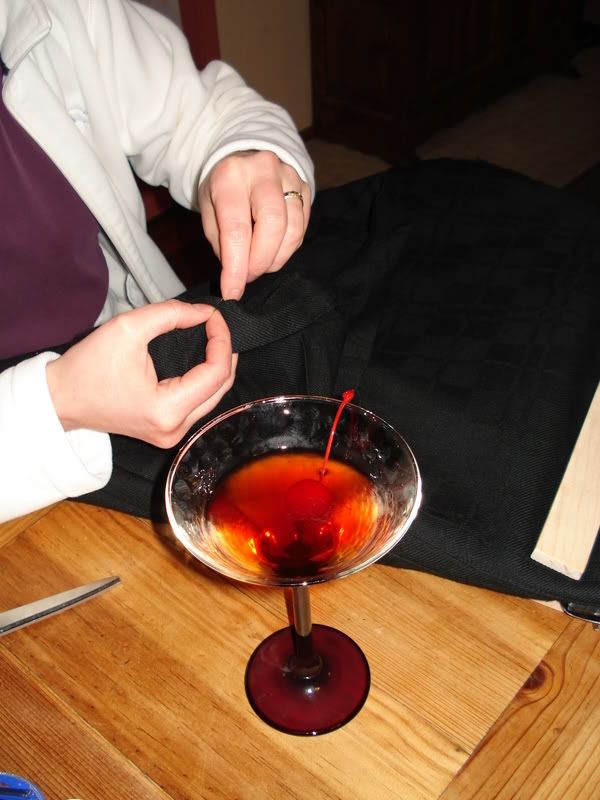
Once pressed, pin at reasonable intervals (about 4-5 inches, or every pleat)
And, then you start to sew. I used a blind hem stitch. For those who don't know (and I didn't, until I looked it up in my Sewing For Dummies book), this is a hemming stitch that just picks up a few threads of the outer part of the garment, so it is essentially invisible from the outside. Some sewing machines can do this. Mine, ancient relic that it is, cannot. Therefore, I did this by hand.
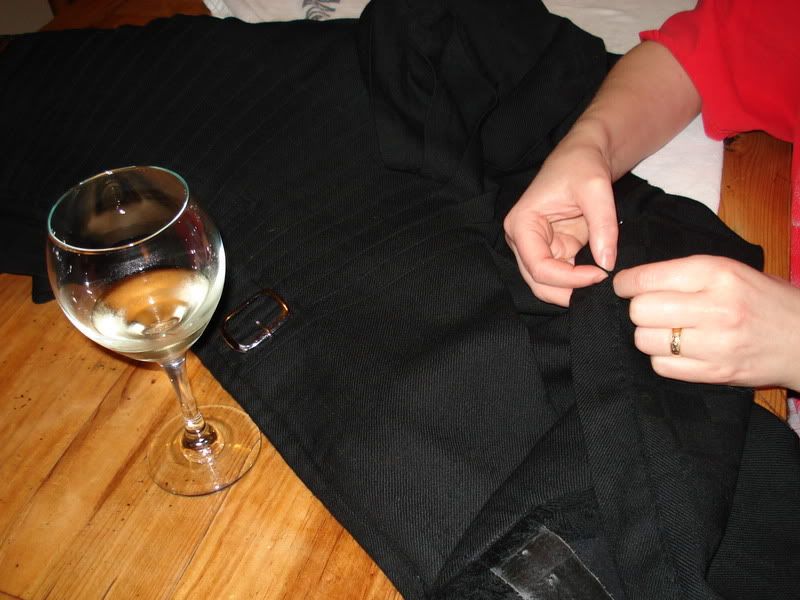
A glass of wine helps this process.
More to come...
-
-
3rd March 07, 08:49 PM
#3
So, I sewed
And, I sewed
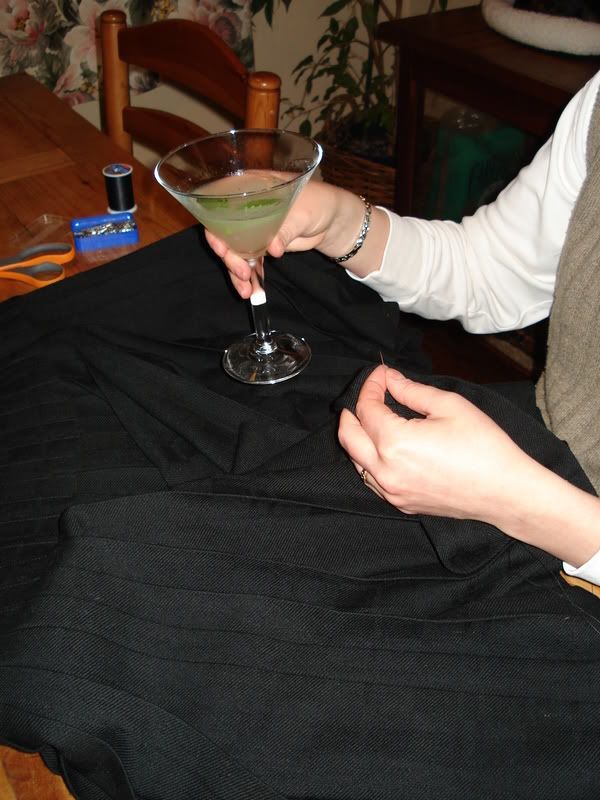
And, I sewed
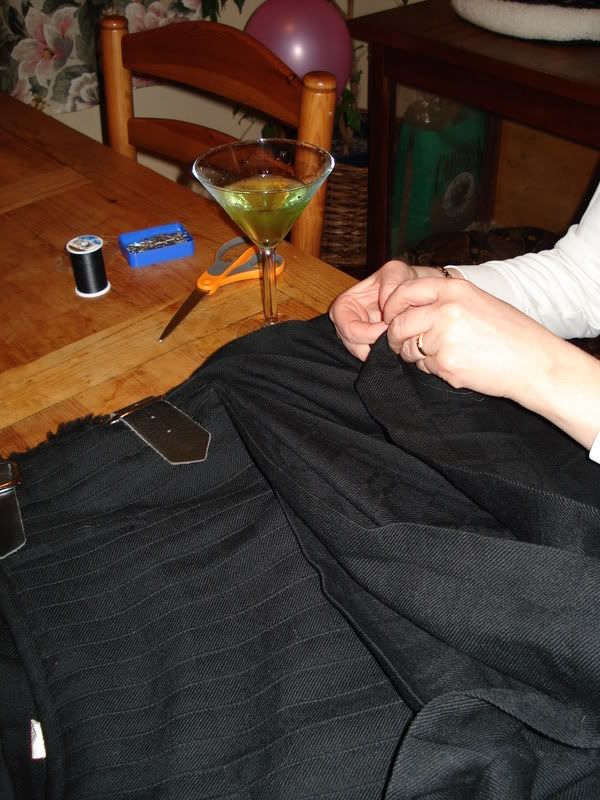
While Panache kept me in tasty beverages to cut the boredom.
Eventually, I began to get desperate
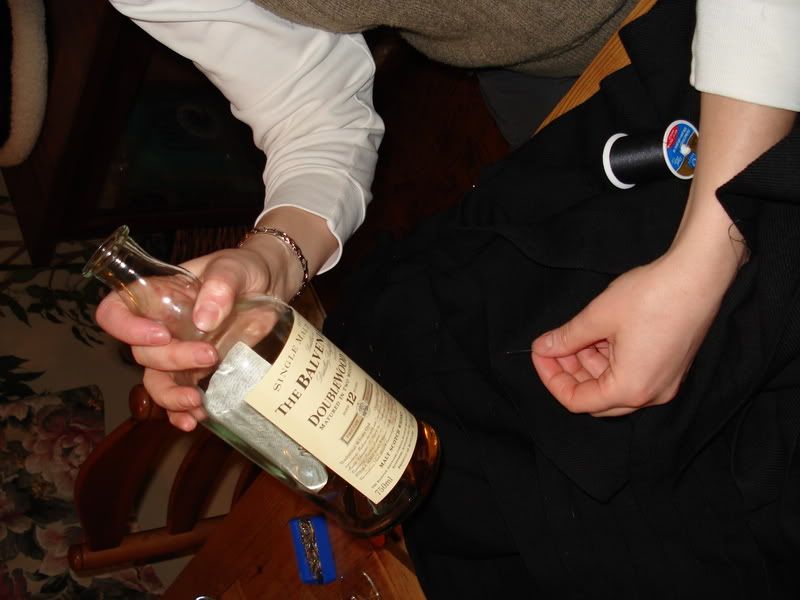
Even to the point of unmixed Drambuie
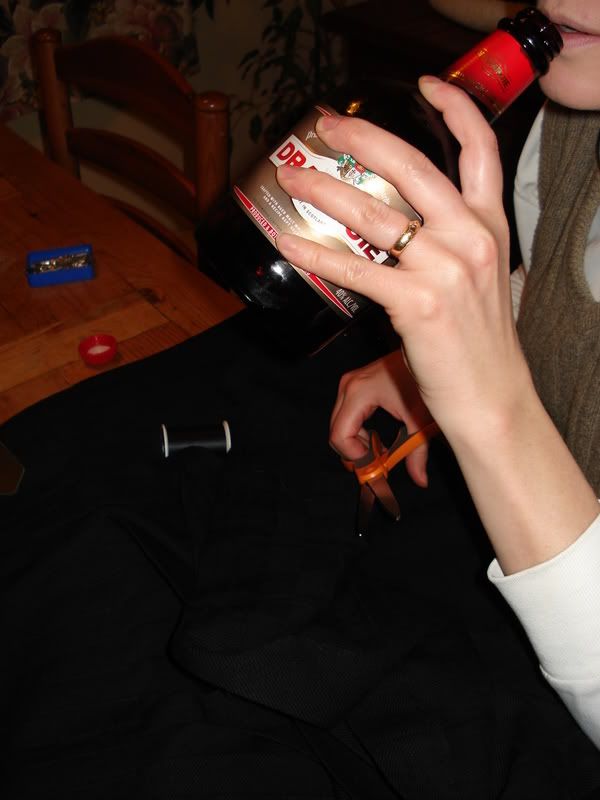
Just kidding! Realize that this was photographed over a nearly 2 week period. If I'd actually consumed all of these tasty beverages in one evening, I don't think it would have turned out as well.
Final pics to follow...
-
-
3rd March 07, 09:43 PM
#4
 Originally Posted by The F-H.C.A.G.

So, I sewed
Just kidding! Realize that this was photographed over a nearly 2 week period. If I'd actually consumed all of these tasty beverages in one evening, I don't think it would have turned out as well.
Final pics to follow...
No I realize that the last four pictures with four different drinks you were wearing the same outfit. Ergo this was from the same sitting. So the question remains how did you keep the bloody hem straight after all of that imbibing  ? ?
Oh nice work by the way.
-
-
3rd March 07, 10:09 PM
#5
The lovely Flame-Haired Celtic Amazon Goddess is a wonder. Not only does she support me in my whole kilt thing she actively helps me out. I am a very lucky fellow. It took her a few evenings but she was able to hem my Stillwater Heavyweight to the right length. If you have the time and initiative it makes a lot of sense to take in a SWK Heavyweight if their standard length is too long for you. You wind up with a great kilt and the hem is pretty hard to notice.
If anyone was interested, here is a before picture:
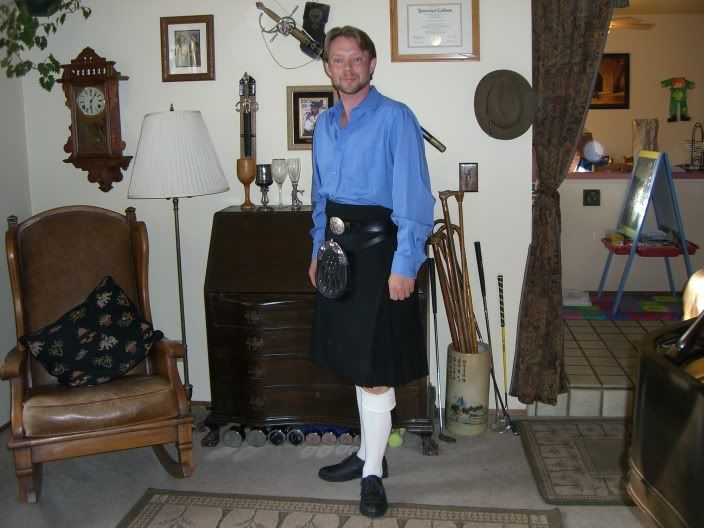
And here is the after picture (without me listing to the side):

Cheers
Panache
Last edited by Panache; 4th March 07 at 08:31 AM.
-See it there, a white plume
Over the battle - A diamond in the ash
Of the ultimate combustion-My panache
Edmond Rostand
-
-
3rd March 07, 08:45 PM
#6
In the old days, wool military uniform garments were often constructed with raw (unhemmed) edges. Civil War era frock coats, and regimental coats from earlier periods, almost all have raw edges on the bottom - not a hem, nor a selvedge. The wool is simply hacked off at the desired length and left unfinished.
Some of my reenactment coats have this raw-edged finish. The thing is, the wool holds that edge well, and does not unravel or fringe out, even after years of wear.
Why couldn't one simply cut the Stillwater heavy-weight wool kilt to the desired length and leave the bottom raw edge as is...?
Brian
"They who can give up essential liberty to obtain a little temporary safety, deserve neither liberty nor safety." ~ Benjamin Franklin
-
-
6th March 07, 05:48 AM
#7
Originally Posted by Woodsheal
In the old days, wool military uniform garments were often constructed with raw (unhemmed) edges. Civil War era frock coats, and regimental coats from earlier periods, almost all have raw edges on the bottom - not a hem, nor a selvedge. The wool is simply hacked off at the desired length and left unfinished.
Some of my reenactment coats have this raw-edged finish. The thing is, the wool holds that edge well, and does not unravel or fringe out, even after years of wear.
Why couldn't one simply cut the Stillwater heavy-weight wool kilt to the desired length and leave the bottom raw edge as is...?
The 19th century wool that I've seen is somewhat felted, which keeps it from raveling. Modern heavy-weight kilting fabric is not felted, and, if you cut it off, it won't be long before you have a fringe at the bottom.
Barb
-
-
6th March 07, 05:52 AM
#8
One other thing about hemming a kilt. I just posted this to another thread, because someone asked about how to hem a kilt.
The pics that F-H C.A.G. posted are great! The only thing I'd emphasis is that, if you're going to hem a kilt, you shouldn't just turn it up as you would if you were hemming a skirt.
You should first take out both the apron and underapron facing and edge stitching up maybe 8" - enough to lay the hem area out flat before it's turned up. Then, you turn up a hem that is equal everywhere _except_ in the first deep pleat and at the underapron left side. The first deep pleat should be turned up about 1/2" more at the inside point so that the point of the deep pleat doesn't sag and show at the bottom of the kilt. You should also turn up the underapron edge about an inch more at the raw edge tapering to the normal hem length about 9" from the folded apron edge. This keeps the corner of the underapron from sagging below the bottom of the kilt.
Once the hem is turned up and stitched, you can re-sew the apron and underapron facings and edges.
Cheers,
Barb
-
-
6th March 07, 09:19 PM
#9
Barb,
Thank you for responding to my silly thread-I hope to start getting more serious about kilt making in the next year, but given my time constraints, it will be a gradual process!
I did notice that the over-apron has a little "dip" to it-so it would have benefited from a slightly higher hem, but the under apron and the deep pleat seem ok. Next time (hopefully there will not be a next time! My liver will not be able to handle it  ) I will do as you advise. ) I will do as you advise.
Be well,
-
-
7th March 07, 06:13 AM
#10
I do love your photos, and it is a wonderful thread!
BTW - your cat Smudge looks exactly like the two cats that we have now (pic below) and one cat that we had for 17 years until she passed away last spring. It's an unusual coloring, and I haven't seen many like them. Is your cat a female by any chance?
Cheers,
B

-
Similar Threads
-
By BonnieT100 in forum Professional Kiltmakers Hints and Tips
Replies: 13
Last Post: 12th May 07, 05:58 PM
-
By BronxKilt in forum Contemporary Kilt Wear
Replies: 7
Last Post: 1st September 06, 02:16 AM
-
By kilted in kleaveland in forum Contemporary Kilt Wear
Replies: 23
Last Post: 21st May 06, 10:12 PM
-
By arrogcow in forum General Kilt Talk
Replies: 10
Last Post: 23rd September 05, 01:56 PM
-
By Rufus in forum Traditional Kilt Wear
Replies: 19
Last Post: 9th October 04, 02:22 AM
 Posting Permissions
- You may not post new threads
- You may not post replies
- You may not post attachments
- You may not edit your posts
-
Forum Rules
|
|


Bookmarks