|
-
-
The Following 4 Users say 'Aye' to The Wizard of BC For This Useful Post:
-
19th June 19, 05:34 PM
#2
To tell the truth I got so wrapped up in kilt making that I totally forgot about this thread until the customer came to pick up her re-built kilt today.
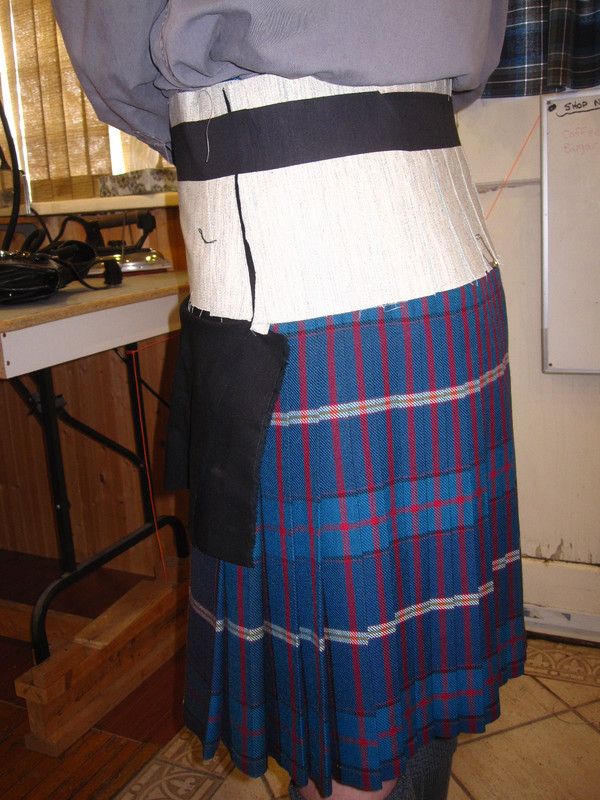
So here is what it looks like now.
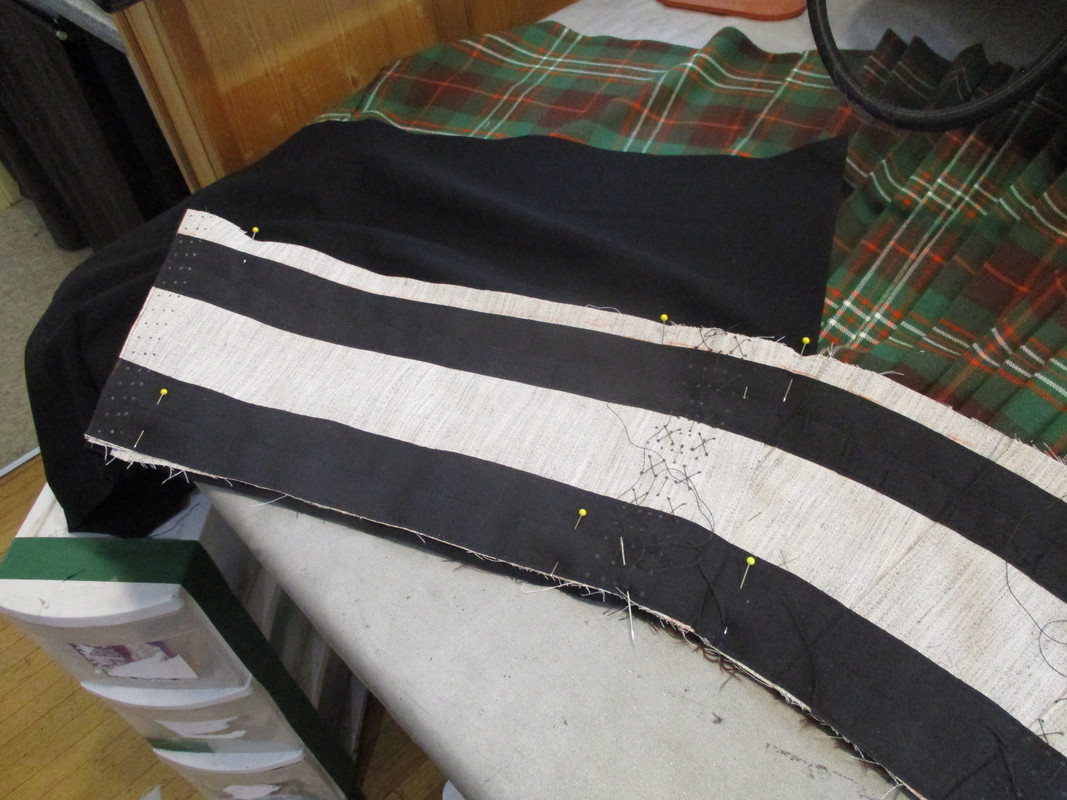
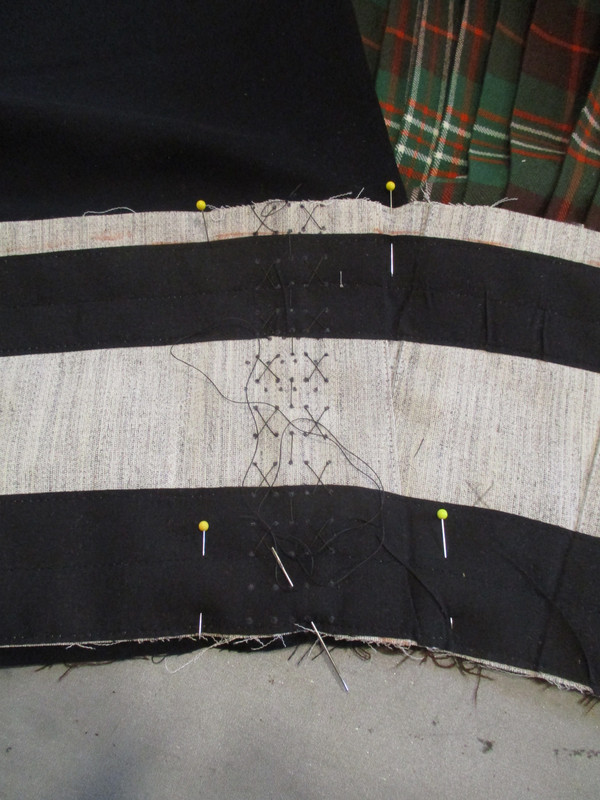
With the new stabilizer and interfacing in, the straps and buckles are now firmly anchored all the way to the stabilizer. The left strap hole is closed to eliminate the weak point.
Notice please that all of the large stitches made with bright green thread have been redone. Seven pleats that had been sewn with thick cotton thread were re-stitched.

The new internal elements now allow the Fell area to stand up by itself.
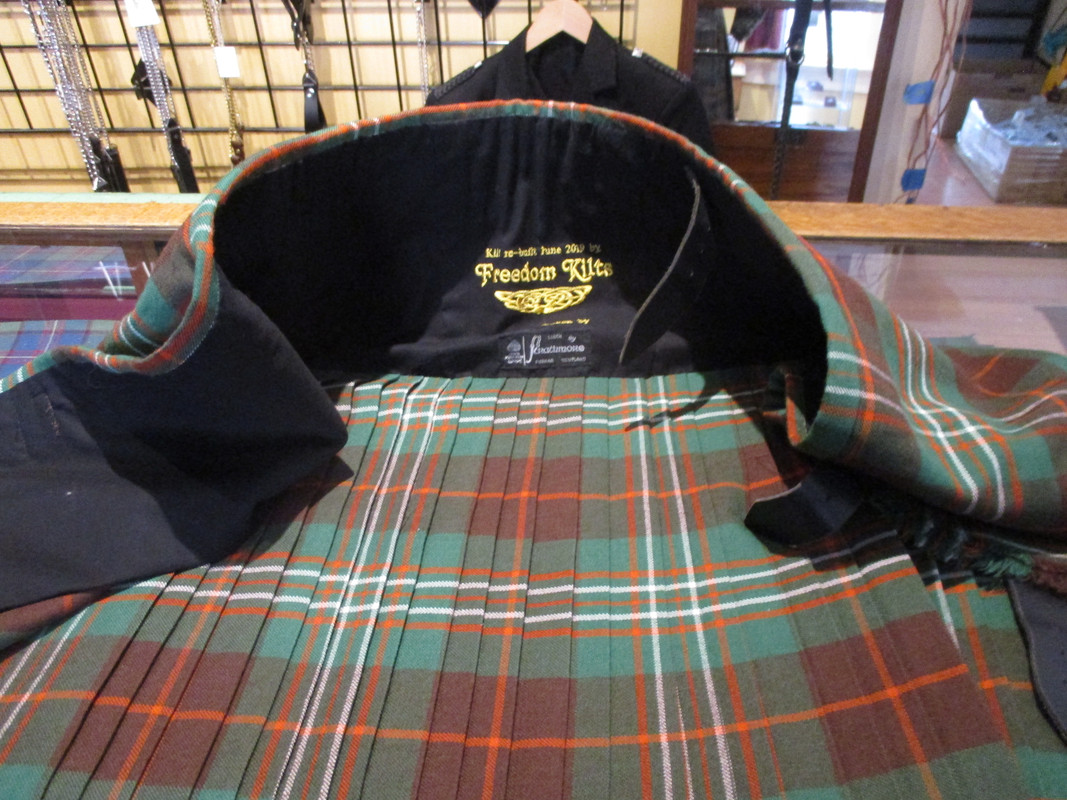
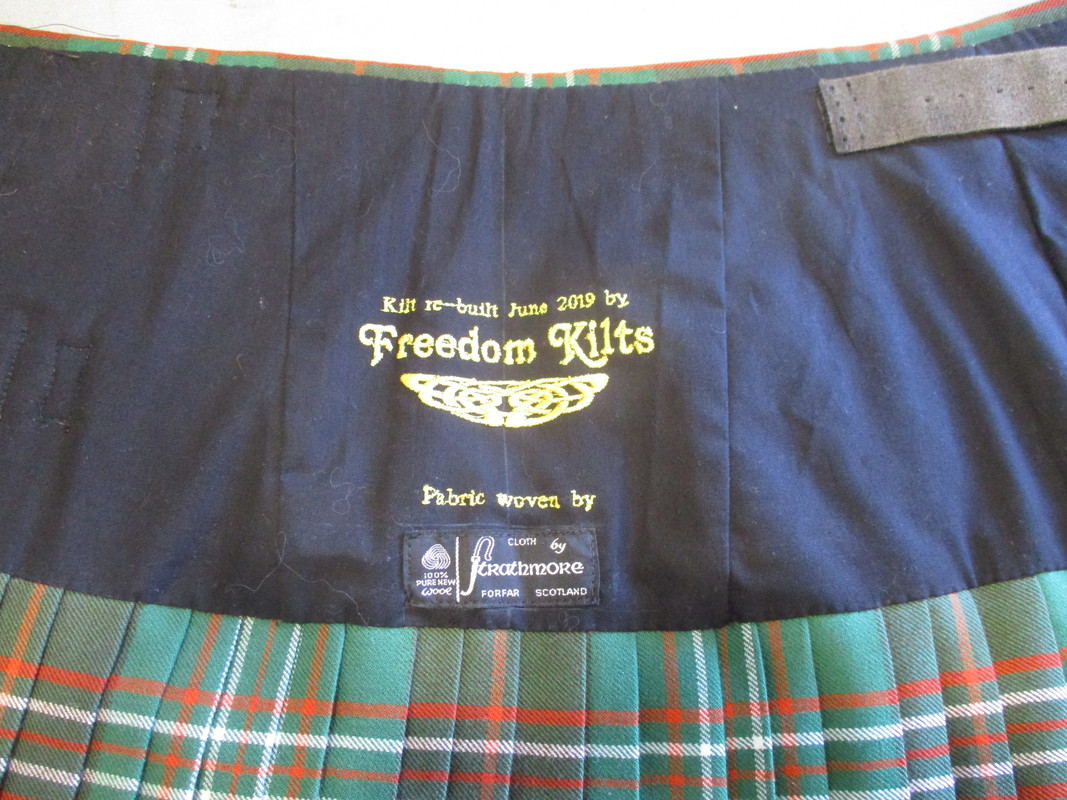
And because some of the history of the kilt was lost when the name of the original maker had been removed, I tried to give the customer some of the history back.
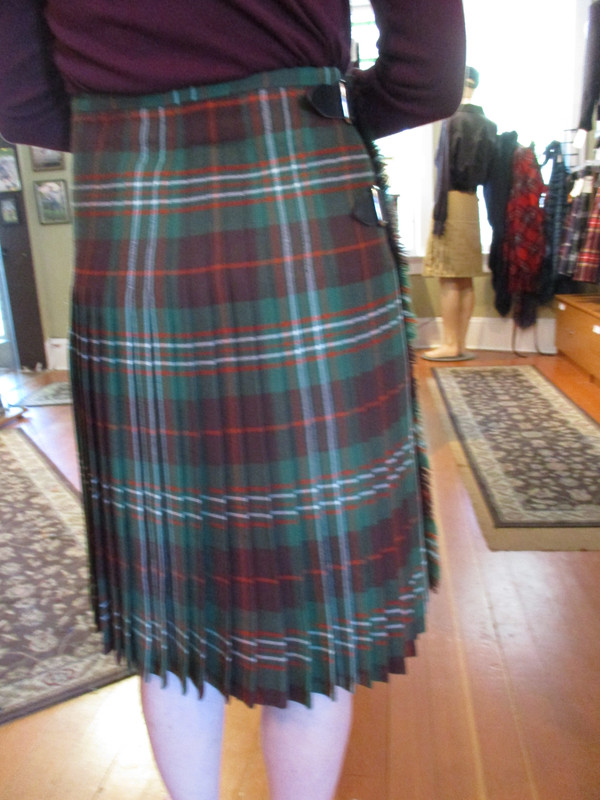
The customer tried the kilt on and the first comment she made was "Wow, it feels like a kilt again."

The back hangs the way it should again and the swish is back.
As I said earlier, this was not an attempt to knock any one maker. I did however, want others to know and understand that not all kilts are made the same. This is one of the reasons that I dislike the word "traditional". Over the years there have been thousands of kiltmakers. Each trying to find a way for their product to stand apart from all the rest.
But everyone needs some way to tell if the kilt they are looking at is a quality product.
The stretch test is one of the most telling ways you can easily gauge the quality. It will tell you in just a moment if the garment you are looking at will survive wearing more often than a once-a-year Burns Dinner.
Then look at the details. Look at the stitching. Is it neat and on a hand stitched kilt does any stitching show through to the outside?
Does the Tartan pattern display correctly in the back? Do the aprons and pleats hang straight and parallel and do the edges of the aprons flip out unsightly?
So here ends my peek inside what was advertised as "A premium quality Traditional kilt". I hope that this little peek inside a kilt gives others a better idea of what needs to be hidden behind the liner of their kilt.
And hopefully, this will give everyone a little more information on gauging the quality of a potential purchase.
-
The Following 11 Users say 'Aye' to Steve Ashton For This Useful Post:
Blaidd,bodhran4me,California Highlander,Father Bill,gsmacleod,imbrius,Lady Grey,Macman,Me cousin Jack,MenOfTheNorth,pofloyd1
-
20th June 19, 03:25 AM
#3
Steve,
Thanks so much for this (and other) useful post - seeing the internal construction has been a great learning experience. As someone who is planning to try making their own kilt, the information and images you share are invaluable.
In addition to my tank, I have a couple of cheap acrylic kilts that I picked up locally for places I don't want to wear my tank. Armed with the knowledge from your threads, I have added a stabilizer and interfacing to both as well as basting and repressing. They're still not perfect but they do hang better and I got rid of (mostly) the shower curtain effect.
I know in terms of these kilts it really wasn't worth the time, but I used it as a chance to practice the techniques I need when I take the plunge on my own.
Thanks again!
Shane
-
The Following User Says 'Aye' to gsmacleod For This Useful Post:
 Posting Permissions
- You may not post new threads
- You may not post replies
- You may not post attachments
- You may not edit your posts
-
Forum Rules
|
|


Bookmarks