|
-
Corduroy X-Kilt
Originally posted by The F-H.C.A.G. on 3/8/07
I am probably going to regret this, but I am answering the challenge inherent in these sentences from Alan H's X-Kilt manual: "Corduroy, well.... I haven't made a kilt out of corduroy yet, so I can't comment. If you make an X-Kilt out of corduroy, let us all know how it comes out."
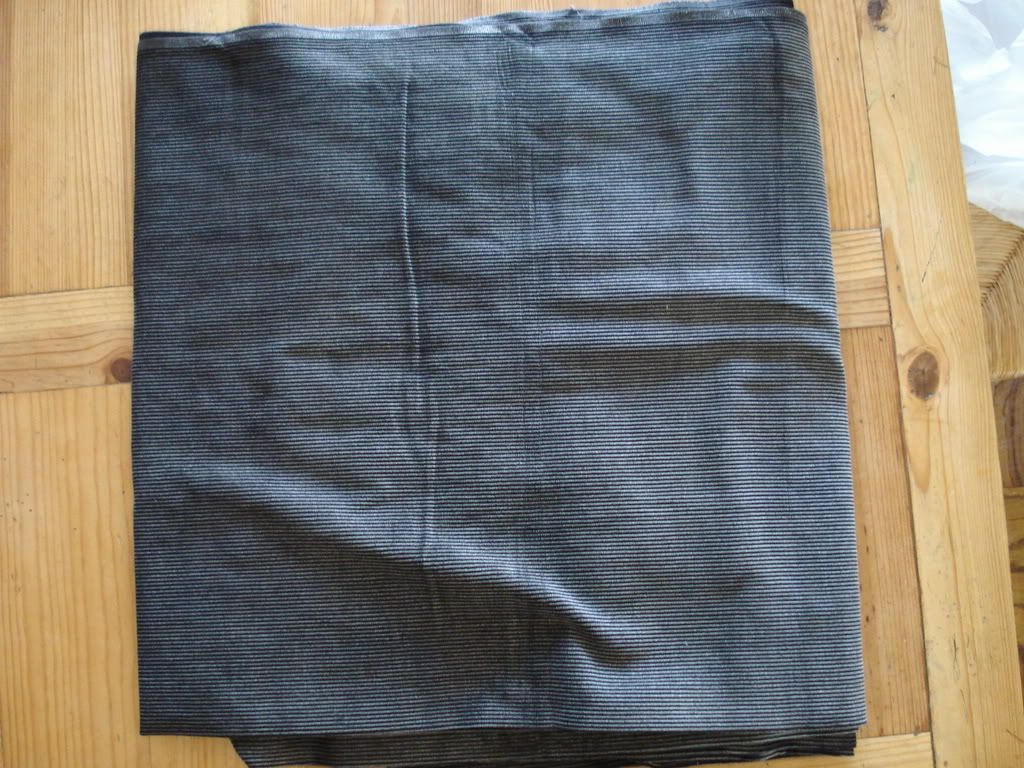
Went to the store today and picked out the cloth-a charcoal grey medium weight 100% cotton corduroy. The color was per the request of the recipient, an X-marker who shall remain unnamed until the kilt is finished and accepted, at which time, said member can post pictures of the finished product being worn. After today, I am a little more confident that it will eventually be finished, but it's going to take a while.
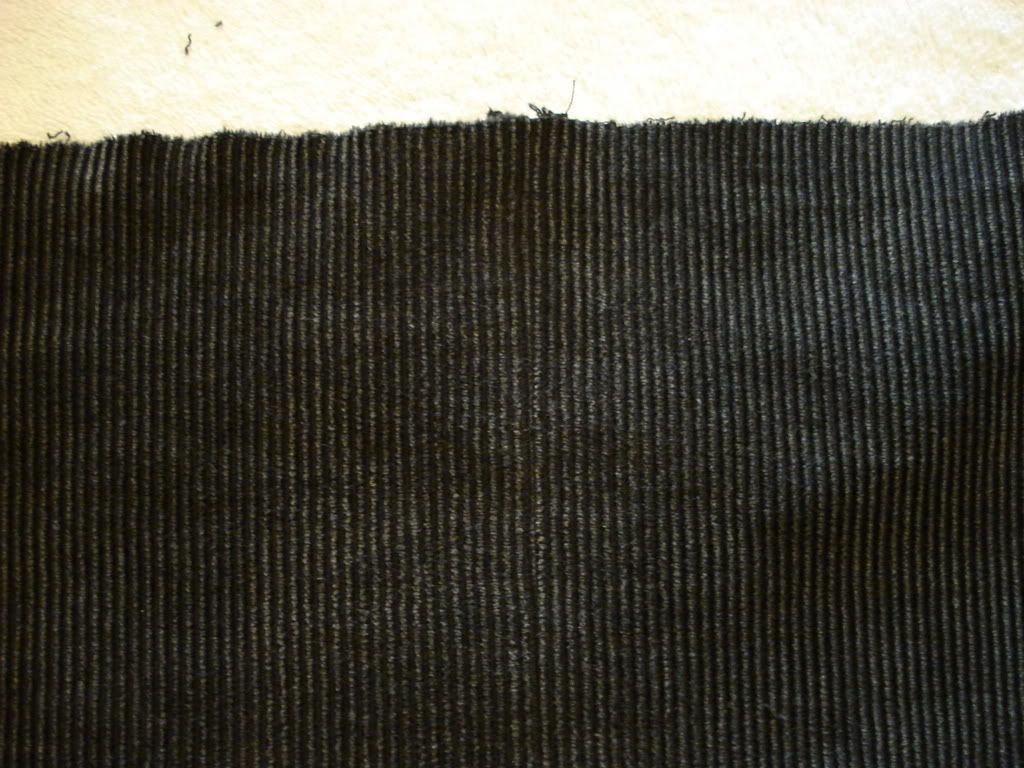
Here's the fabric, straight from the store, not yet washed
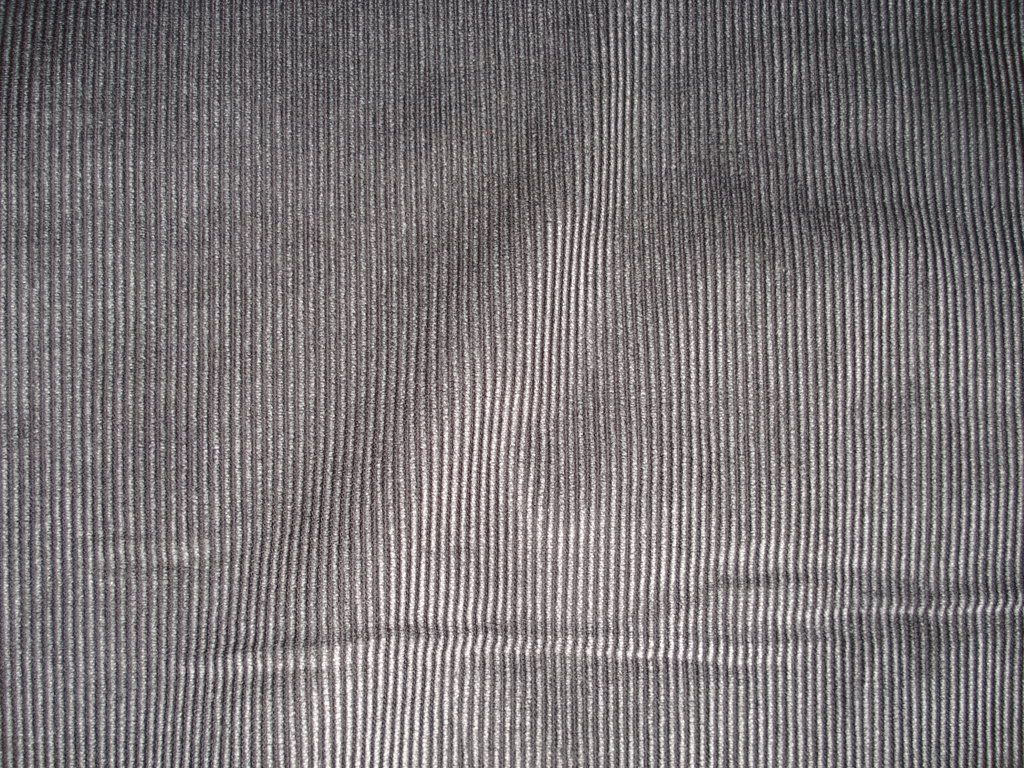
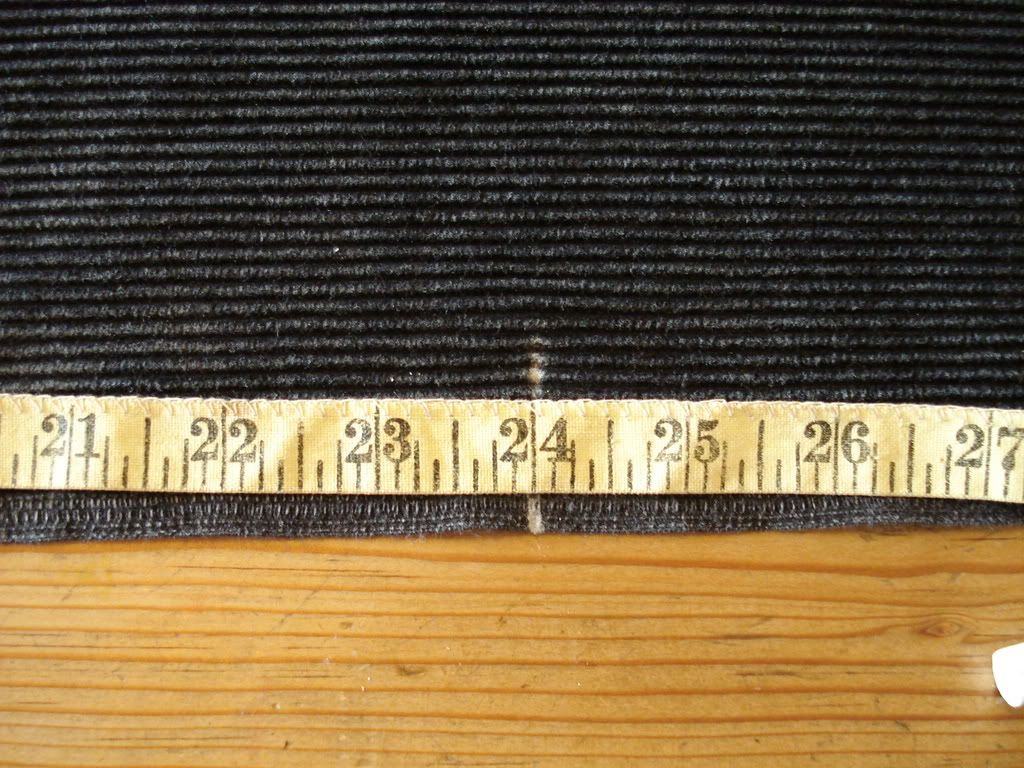
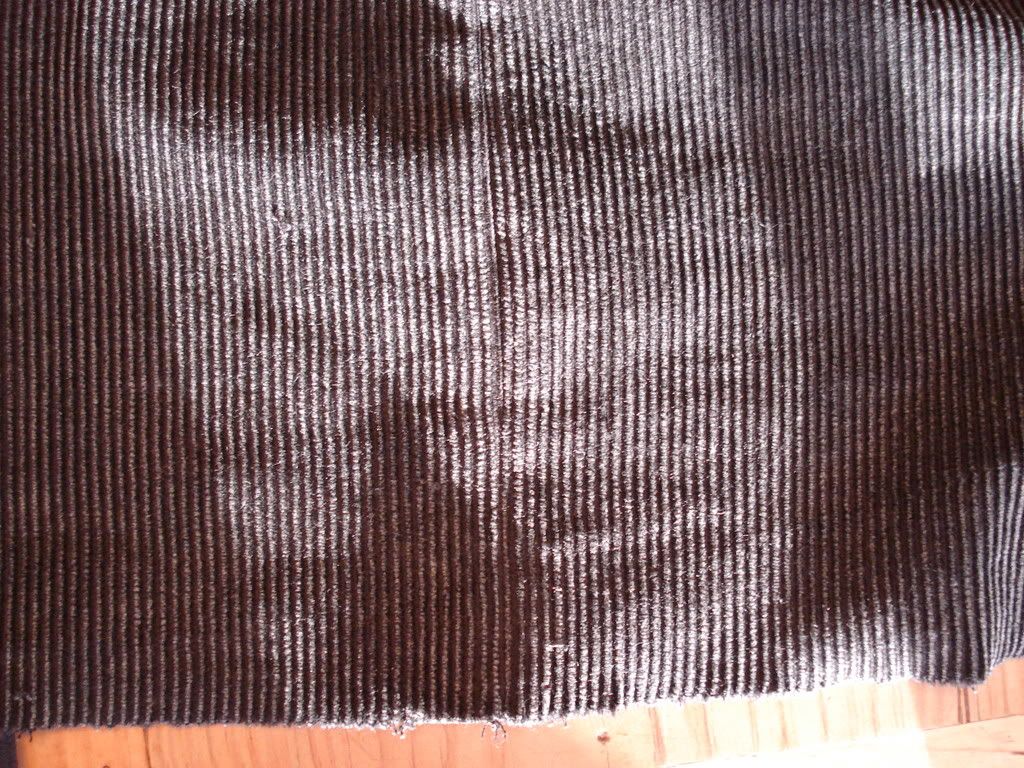
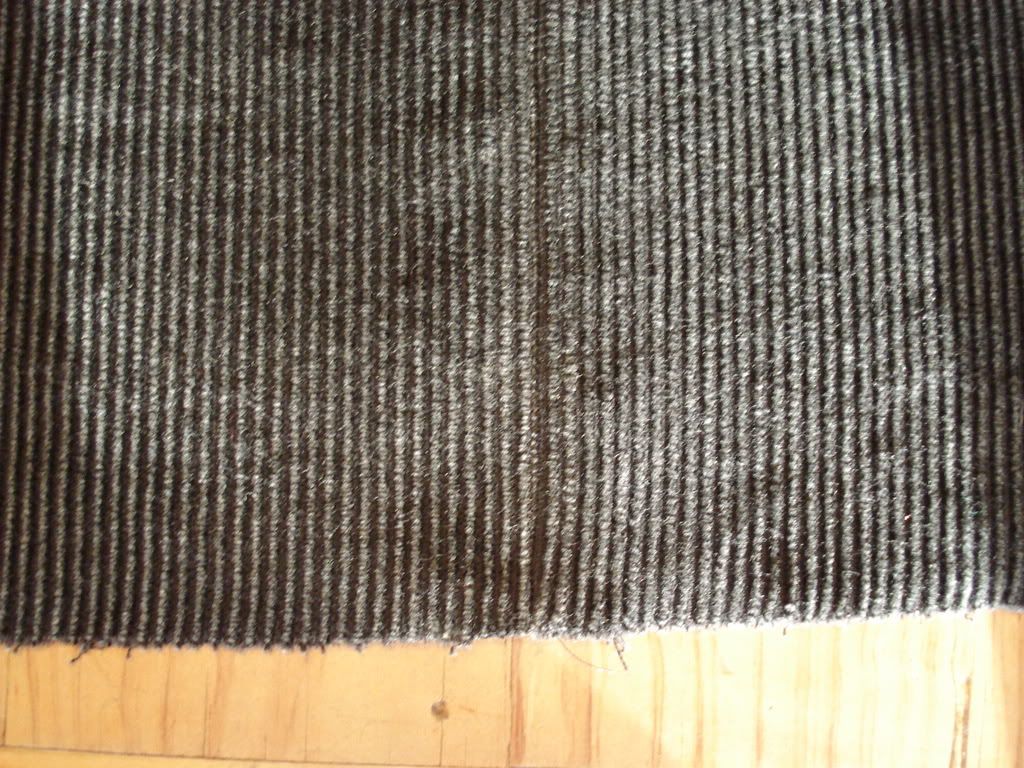
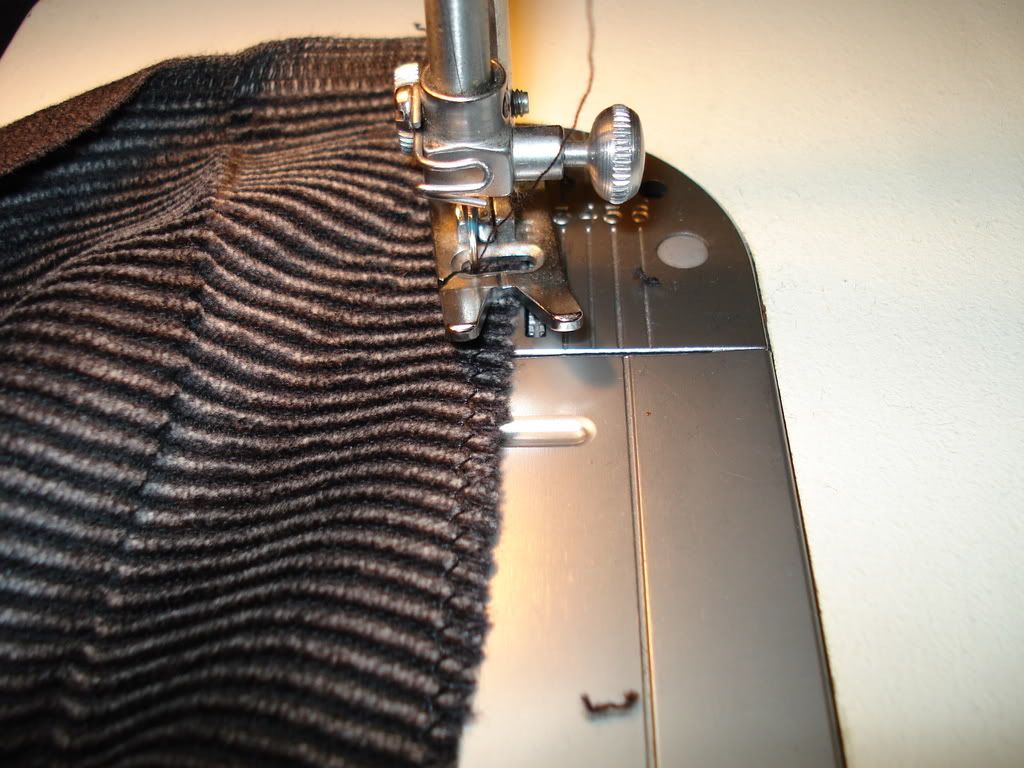
A close up to show how this fabric changes with the angle and the light-it's really nice stuff
I threw it in the washing machine-hot water, plenty of detergent, heavy duty cycle. At this point, I was sweating a little, since the washing instructions on the bolt said "cold wash, gentle cycle", but I figured, if it couldn't stand up to this, it wasn't worth using. Besides, it was on sale for less than $5.00 per yard anyway-I could always start over.
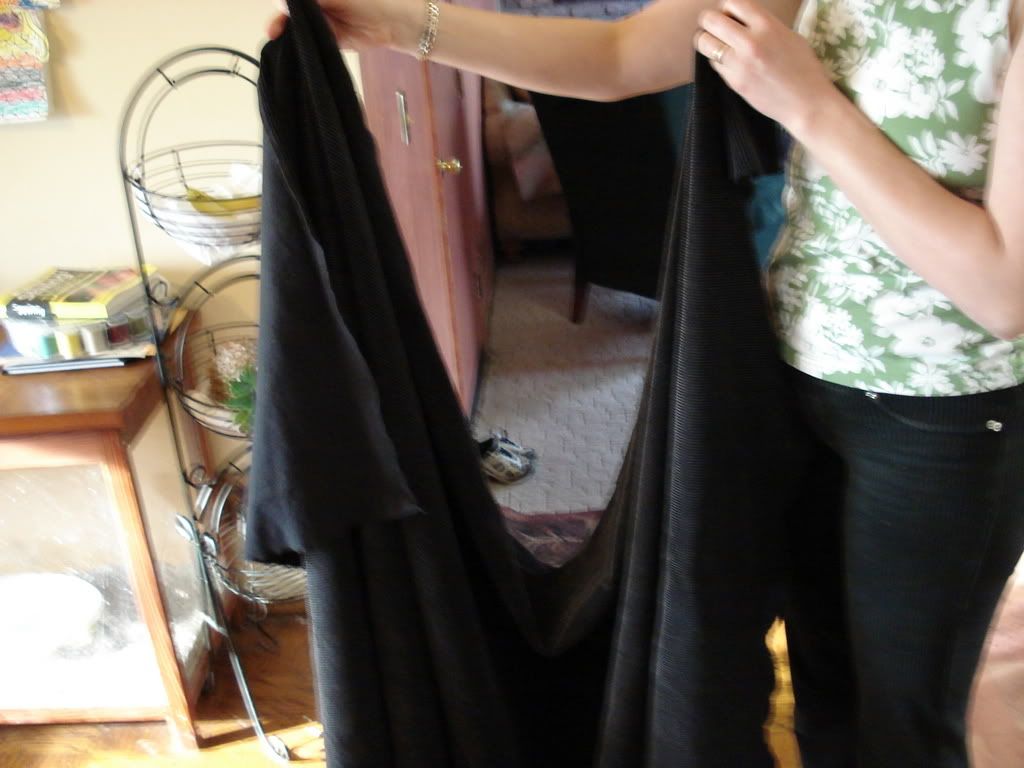
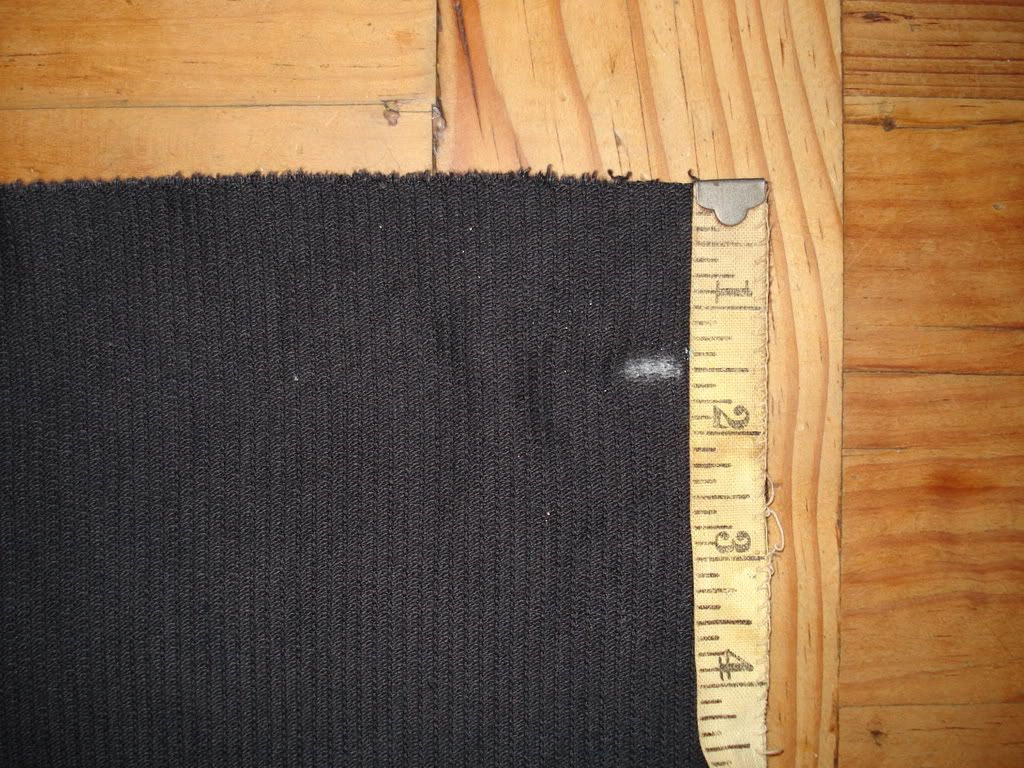
Here's what it looked like right out of the dryer (cotton/high setting). Note that it is not even very wrinkled.
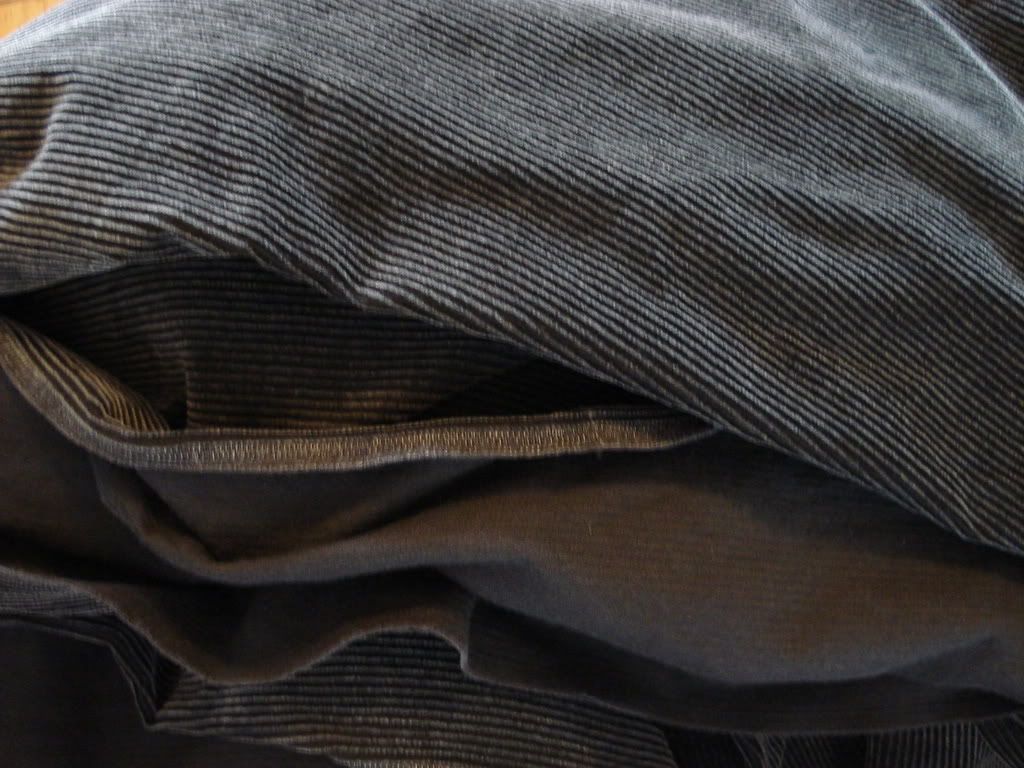
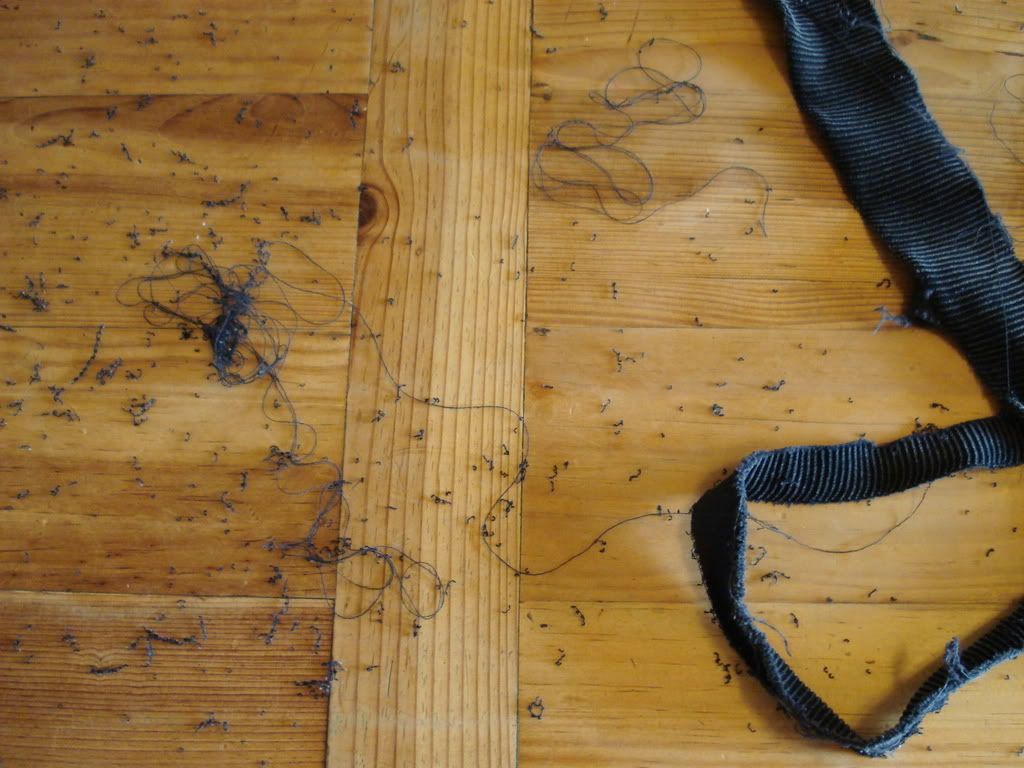
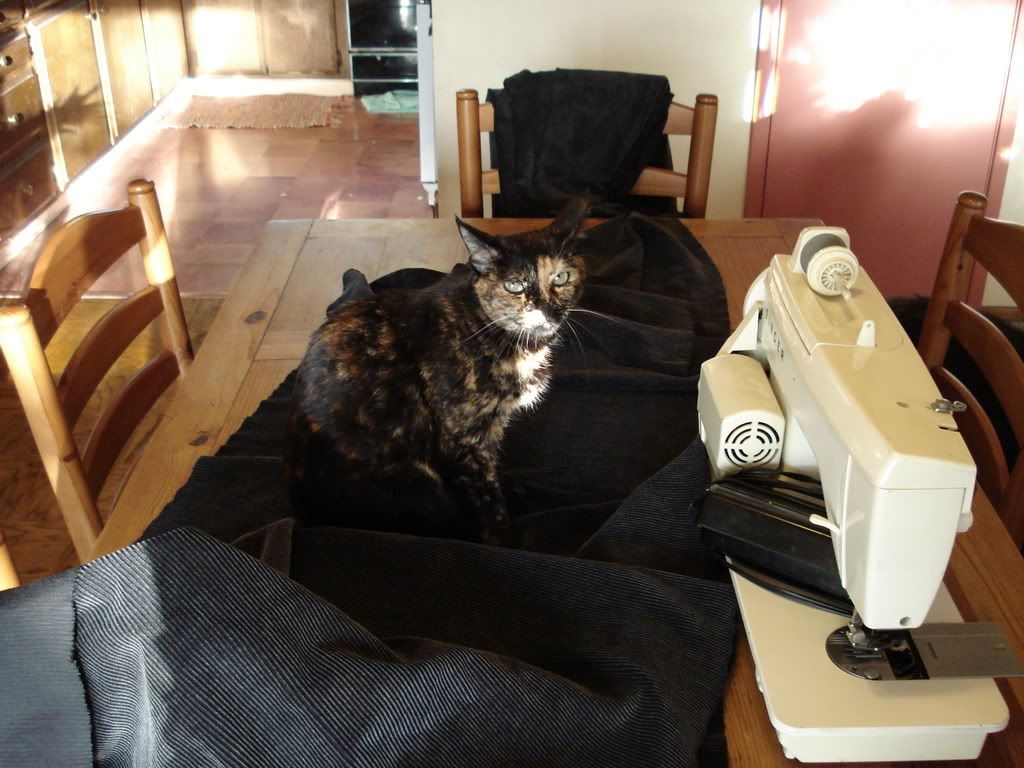
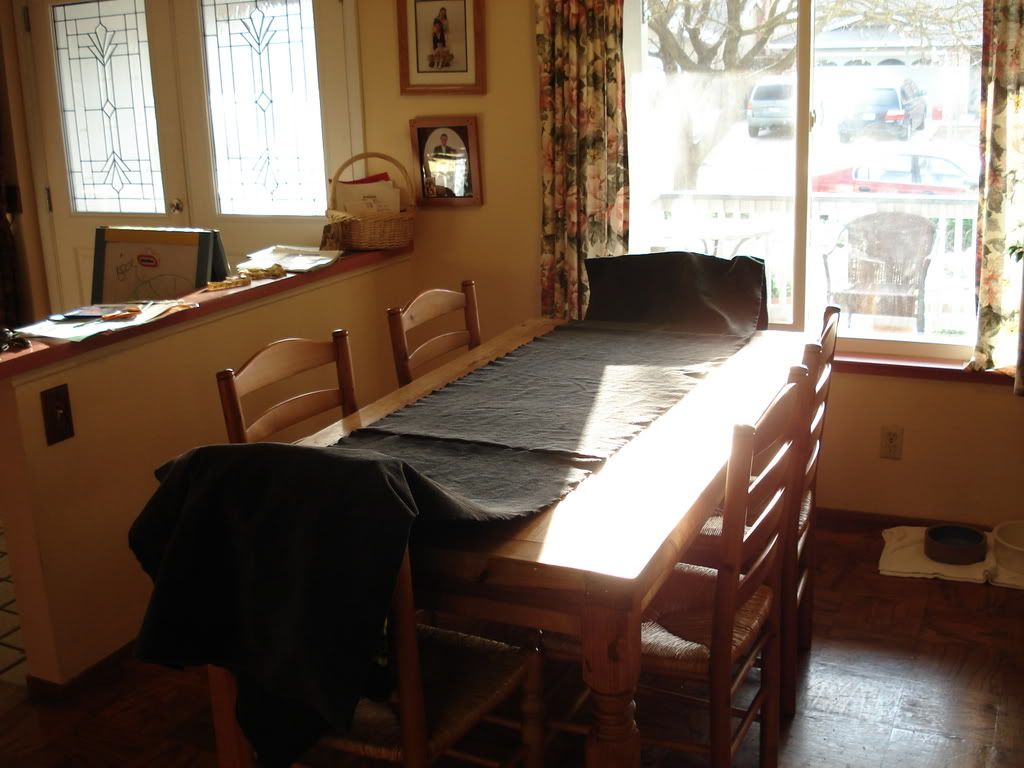
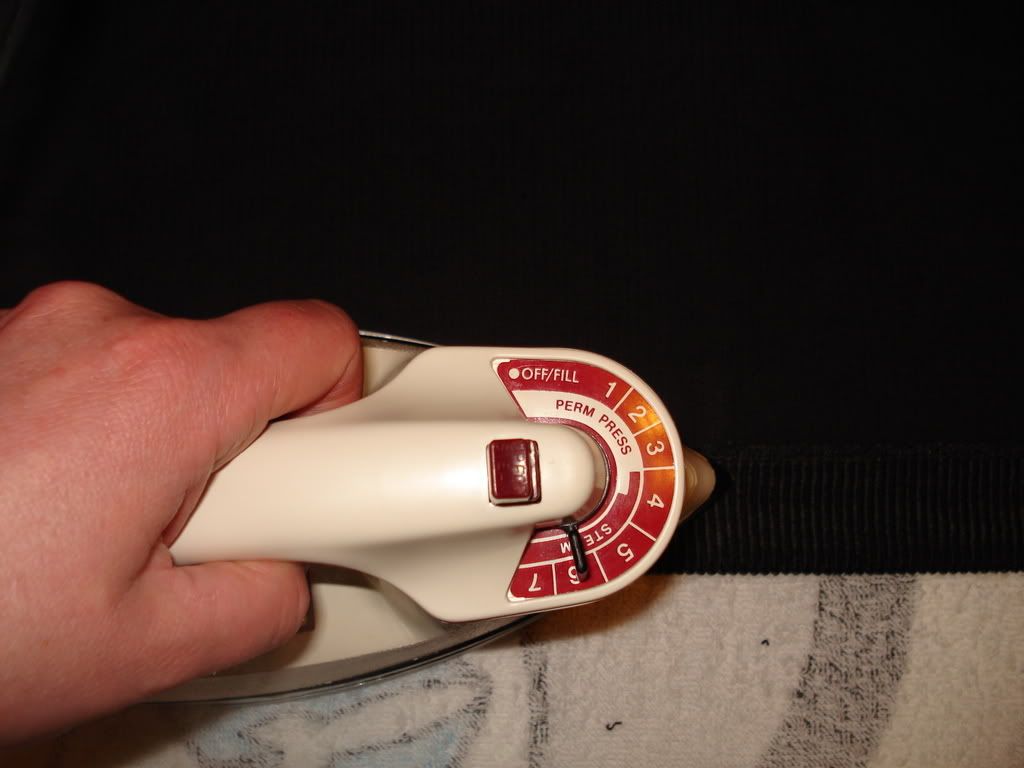
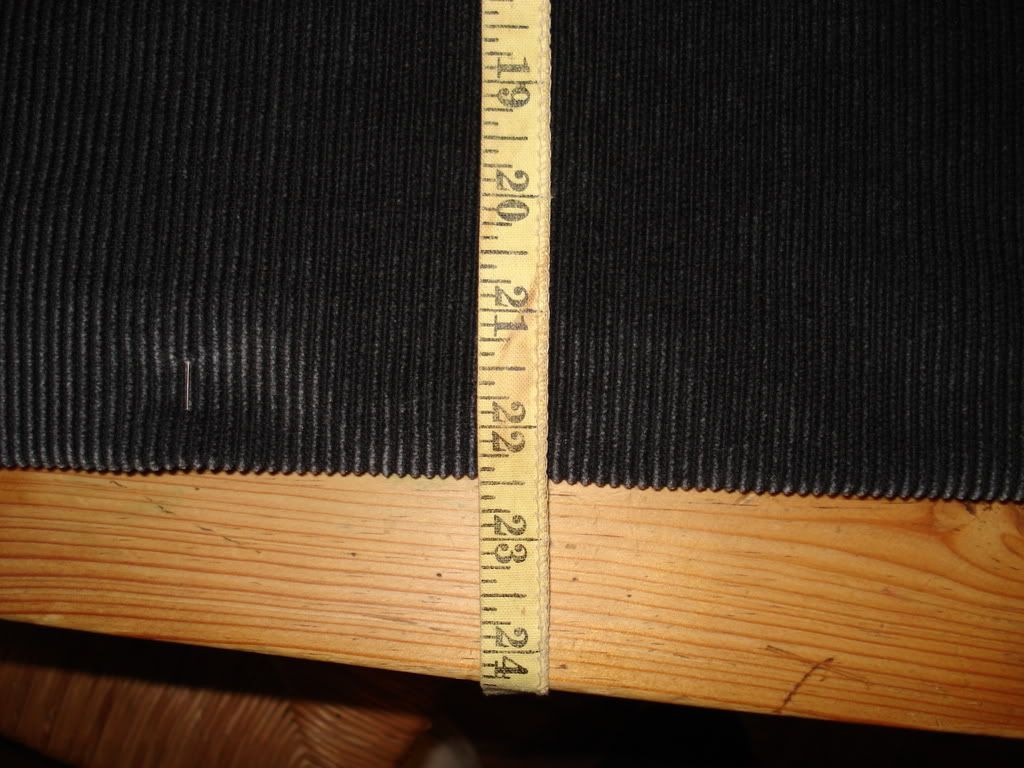
In fact, I did not need to iron it prior to measuring and cutting-it smoothed out well just by shaking it out. Besides, my work surface looked like this.
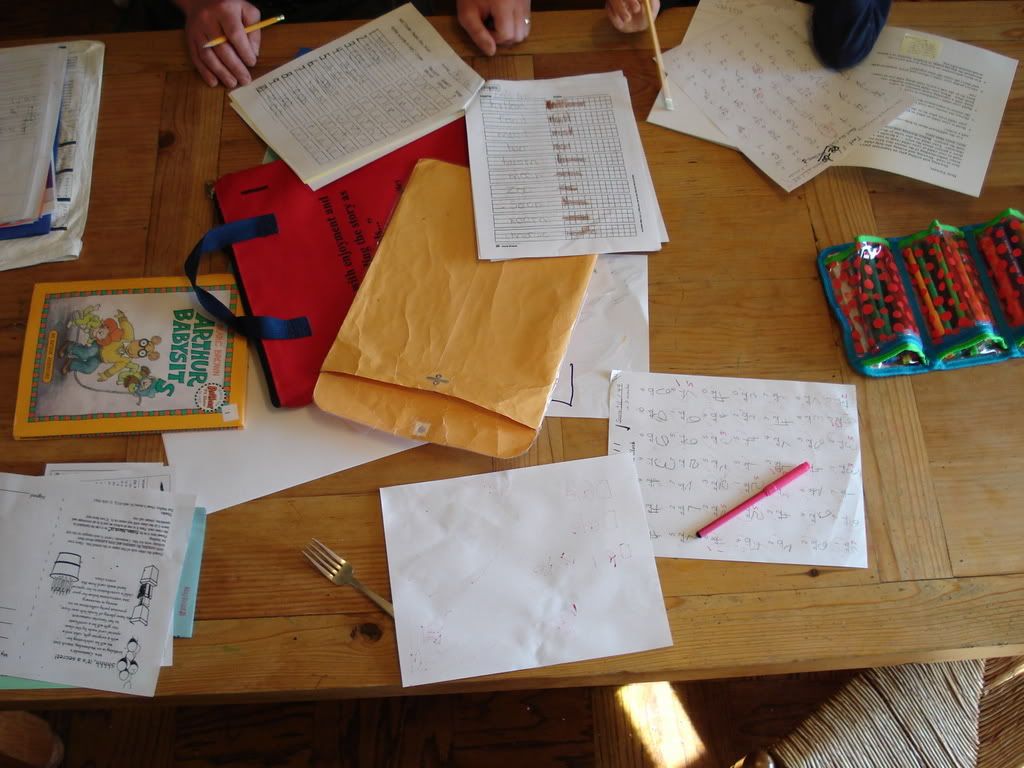
So, I needed to kick the boy off the table, but he had to finish his homework first.
-See it there, a white plume
Over the battle - A diamond in the ash
Of the ultimate combustion-My panache
Edmond Rostand
-
-
-
-
The complications:
1) I anticipate that when I finally pleat the kilt, I may have a hard time hiding the joins (as Alan H says "...they could buy two yards of the 60-inch wide fabric, cut it in half and sew the halves together, end to end....Well, I'm going to tell you NOT to do that.
Why? Because it's complicated. You can't predict ahead of time where that seam is going to fall, and it's complicated to design the kilt so that the seam is hidden inside the pleat").
2) There is the issue of the knap of corduroy being "one way" as the clerk at the fabric store (and O'Neill-thank you!) pointed out. So, if you join it wrong, it looks "upside down" on part of the kilt.
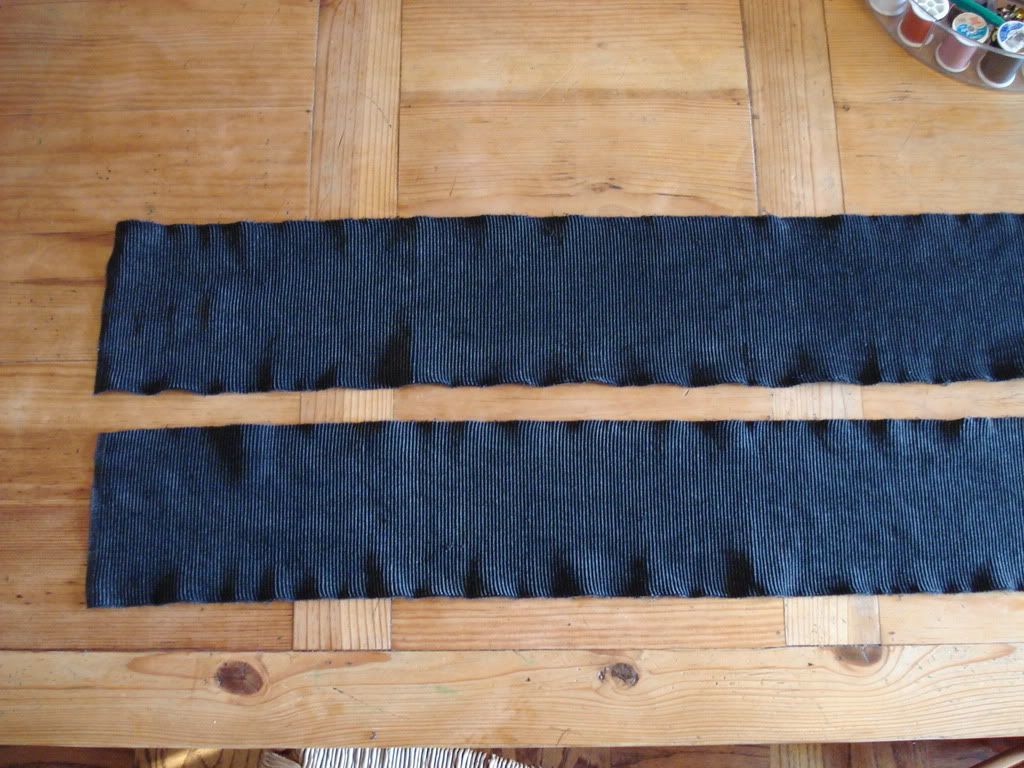
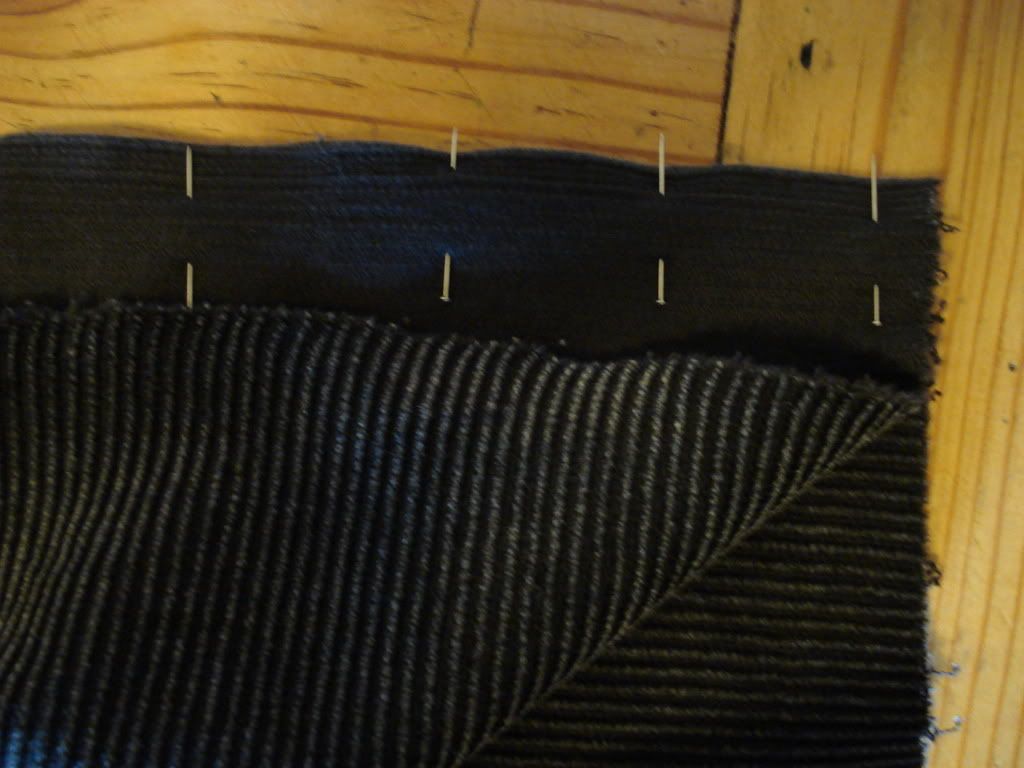
It is necessary to join fabric when using corduroy, because the lines of the corduroy run the length, not the width of the fabric (if they ran the width, I could follow Alan H's directions to the letter). Unless you can get fabric that is about 140 inches wide, you have to cut sections and join them to get enough to make a kilt. Or, you could make a kilt with the cords running horizontally...which would look very strange, in my opinion.
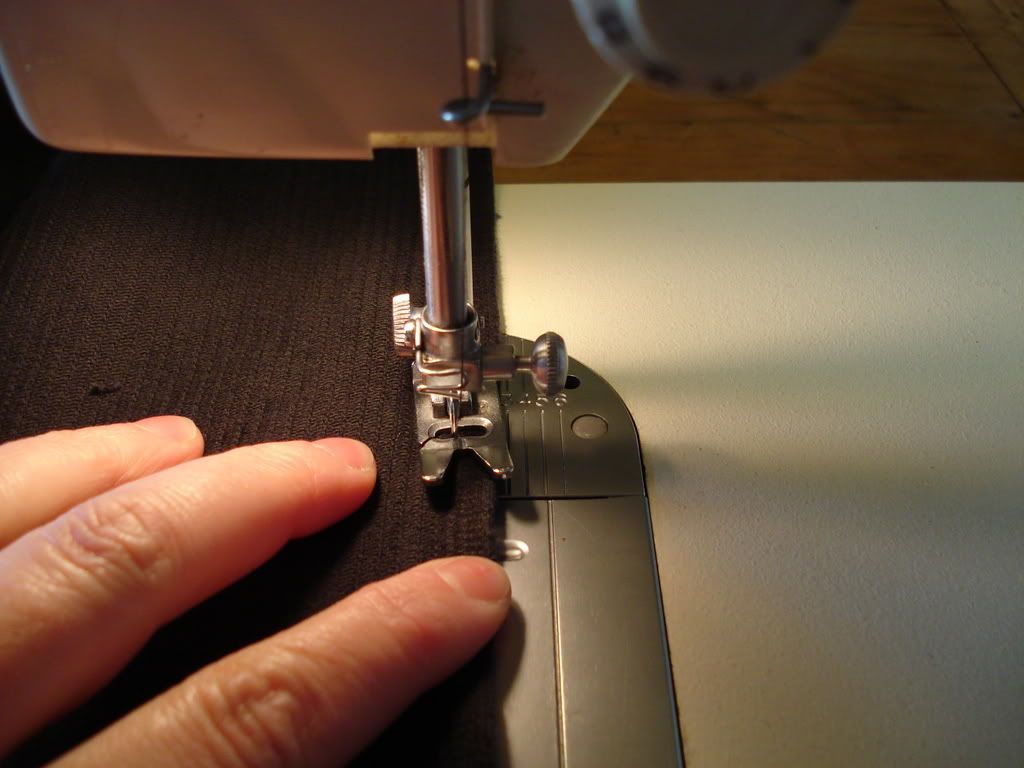
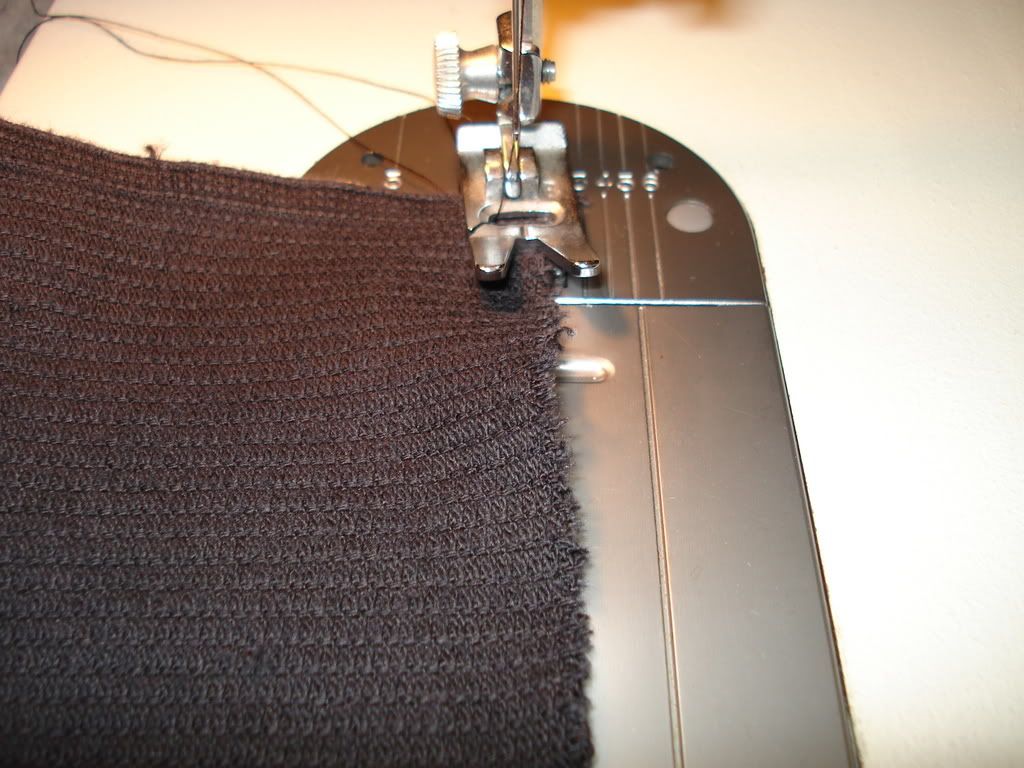
So, next is how I joined the fabric...
-See it there, a white plume
Over the battle - A diamond in the ash
Of the ultimate combustion-My panache
Edmond Rostand
-
-
-
-
-
-
-
Similar Threads
-
By The F-H.C.A.G. in forum DIY Showroom
Replies: 101
Last Post: 25th August 08, 10:25 PM
-
By Racer96 in forum Contemporary Kilt Wear
Replies: 12
Last Post: 4th February 08, 01:53 PM
-
By BozemanboB in forum Show us your pics
Replies: 25
Last Post: 8th October 07, 05:59 AM
Tags for this Thread
 Posting Permissions
- You may not post new threads
- You may not post replies
- You may not post attachments
- You may not edit your posts
-
Forum Rules
|
|





Bookmarks