|
-
23rd February 19, 04:12 AM
#1
best way to join center rear
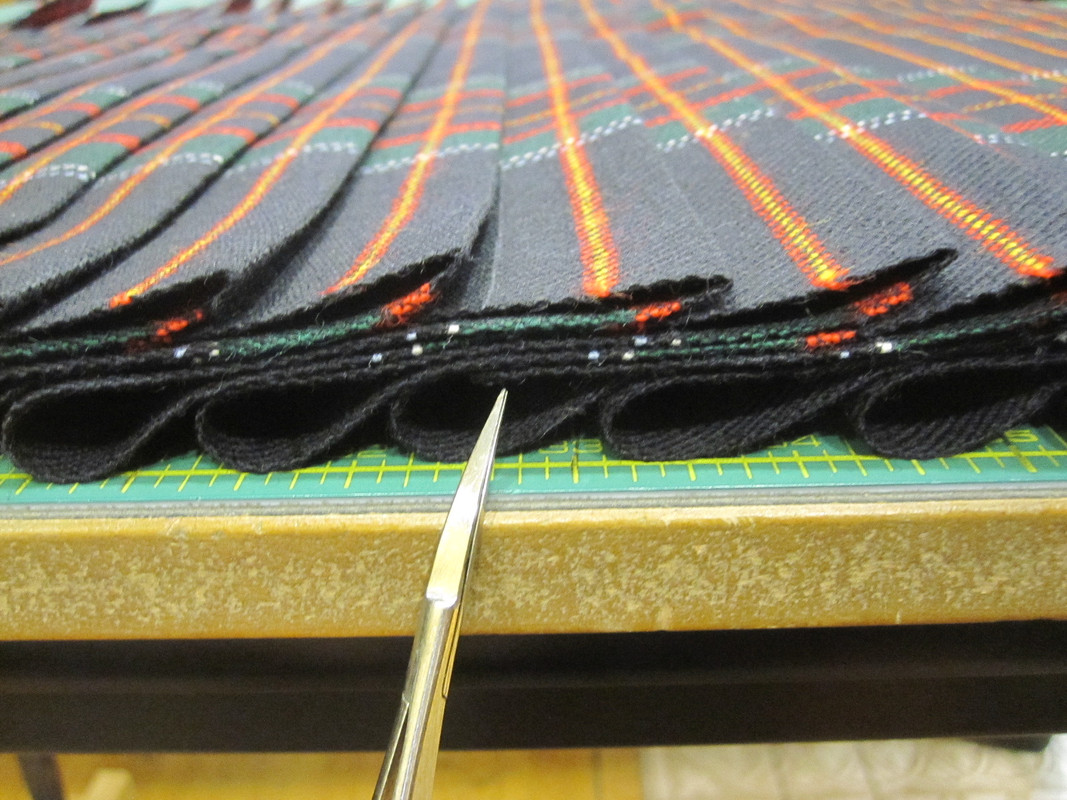
Sometimes the kilt needs a very long piece so is useful to cut the fabric in width and join the parts in length.
In the tutorials the way to do it is to sew the parts with the "good" sides touching, finish the flaps to avoid raveling and sew one flap each side.
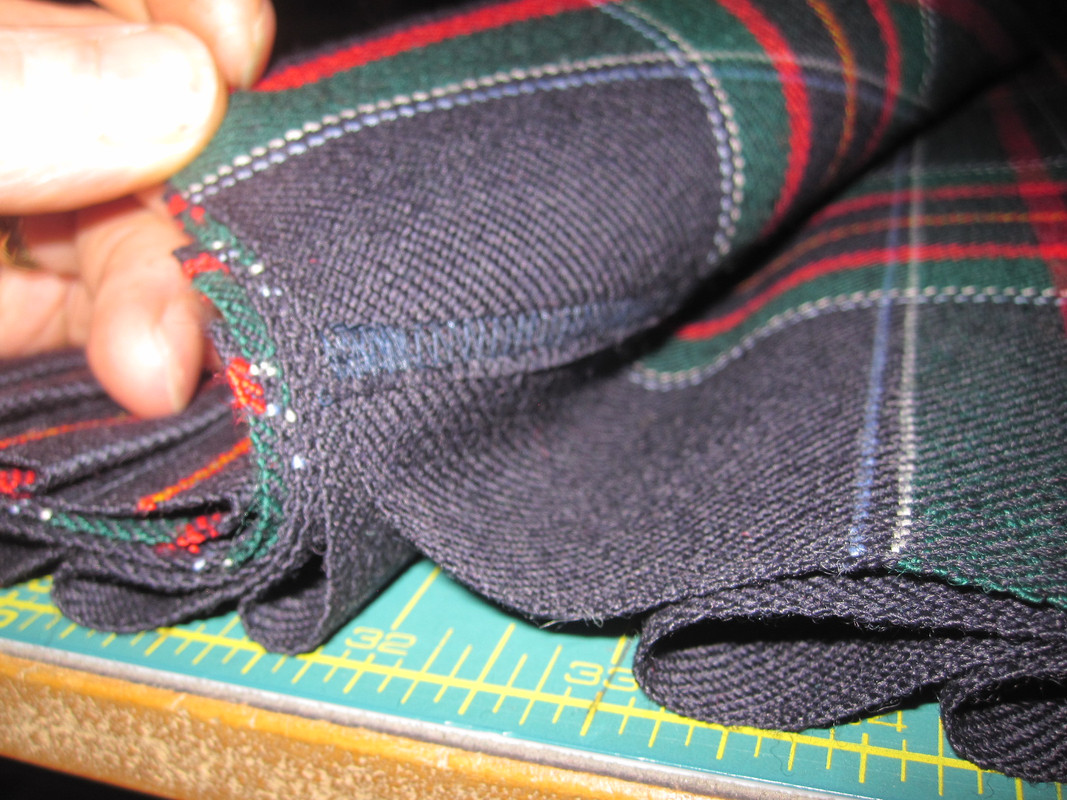
I've found a zigzag in not enough to avoid fraying and my sewing machine has no overlock stitch so I prefer to hide the borders as shown in the image.
2.jpg
Then I started looking at commercial made clothes and I found two kinds on joints.
1.jpg
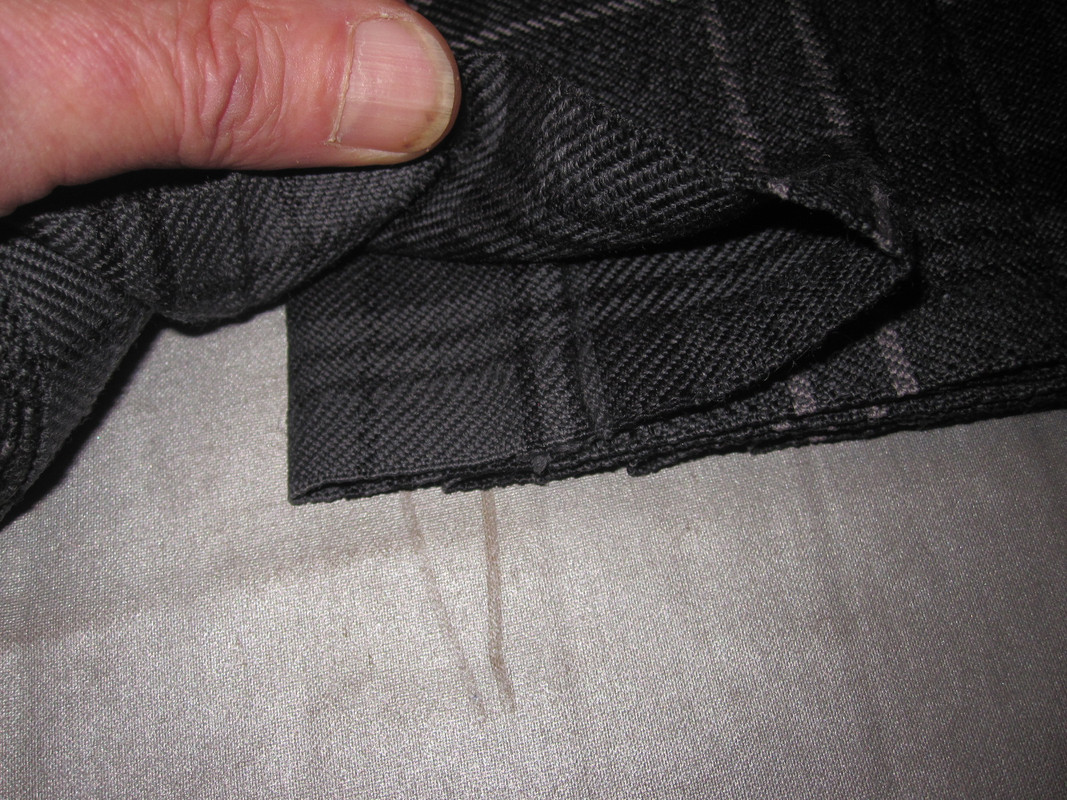
This one. Hiding each border inside the other one. Not as symmetrical as the first one. but used in most heavy duty jeans parts.
3.jpg
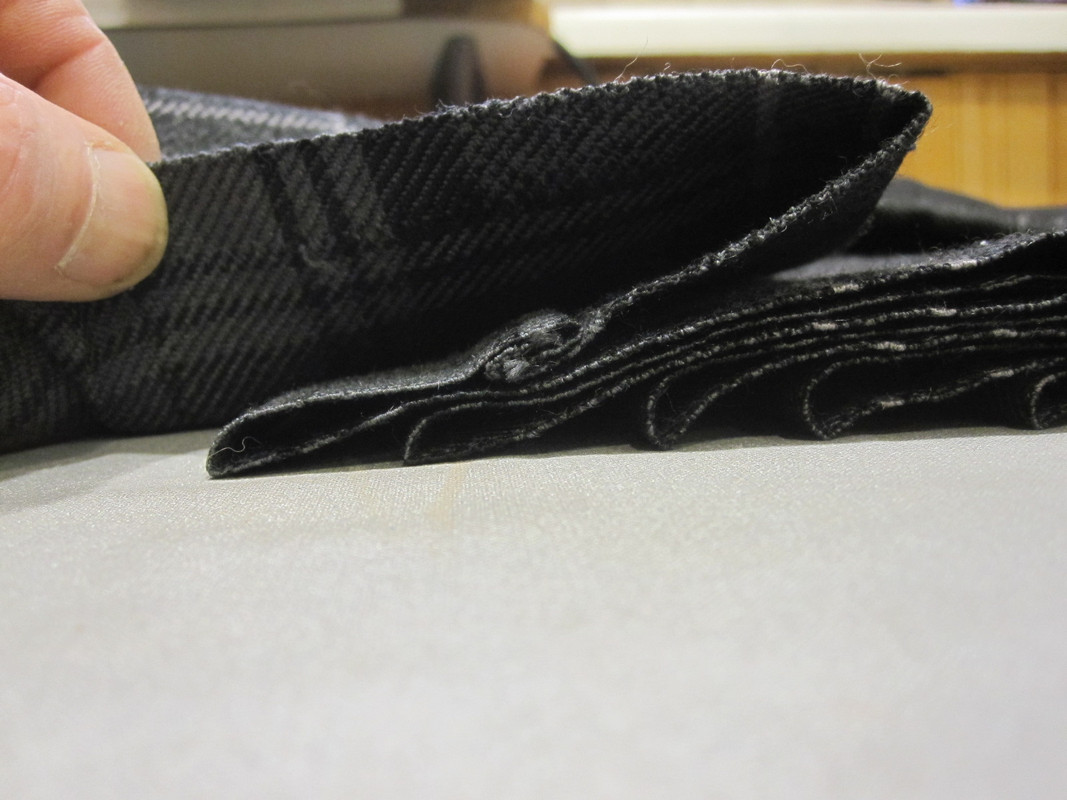
And this one, leaving the flap flapping (eventually stoped and the end by the hem). Again, overlock stitch is needed to do this well.
Which seems better, 1st or 2nd?(I cannot do 3rd without overlock)
-
-
23rd February 19, 07:20 AM
#2
I hit the button twice (a common error for many of us) and do not need to duplicate this post.
Last edited by Tarheel; 23rd February 19 at 07:23 AM.
-
The Following User Says 'Aye' to Tarheel For This Useful Post:
-
23rd February 19, 07:22 AM
#3
I looked at your other post (about cold weather and denim kilt). Are these sewing examples for denim? If you use denim, the lap joint  works but leaves a bulge where the seam meets and usually the stitching is obvious. I recommend the first example but understand the limitation of your sewing machine. works but leaves a bulge where the seam meets and usually the stitching is obvious. I recommend the first example but understand the limitation of your sewing machine.
The last example will be less obvious (but still visible) to the outside of the garment but is not the strongest stitching solution (even if you sew the "flap" to one side of the adjoining fabric.
I hope our members that have more experience will submit comments to lead you better than my simple view.
-
The Following User Says 'Aye' to Tarheel For This Useful Post:
-
23rd February 19, 08:06 AM
#4
 Originally Posted by Tarheel

I looked at your other post (about cold weather and denim kilt). Are these sewing examples for denim? If you use denim, the lap joint  works but leaves a bulge where the seam meets and usually the stitching is obvious.
Where the stiching is obvious I don't try to hide hit. I prefer a very contrasting and strong thread and I do a very visible (and hopefully neat) stitch. Making the stitches part of the decoration.
-
-
23rd February 19, 12:03 PM
#5
I did not understand until your last post. If you are going to use that seam as decoration and strength it will be good. Have you tried other fabrics?
Other members have used cloth from thrift stores to practice on before they made their kilts. There may be other fabrics that appeal to you for another kilt.
-
-
23rd February 19, 12:12 PM
#6
-
The Following 2 Users say 'Aye' to The Wizard of BC For This Useful Post:
-
23rd February 19, 12:25 PM
#7
I don't know what it is called but the third one can be sewn and then the leftover fabric is folded toward the backside of the sewn item and stitched twice for strength. This leaves a double row of stitching that shows on the outside of the sewn item.
Last edited by pofloyd1; 23rd February 19 at 12:27 PM.
-
-
23rd February 19, 08:56 PM
#8
I have access to tape and ribbon and have used a simple seam, pressed the allowance open from the inside and then sewn a ribbon onto the inside, wide enough to cover the raw edges.
The ribbon was sewn on each side of the join, quite close, from the outside and then from the inside at the edge of the ribbon.
As long as the thread is well matched I have a wide selection of colours, and is not pulled tight or running loose, the join is not very obvious at all. I did a few by hand at first, and then used the sewing machine when in a hurry, and never did another by hand.
My sewing machine and I are, however, very old acquaintances so a bit of practice might be required to get the result just right if yours is a recent acquisition.
I presume to dictate to no man what he shall eat or drink or wherewithal he shall be clothed."
-- The Hon. Stuart Ruaidri Erskine, The Kilt & How to Wear It, 1901.
-
The Following 3 Users say 'Aye' to Pleater For This Useful Post:
-
24th February 19, 09:35 AM
#9
 Originally Posted by Pleater

I have access to tape and ribbon and have used a simple seam, pressed the allowance open from the inside and then sewn a ribbon onto the inside, wide enough to cover the raw edges.
The ribbon was sewn on each side of the join, quite close, from the outside and then from the inside at the edge of the ribbon.
As long as the thread is well matched I have a wide selection of colours, and is not pulled tight or running loose, the join is not very obvious at all. I did a few by hand at first, and then used the sewing machine when in a hurry, and never did another by hand.
My sewing machine and I are, however, very old acquaintances so a bit of practice might be required to get the result just right if yours is a recent acquisition.
Like the idea. Any photos?
-
-
24th February 19, 01:21 PM
#10
I used a product similar to Anne's (Pleater) description. Here is a photo of the type I have used.

The tape is paper with adhesive but not as thick as masking tape. I had to use a stronger needle on my sewing machine and sew at a slower speed.
-
 Posting Permissions
- You may not post new threads
- You may not post replies
- You may not post attachments
- You may not edit your posts
-
Forum Rules
|
|


 [
[


Bookmarks