|
-
8th September 12, 12:21 AM
#1
Nice homemade hose knife @ ~US$100
Oy. I just saw the sgains MacGowan made, one for him and one for his soon to be son in law. I can't help you with that, that man has skills I don't even know the name of.
This thread isn't about "Hey look what I can do," but rather, "Hey look what you can do." I am going to try to show how easy it is to make a good looking blade to slip into your hose, price point US$100.
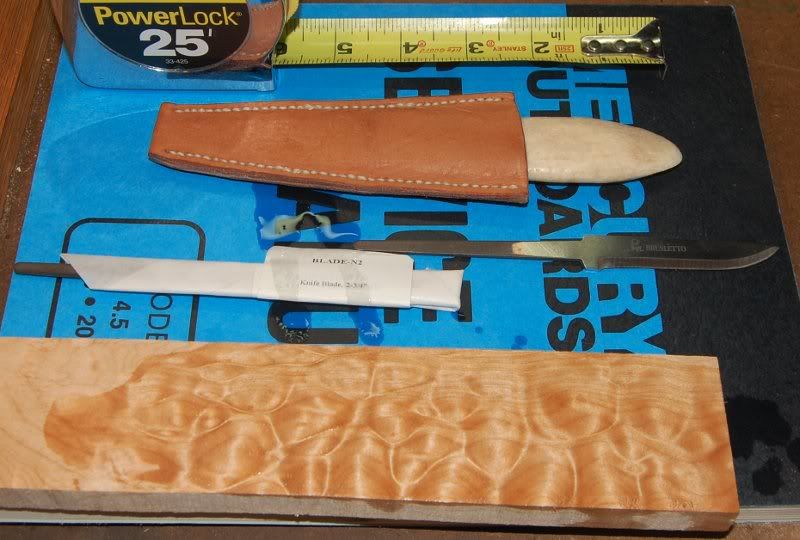
Instead of sgian blades, right now I am working with 2 3/4" Bruslleto blades that I got for about $15 each from I think Track of the Wolf dot com (no affiliation). One thing I have noticed about work places in the US is that if you are allowed to have a knife at all, a lot of company policies specify blades must be under 3".
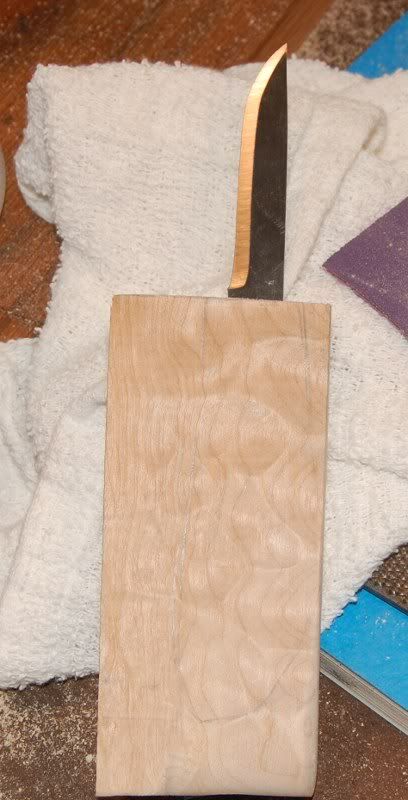
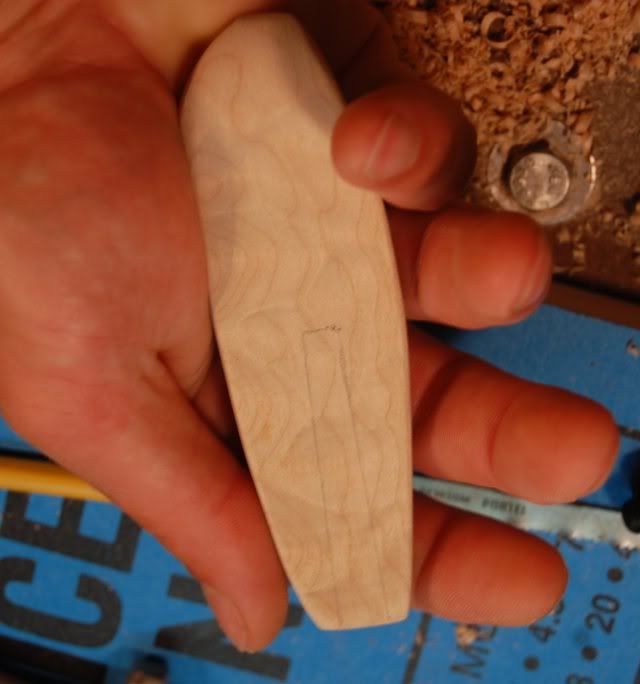
I was hoping to get two handles out of this piece of maple, but I am settling for one. I have never worked with quilted maple before, but I have always liked the look. I ordered this one from Goby walnut dot com, no affiliation. What I bought was a smallish piece of grade B or C quilted maple that has an area of exhibition grade quilting in it big enough for one sgian handle. I could have made two handles that would look great sticking out of a hose top, but then fall short when removed to slice an apple. I decided to go with one awesome handle rather than two lesser ones.
Each of these purchases set me back about $15 for shipping, so far I am into this project for about $60. The finished sgain is out because my wife likes the shape of that handle, tape measure for scale. As opictured the wood is wetted with 70% isopropyl alcohol to pop the grain pattern, but it isn't finished yet with varnish or etc.
-
-
8th September 12, 12:29 AM
#2
My specific work piece is actually about 3/4" longer than it needs to be for one sgian handle that fits my wife's hand really well. We just heard from Kathy Lare this week that my wife's pleated skirt is ready, so busting out something pretty and sharp kinda got bumped on my to-do list. Any road, I cut off the pieces I don't want, leaving a work piece 3/4" longer than I need.
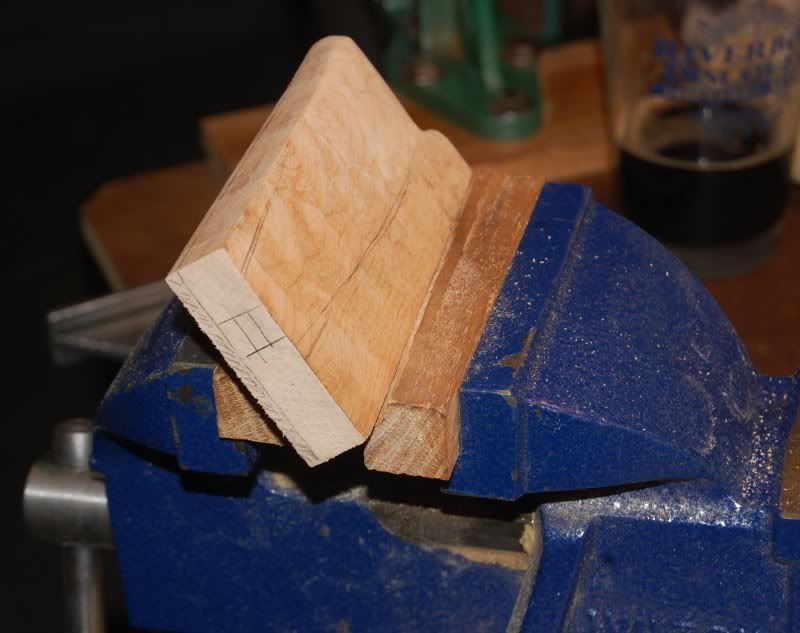
Now for the pucker factor, what happens when I shape the piece on an angle away from that chosen by the sawyer?
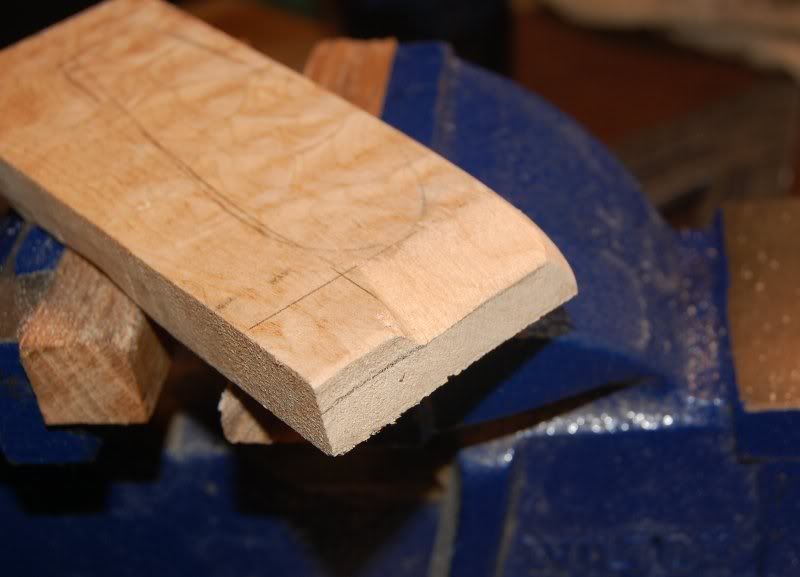
I made the bevel with a rasp, then sanded with 80grit, 150grit and 220 grit, followed by - deep breath- 70% isopropyl...
Schweet!!! ding ding ding winner winner chicken dinner Enormous sigh of relief.
-
-
8th September 12, 12:39 AM
#3
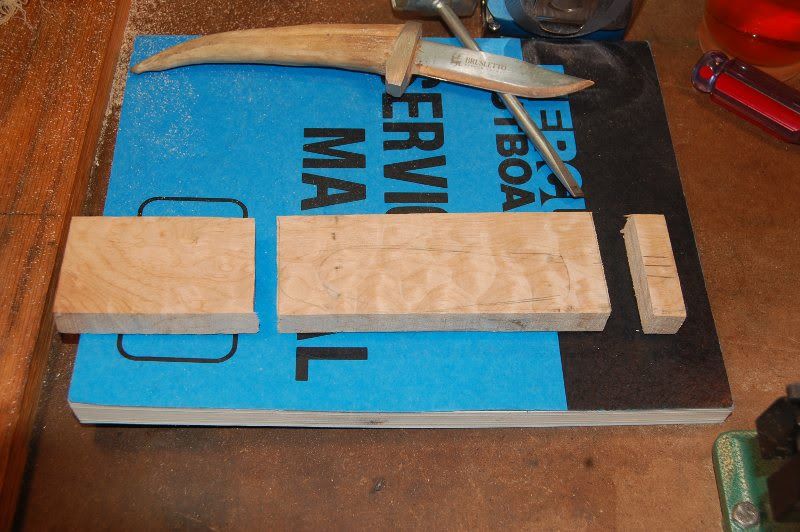
Next up was to trim off the "extra" 3/4" from the other end of my piece, than mark out the box to drill a hole into to hold the blade tang, and mark off the piece on the back that needs to come off so my finished handle is a suitable thickness.
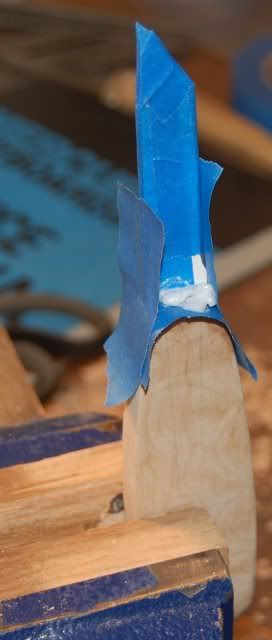
Here is the blade taped onto the back side about where I think i want it...
Here is the outline of the blade tang I am going to drill to tomorrow...
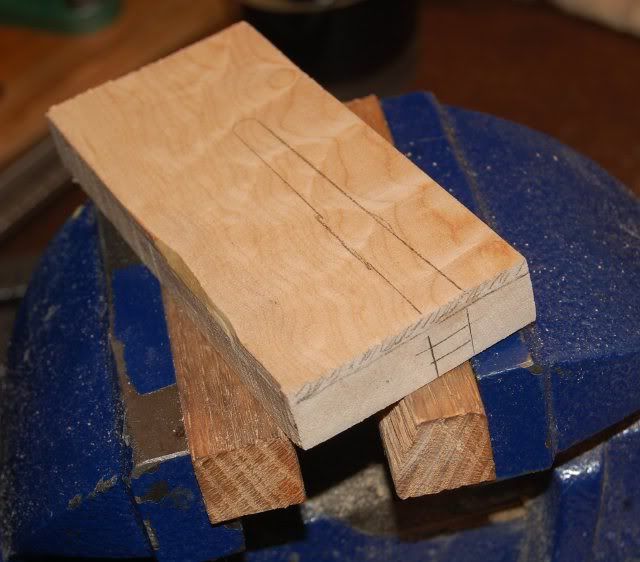
And here is the remaining view ready to drop in the vise. That long thin piece on the side I didn't cut off yet? I left that on so I could clamp it in the vise square and drill hole square to the also square end with the wee box drawn on it. The hashed off area on the end is thickness I am going to remove from the workpiece to make a handle small and light enough to carry around in a sock. It is amazing how thin a sgian handle is, but they work great. Pics before I start the drill I promise, but it is getting too late tonight.
So far for tools I have used a Visa card, vise, saw, rasp, sandpaper, square and pencil. I am going to use a drill next, but that should be the worst of it for tools.
-
-
8th September 12, 02:02 PM
#4
that maple wood looks excellent in the first pic... I love wood with that shimmering effect. Looking good so far.
-
-
9th September 12, 02:53 PM
#5
 Originally Posted by pugcasso

that maple wood looks excellent in the first pic... I love wood with that shimmering effect. Looking good so far.
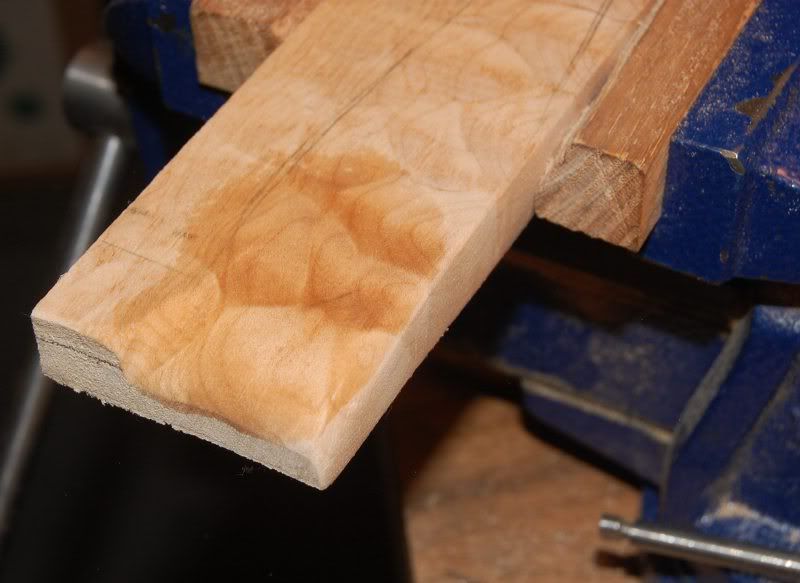
Thanks, me too. Quilted maple is mostly used for electric guitar bodies that I know of. I have been reading up on finishing it for a while, it is oft decribed as absorbing stain "unevenly" as if that is a bad thing. Well, yes and no. In the below pic you can see the face grain absorbed stain unevenly, and that is a good thing as the chatoyancy of the face grain is enhanced, but looking at the way the end grain and side grain sucked up the stain trying to make a black hole I see the problem. This is a deal breaker for me. There is no way for me to make a knife handle out of just face grain, I am going to have some side grain and some end grain.

Thankfully I am stubborn cuss once I set my mind to something. Half this stock has been treated with Birchwood-Casey gun stock oil twice, the other half has been treated with the same one time.
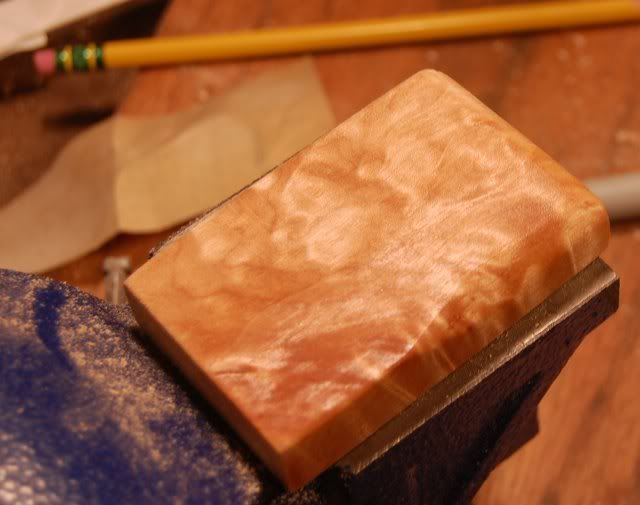
So I got my finish worked out.
-
-
9th September 12, 03:09 PM
#6
I got the hole for the tang drilled, and then shaped off the handle. I shortened the tang a little bit because I was done struggling with the bottom of the hole, which may be a really good thing.
Once I had the hole drilled it took, ohh, probably less than two hours to get a rough shape on the handle. I stopped when I got to it fitting in my hand well, then I stopped to negotiate with my wife. My wife likes the knife I made last, with the fossil walrus tusk handle pictured in post one above. So she gets that one to go with her new skirt, and I get the new one in quilted maple.
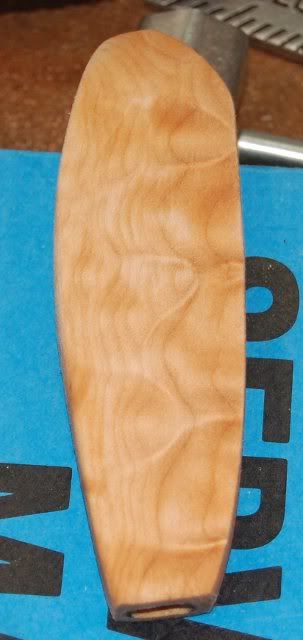
As part of the rough shaping I took the thickness of the handle down to between .450" and .500", thick enough to grip, thin enough to be light. This is the "back" or "leg" side of the handle after rough shaping with just some isopropyl on it:
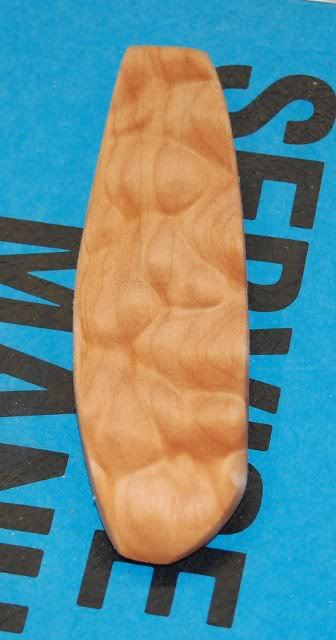
and the fron, best visible surface of the board I started from:
And I am committed in decent glue now. The handle shape, when roughed in for lightness is not reversible on my hand, I have taken off all the stock I can to still have it fill in the pocket of my palm and rest against that wad of tissue next to my wrist down from the pinkie.
-
 Posting Permissions
- You may not post new threads
- You may not post replies
- You may not post attachments
- You may not edit your posts
-
Forum Rules
|
|


Bookmarks