|
-
8th September 12, 02:02 PM
#1
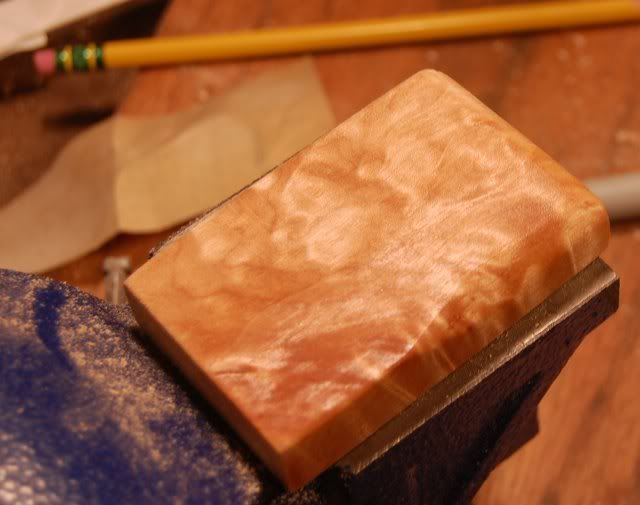
that maple wood looks excellent in the first pic... I love wood with that shimmering effect. Looking good so far.
-
-
9th September 12, 02:53 PM
#2
 Originally Posted by pugcasso

that maple wood looks excellent in the first pic... I love wood with that shimmering effect. Looking good so far.
Thanks, me too. Quilted maple is mostly used for electric guitar bodies that I know of. I have been reading up on finishing it for a while, it is oft decribed as absorbing stain "unevenly" as if that is a bad thing. Well, yes and no. In the below pic you can see the face grain absorbed stain unevenly, and that is a good thing as the chatoyancy of the face grain is enhanced, but looking at the way the end grain and side grain sucked up the stain trying to make a black hole I see the problem. This is a deal breaker for me. There is no way for me to make a knife handle out of just face grain, I am going to have some side grain and some end grain.

Thankfully I am stubborn cuss once I set my mind to something. Half this stock has been treated with Birchwood-Casey gun stock oil twice, the other half has been treated with the same one time.
So I got my finish worked out.
-
-
9th September 12, 03:09 PM
#3
I got the hole for the tang drilled, and then shaped off the handle. I shortened the tang a little bit because I was done struggling with the bottom of the hole, which may be a really good thing.
Once I had the hole drilled it took, ohh, probably less than two hours to get a rough shape on the handle. I stopped when I got to it fitting in my hand well, then I stopped to negotiate with my wife. My wife likes the knife I made last, with the fossil walrus tusk handle pictured in post one above. So she gets that one to go with her new skirt, and I get the new one in quilted maple.
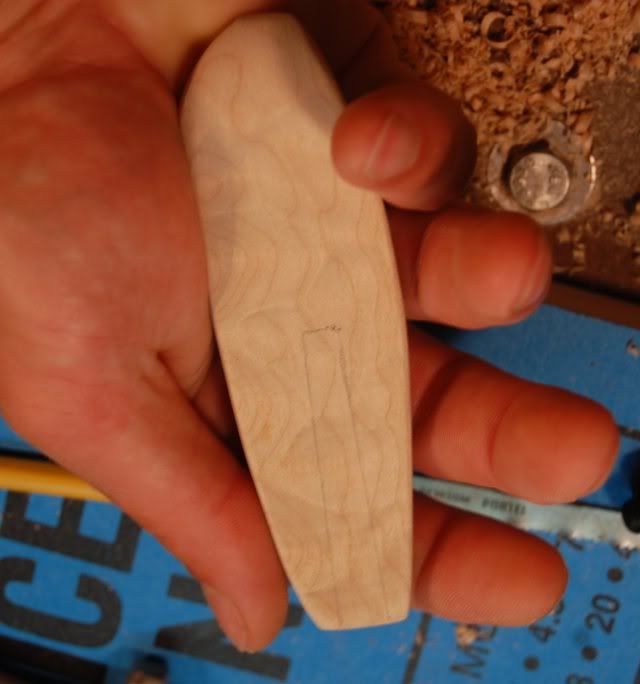
As part of the rough shaping I took the thickness of the handle down to between .450" and .500", thick enough to grip, thin enough to be light. This is the "back" or "leg" side of the handle after rough shaping with just some isopropyl on it:
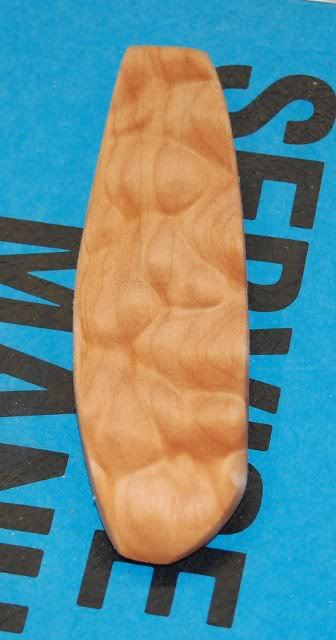
and the fron, best visible surface of the board I started from:
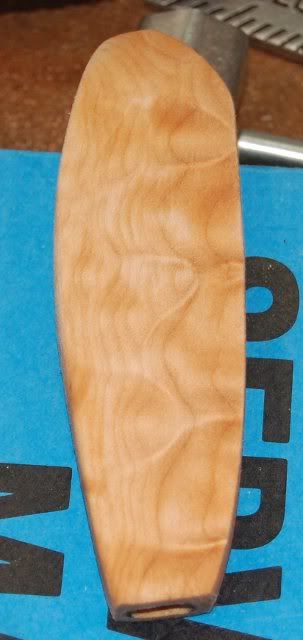
And I am committed in decent glue now. The handle shape, when roughed in for lightness is not reversible on my hand, I have taken off all the stock I can to still have it fill in the pocket of my palm and rest against that wad of tissue next to my wrist down from the pinkie.
-
-
9th September 12, 03:14 PM
#4
So after the glue dries I am going to drill near the hilt but on the leg side, and epoxy two pins through the wood-glue-metal- glue and into but not through the last layer of wood. yes, I'll show you how to keep the swarf off the decent wood.
Once pinned I am going to pour a small bolster in poor-man's- pewter (Thanks Joe Gondek), shape, sand and finish the metal poor, then finish sanding the wood and apply the gun stock oil.
No tracking number from the kilt maker yet, but I can't really start the sheath until the knife is done.
-
-
9th September 12, 07:52 PM
#5
I really like the look of the Maple, will follow your progress.
-
-
10th September 12, 12:11 AM
#6
Since I am under time pressure - I am going to need a good sgian of my own ASAP after my wife takes posession of my current good one; I am making hay while the sun shines.
For the bolster I am going with a pour of Joe Gondek's "Poor Man's Pewter" as ably described at this link:
http://www.xmarksthescot.com/forum/f...-one-me-30994/
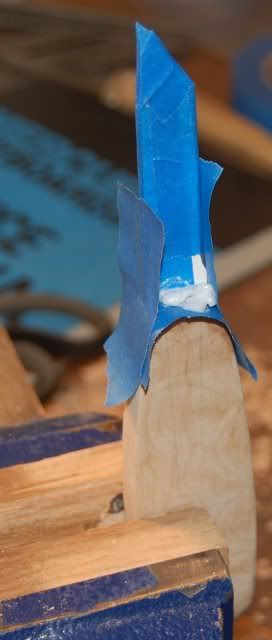
Joe calls for 20 layers of masking tape as the beginning of the form. 20 layers works good for me. I made one knife with 15 layers of masking tape before the construction paper, and my wood scorched from the heat of the pour. For this one I am going with 25 layers for a couple reasons. One, I don't want my wood to scorch.
Second, I am going to make a "knivslida" type sheath. Wow, dead link. I found it on knives dot com long ago and they took it down. I am going to make the bolster a little bit bigger around than the handle. When I wet mold the leather for the sheath, it will have a bump in it. The friction of the bump in the bolster and interior dent in the sheath will kinda hold the knife in place a little bit, I'll have to illustrate since the link over there is dead. Bummer, it is a great method. Anyway, I am going with 25 layers of masking tape before the construction paper to make the diameter of the bolster a bit bigger than I would get with 20 layers. If the finished sheath grips the knife too tightly, I can file the bolster down a little bit without making a new sheath.
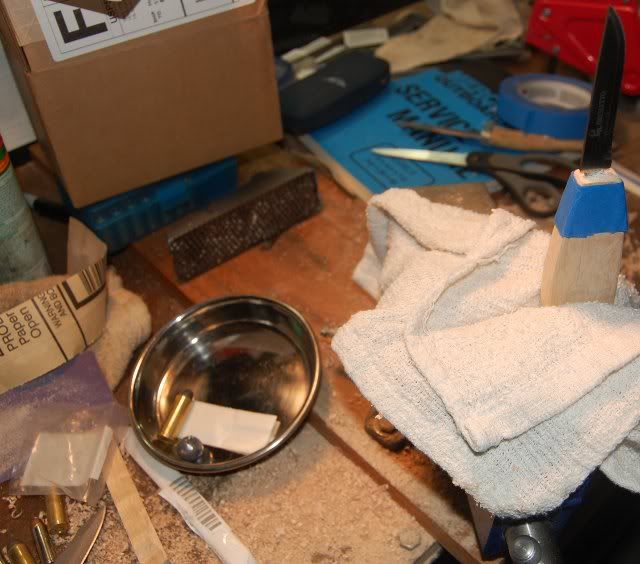
If you are following along and put off by buying a pound of lead free solder to use half an ounce of it, and coming up with some way to melt it, you might think about buying just a disk of metal and working it cold. A US quarter dollar coin would probably work. You would have to drill it for the tang, get it close to size before you glue the bolster in with the blade to the handle. A breakout tab from a jiffy box might work if you know an electrician. I suppose you can buy brass discs somewhere too, I haven't looked.
I have three layers of tape on mine, with three items in my counting bowl to help me keep track.
If you do choose this route, it is much easier to get the tape right before the pour than it is to try to make the bolster look good with a file or sanding paper if the tape job is sloppy. Just saying. Probably I'll be doing good to post a picture of 25 items in the counting bowl this time tomorrow.
-
-
10th September 12, 02:42 PM
#7
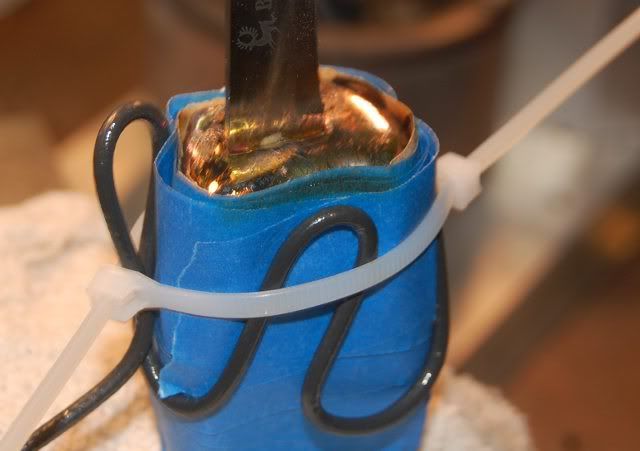
Twenty five:
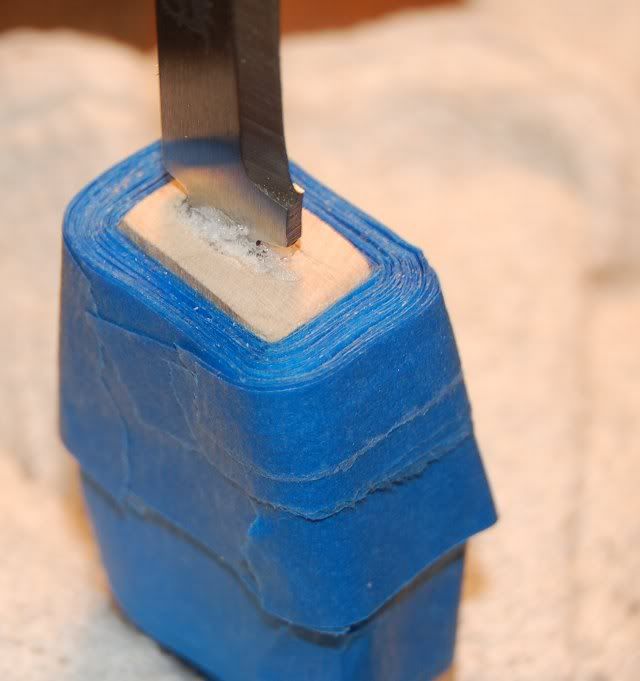
Formed up, this is a bother. The handle tapers to thinner and thinner as it approaches the blade, somewhere between rectangular and pyramidal. Once I hade my insulating layers on I had to fool with it some to get the construction paper form to stand up kinda straight:
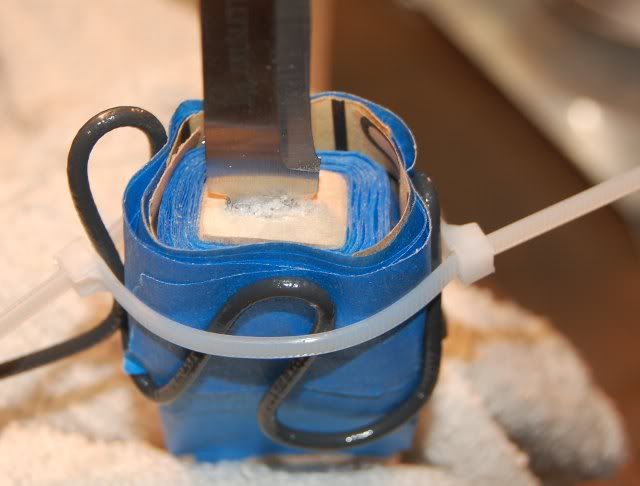
I smelled a little burning right after the pour. I hope it was tape and not very expensive maple charcoal in the making.
-
-
10th September 12, 02:48 PM
#8
Originally Posted by AKScott
I suppose you can buy brass discs somewhere too, I haven't looked.
Lowes has brass washers and I would imagine most hardware stores would have some available. Would these work?
-
 Posting Permissions
- You may not post new threads
- You may not post replies
- You may not post attachments
- You may not edit your posts
-
Forum Rules
|
|


Bookmarks