|
-
12th January 09, 11:50 AM
#1
Call for Pictures: X-Kilt construction
I want to get going on the 2nd edition of the manual. Now, I bought a few yards of digicamo at Joann'es the other day, but the truth is that I don't have time to bang out another X-Kilt for the pictures. I want to move on to the Gray Stewart and then settle in to my be-all end-all tank in Ancient MacNaughton.
And so....for illustrations, I'm asking you all to toss pictures of YOU making YOUR X-Kilts in this thread. Please put them in the thread rather than PM'ing me with links unless you're paranoid about letting the public see your stuff. Focus on pictures of specific steps in the process, like laying out the fabric, or chalking in the lines, or stitching in the pleat edges.
I'll cherry pick depending on how many we get, and then give you credits in the text. Hope that will work for you!
Alan
-
-
12th January 09, 11:56 AM
#2
Do you still have the shot of my olive green with the chalked lines and using the framing square? I'm at work and don't know if I still have it or not...
Kilted Teacher and Wilderness Ranger and proud member of Clan Donald, USA
Happy patron of Jack of the Wood Celtic Pub and Highland Brewery in beautiful, walkable, and very kilt-friendly Asheville, NC.
New home of Sierra Nevada AND New Belgium breweries!
-
-
12th January 09, 12:16 PM
#3
 Originally Posted by Tartan Hiker

Do you still have the shot of my olive green with the chalked lines and using the framing square? I'm at work and don't know if I still have it or not...
I think it's already incorporated into your appendix....
-
-
12th January 09, 12:22 PM
#4
Proudly Duncan [maternal], MacDonald and MacDaniel [paternal].
-
-
12th January 09, 02:44 PM
#5
I don't know what your time table is on this, but I will be attempting a black Reverse-K x-kilt (with contrasting pleat fabric) in the next couple weeks and could take pics along the way of whatever you may need. Thanks for the great resource.
-E
-
-
12th January 09, 05:37 PM
#6
Darn, just as I got to the end of making mine. If I'd been thinking, I would have been taking pics at each of the steps anyway. BUT, since this was the first one, way too many mistakes and rip outs.  I can get pics of belt loops since that is all I have left to do. Those will be done this evening then it will be time to wash and iron the finished product. I can get pics of belt loops since that is all I have left to do. Those will be done this evening then it will be time to wash and iron the finished product. 
-
-
13th January 09, 07:46 AM
#7
Double post...mods, please delete this one. Thanks, Greg
Last edited by Livingston; 13th January 09 at 07:51 AM.
-
-
13th January 09, 07:51 AM
#8
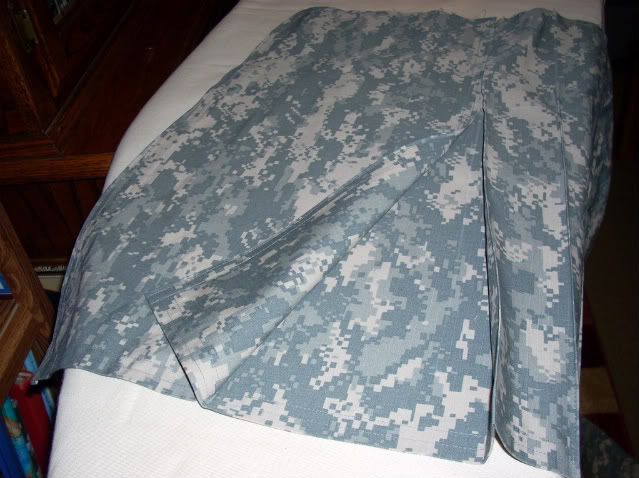
Finished it up last night and took pics for you. Here they are:
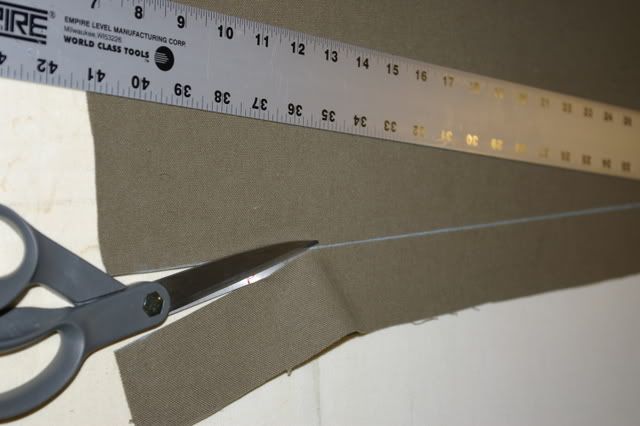
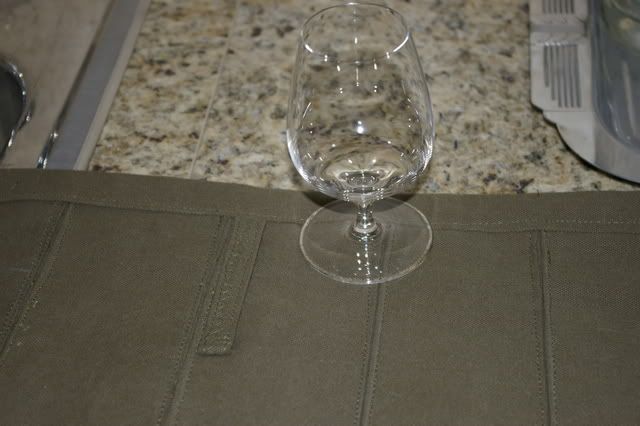
Cutting the material for the belt loops: 2" x 20" - individual loops to fit a kilt belt
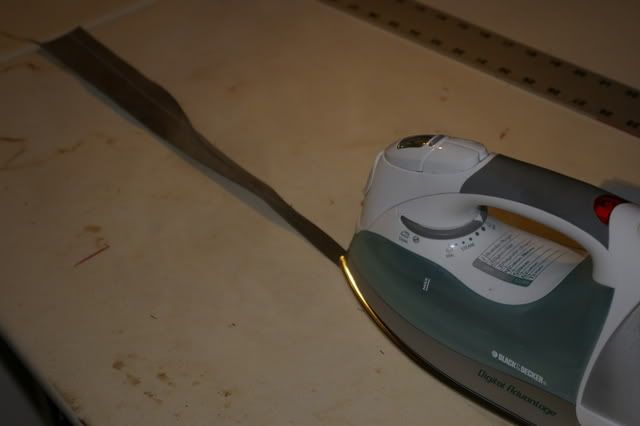
My wife's sewing table that I made for her partially extended

Folding the 2 edges in 1/2 in and ironing, then fold in half and iron again:
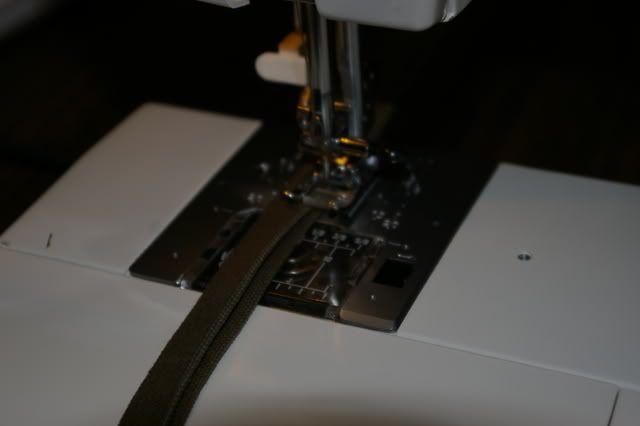
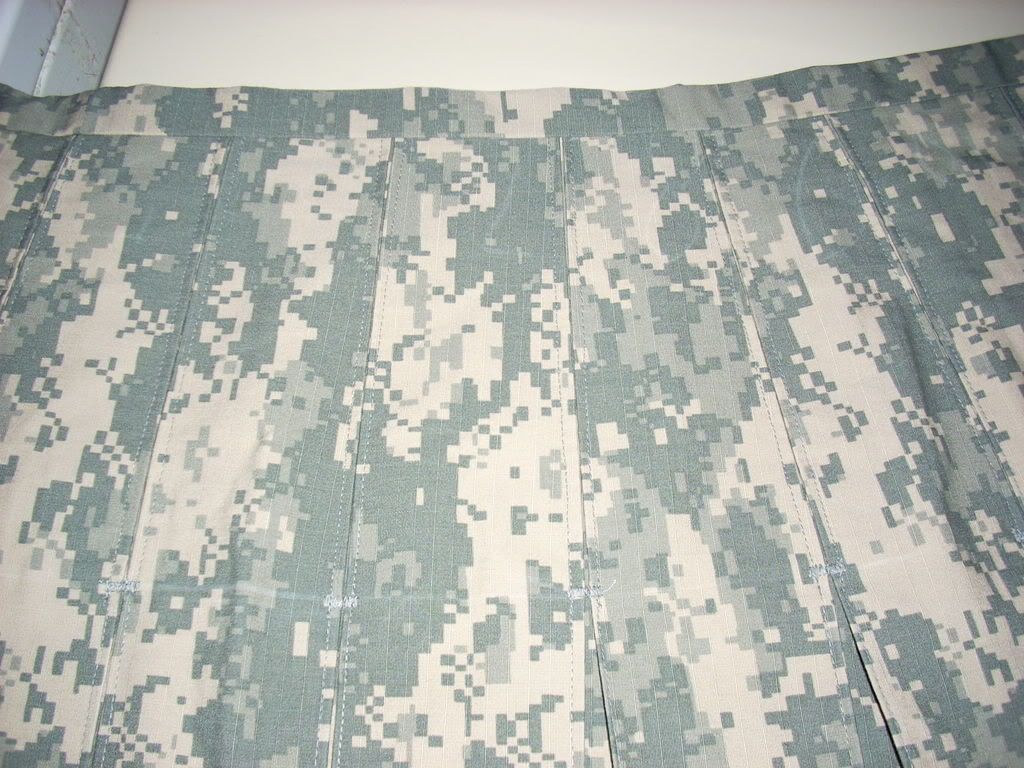
Sew down each edge of the folded material then zig zag the middle:
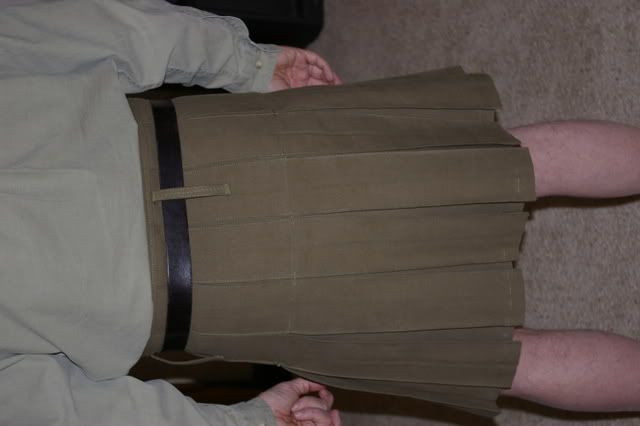
I attached my loops similar to the way they are on jeans:
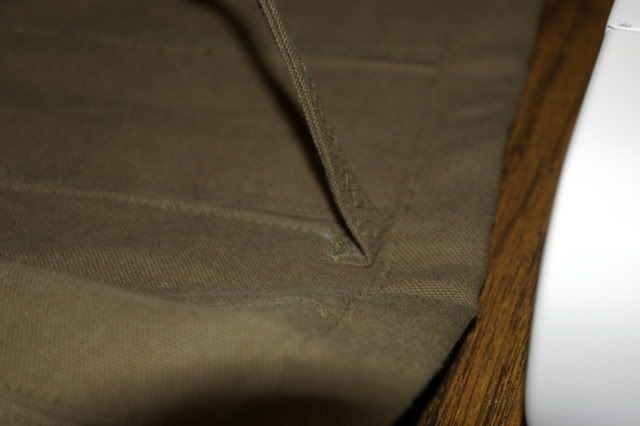


Finished belt loop:
Now all it needs is to be washed again and a good, hard pressing.
-
-
13th January 09, 12:32 PM
#9
Nice job!!! sweet!
I will definitely use some of your pictures, thanks!!
-
-
13th January 09, 12:55 PM
#10
-
Similar Threads
-
By Mr.Charles Anthony in forum Professional Kiltmakers Hints and Tips
Replies: 7
Last Post: 10th September 08, 01:26 PM
-
By Jimmy in forum General Kilt Talk
Replies: 3
Last Post: 6th June 08, 01:39 PM
-
By PiobBear in forum DIY Showroom
Replies: 10
Last Post: 15th January 07, 09:29 AM
-
By Irish in Tacoma in forum How to Accessorize your Kilt
Replies: 6
Last Post: 20th July 06, 11:18 PM
-
By beerbecue in forum General Kilt Talk
Replies: 3
Last Post: 2nd January 05, 11:01 AM
 Posting Permissions
- You may not post new threads
- You may not post replies
- You may not post attachments
- You may not edit your posts
-
Forum Rules
|
|


Bookmarks