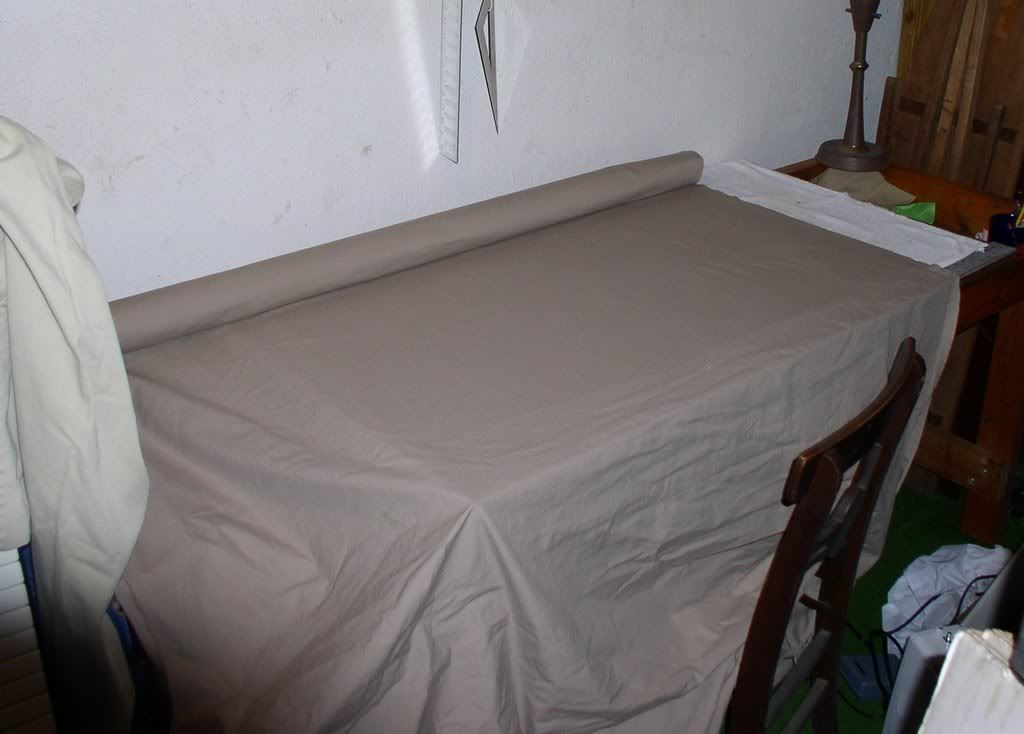
Four yards of double-width fabric is quite a handful:
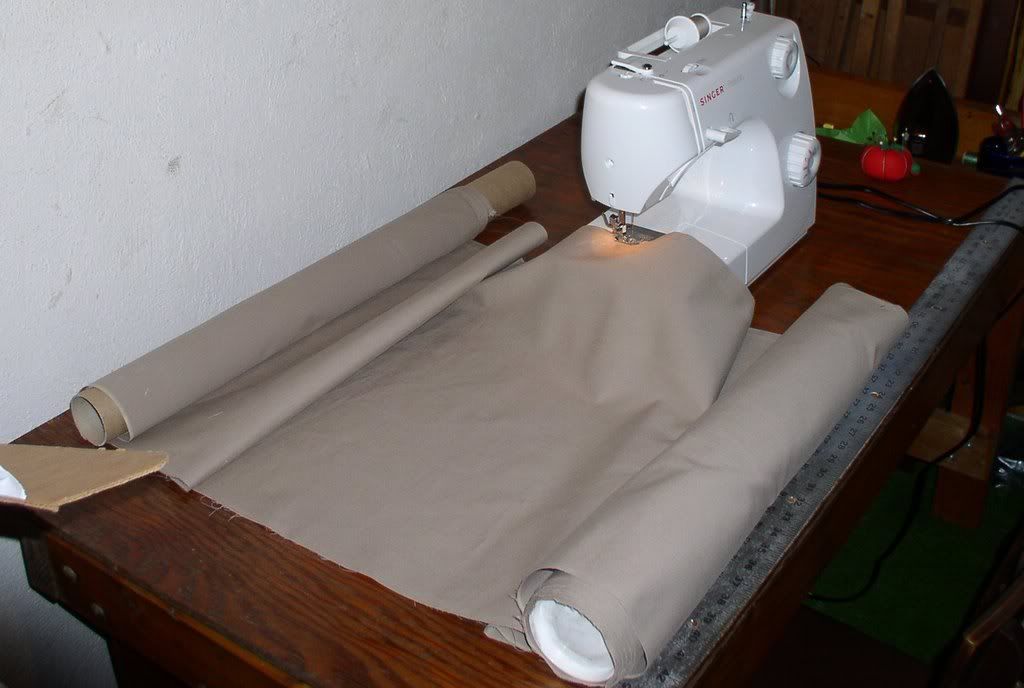
Once it is cut to length, it's more tractable---but still 12 feet long. I like to roll up each end on a tube (cardboard mailing tube, PVC pipe scrap, ...). Hemming the cut piece of fabric:
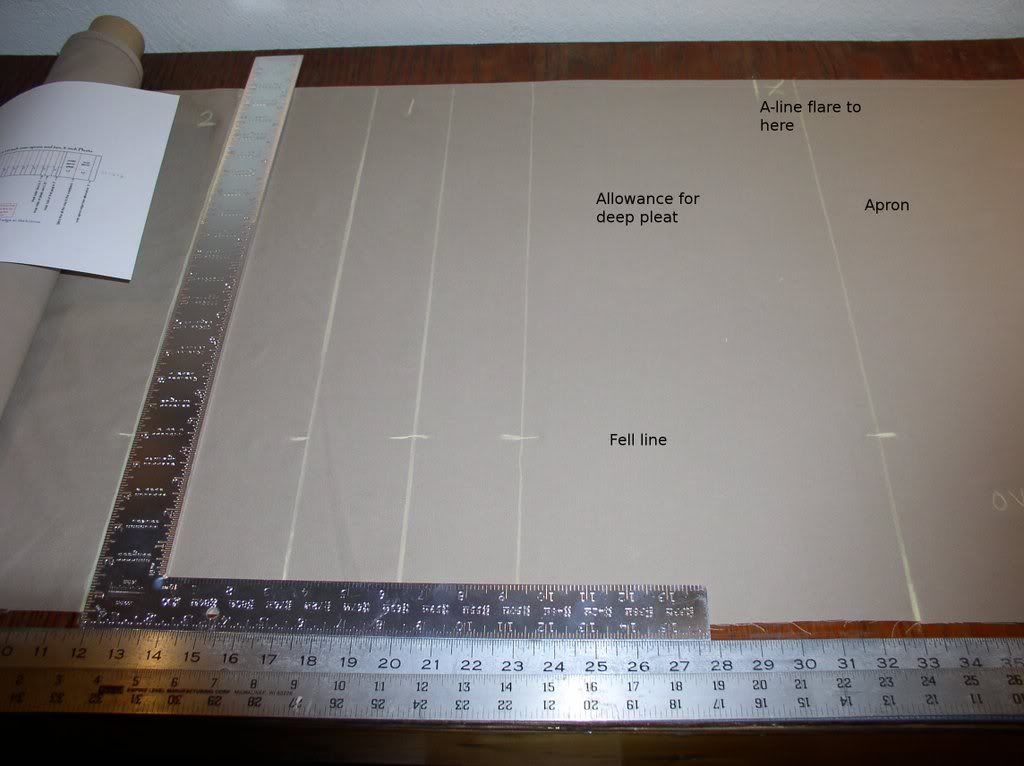
Marking (right to left) the apron, A-shaping (x), deep pleat, pleats 1 and 2.
Finished kilt, showing the deep pleat:

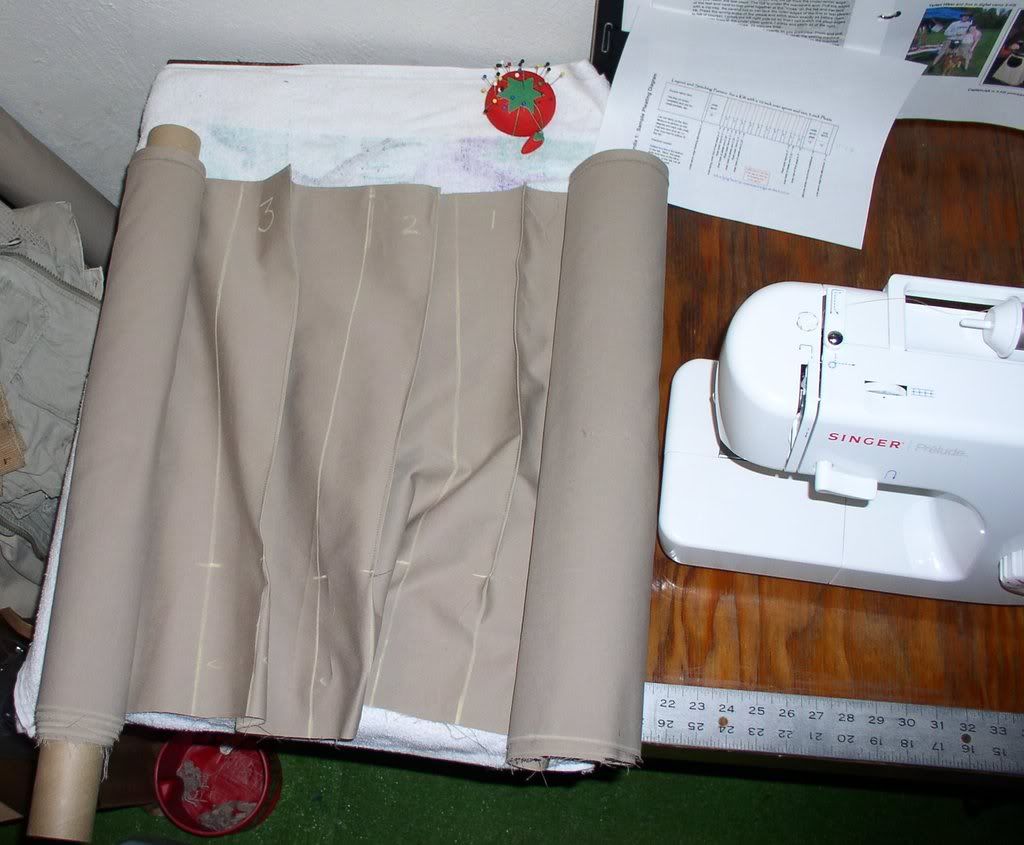
Sewing the pleat edges: as fabric is all-cotton, it's especially helpful to define the pleat edges with a line of stitching. I pressed the right-hand edges from hem to fell, sewed along the edges; then rotated the work and did the left-hand edges from fell to hem. Hint: as noted elsewhere, don't press above the fell if there is taper from fell to waist. It will be easier to pin the tapered edges if they are not already pressed in the wrong place.
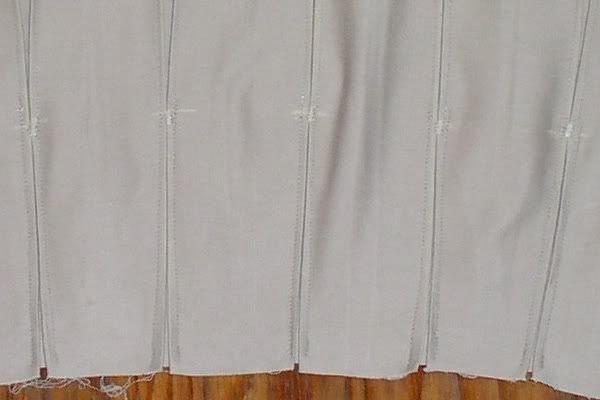
Close-up of pleats after top-stitching the tapered fell area:
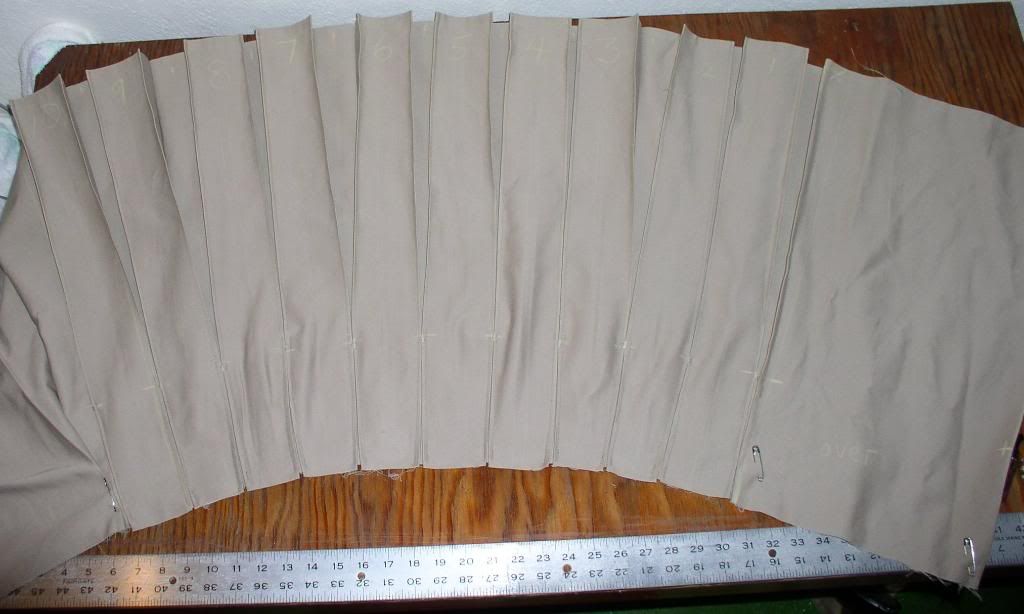
Overview of the pleats. The aprons are pinned so that we can try it on!
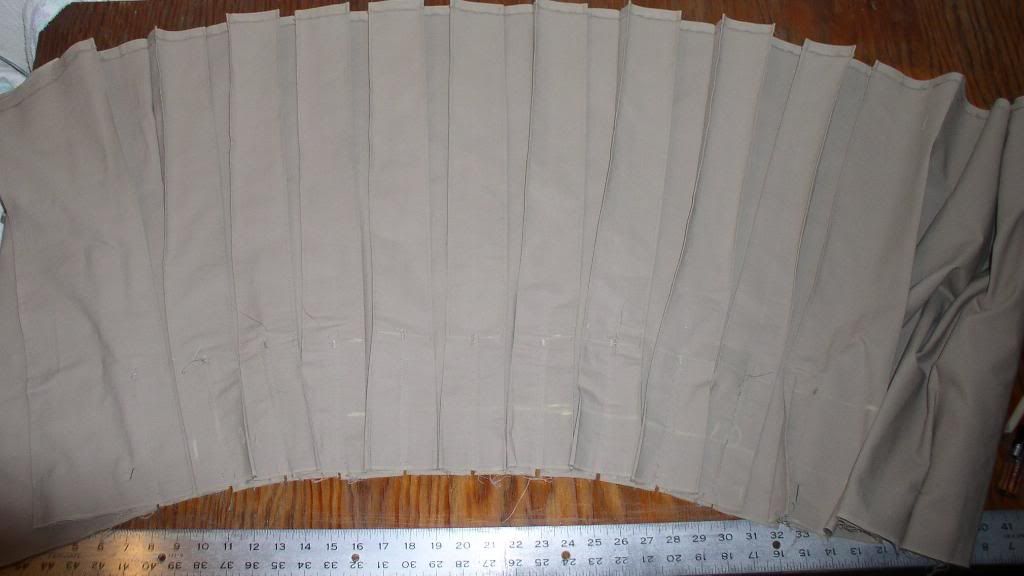
Pleats from the wrong side (inside of the kilt):
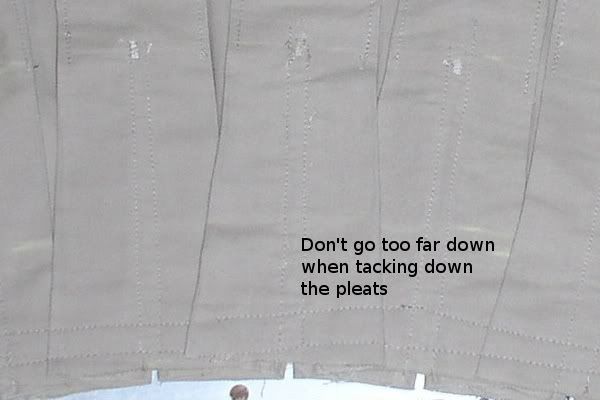
Close-up from the wrong side after pleats were tapered and stitched. As the taper is moderate, I overlapped the excess material and tacked it along the waistband area.
Last edited by fluter; 18th January 09 at 11:51 AM.
Reason: Correct an image link
Ken Sallenger - apprentice kiltmaker, journeyman curmudgeon,
gainfully unemployed systems programmer


Bookmarks