|
-
21st August 12, 05:38 AM
#1
Waistcoat Conversion - Buttons
I think that we are all agreed that adding a waistcoat (vest) to our wardrobe is a positive thing. We can change the look of any outfit in a moment, just by putting on a waistcoat. With or without a jacket (or with or without a tie) it raises the level of formality a notch. A place to put that vintage pocket-watch. And for those of us with more than enough 'middle', we can wear a bow tie without feeling that we have a monster great gut hanging out.
Yes - win, win all round.
But ...
Having bought the waistcoat, do we feel that we are limited to 1 outfit on 1 type of occasion? I did, so I decided to convert.
Now before we go any further, I must say that we are talking about 'shank' buttons (with the loopy bit at the back) and not 'flat or sew-through' (which do not have a loopy bit)
Here is a picture of both, but the one on the right is the type we are interested in.

This is the waistcoat in question, navy blue with five square 'Scottish style' buttons.
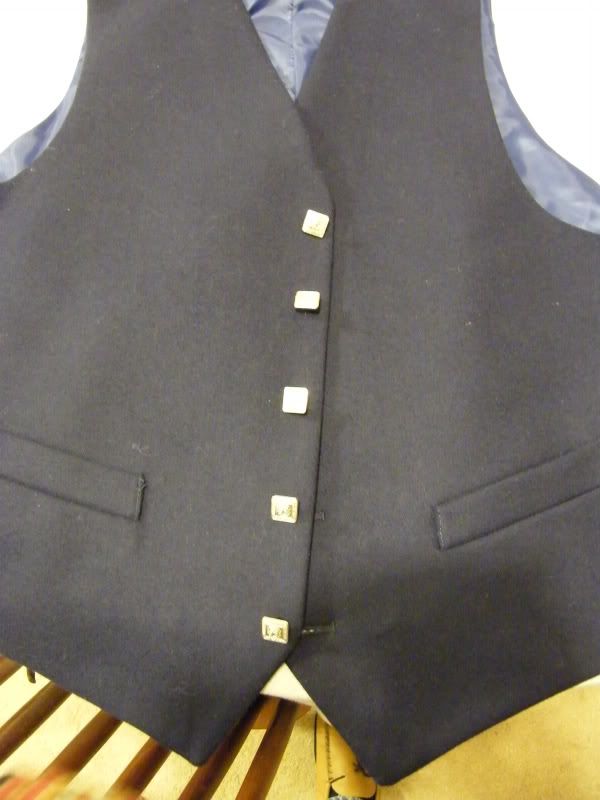
What tools do we need?
Good thread - polyester. I use GŁtermann or Sylko - only a little bit more expensive, but twice as good as cheap. Use the best you can afford.
Sharp scissors - if they are not sharp, you might as well use a blunt axe to cut the thread.
A hole punch - 5mm or 1/4 inch - don't go smaller.
Reinforcement Rings - You will see when we get to it.
Best needles you can afford - I like tailor's needles, they're short.
Five buttons - your choice.
Button Split Rings - We will come to this as well.
Good light - daylight is best
Are you sitting comfortably - then we shall begin ...
Firstly, cut off your first button - do not unpick the threads. You need the stubby threads as a marker.
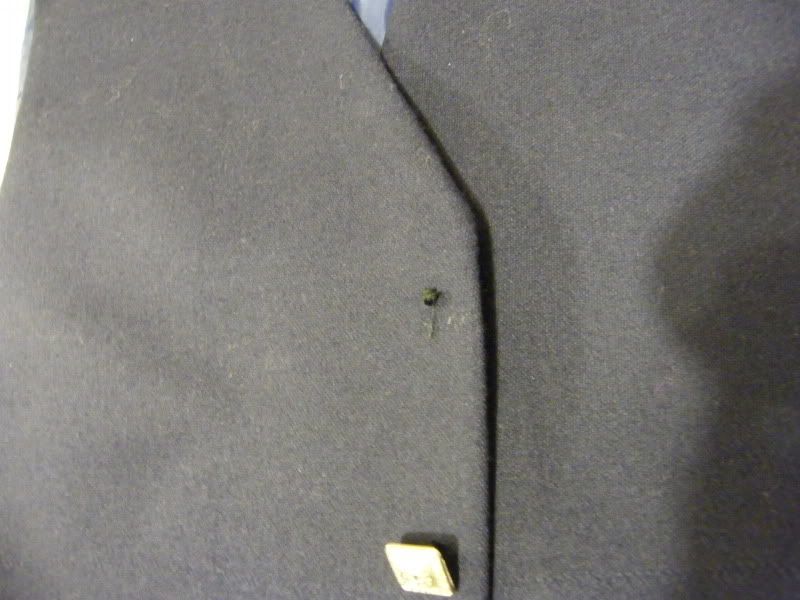
Using your hole punch, centre the threads and make your hole.
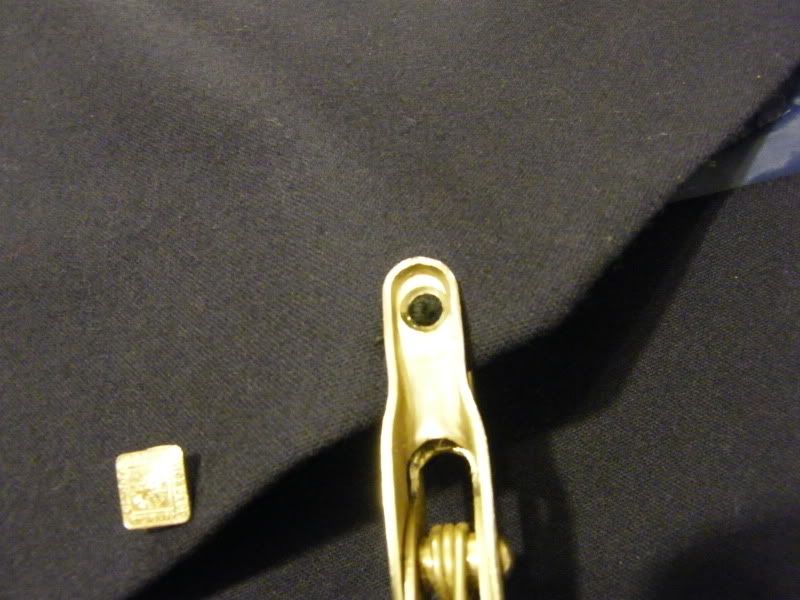
It will not be perfect - it does not matter, we will soon make it right.
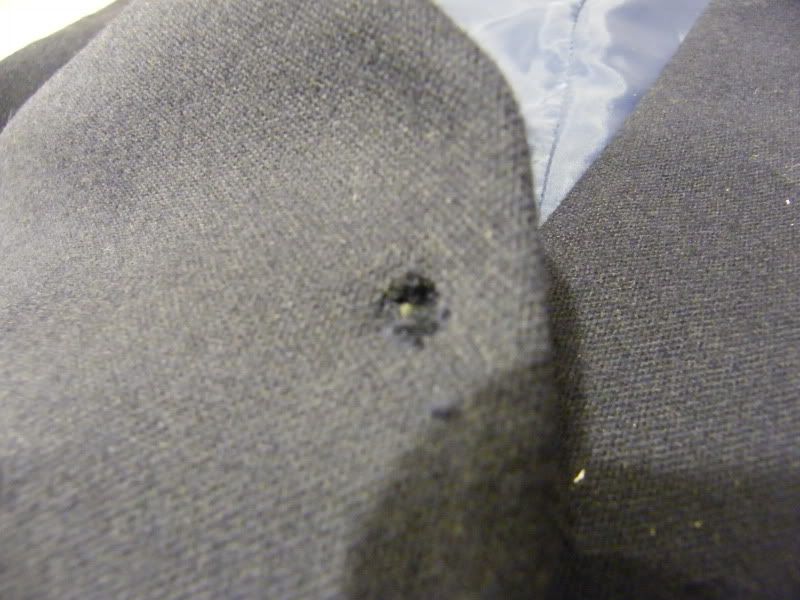
If your hole punch left an extreme ragged edge, you may trim with your sharp scissors. If in doubt - don't do it! What ever you do, do not make the hole any bigger!
We now use our secret weapon - reinforcement rings. The type we use for sheets of paper in ring binders. The old fashioned ones were lick and stick - not so good. The shiny plastic ones are the best as we will see.
This is the type I use, but any from your local store will be fine:
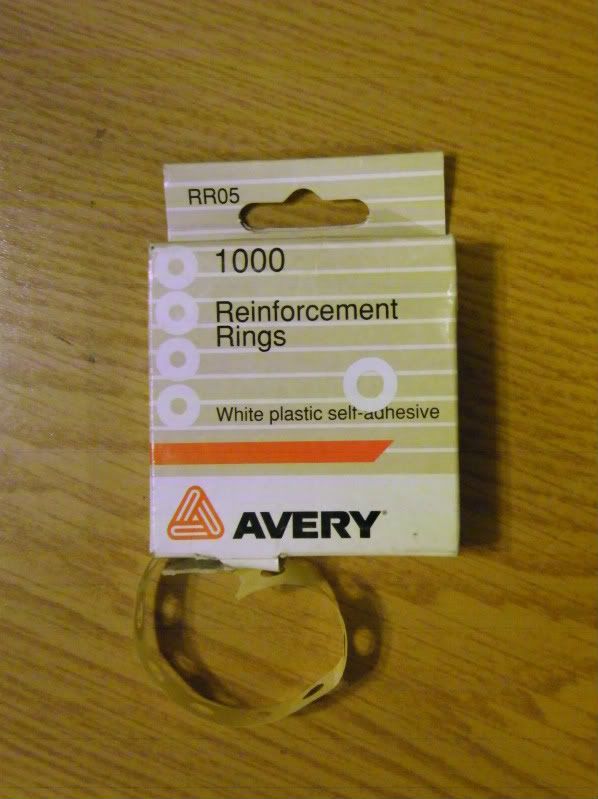
Stick a ring on the inner side of the hole you have just made. Try and get it as centred as possible.
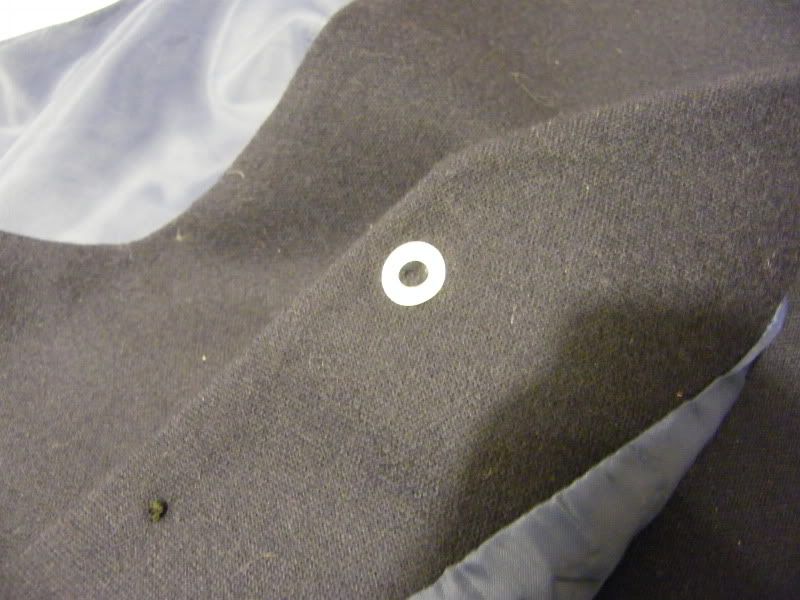
We now come to the actual sewing. You will all have your own way of doing this, but this method has some advantages. The stitching is done from one side only - none of this working from both sides at the same time or working blind. The other advantage is that there is no guesswork as to where the stitches should go.
So, thread your needle (3 ft of thread is more than enough at a time). Cut off any excess thread after the knot.
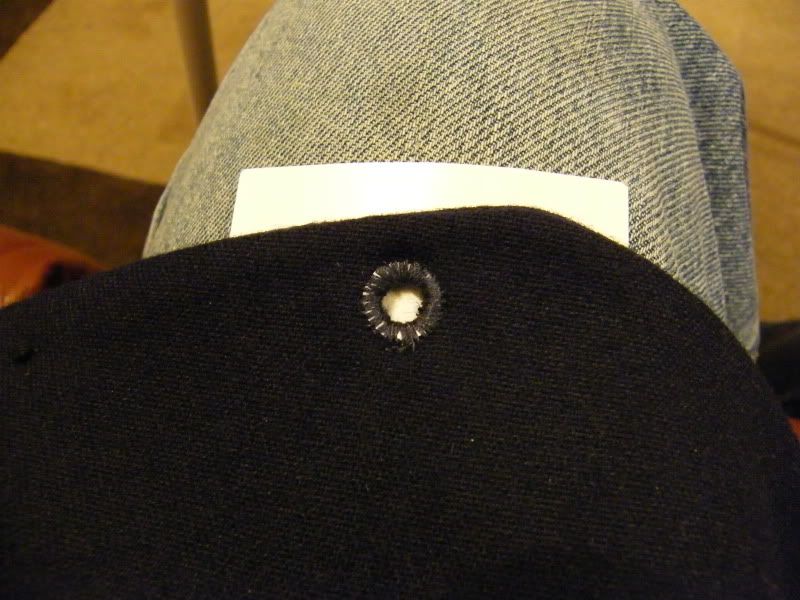
Choose any spot on the ring - slide the point of the needle to an outer edge and push straight down - 1/2 inch or less - bring the point up through the hole in the middle and in one movement, pull the needle up through that hole - start the next stitch 1 mm away from the first.
Look at the picture, it shows far better how it is done.
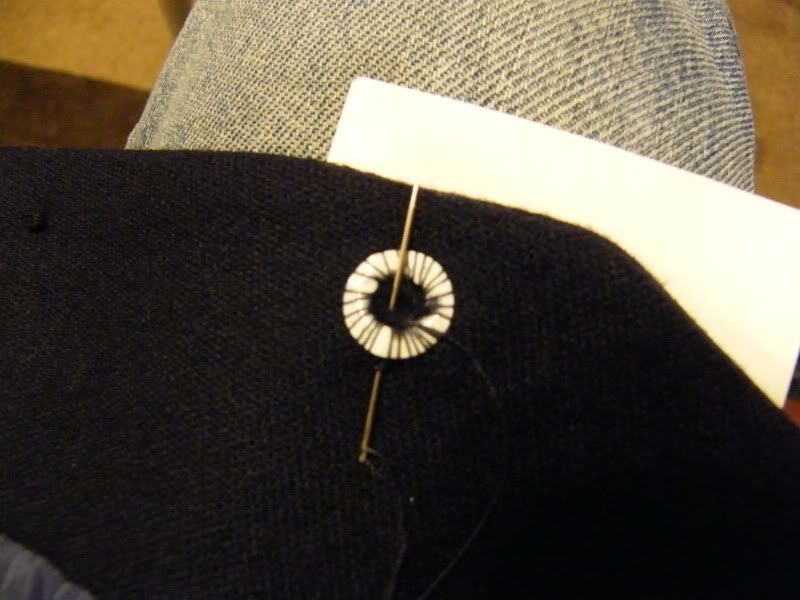
It takes far longer to explain it, than to actually do it.
You just keep going round and round - filling in the gaps. You will never fill them all, but you can get close.
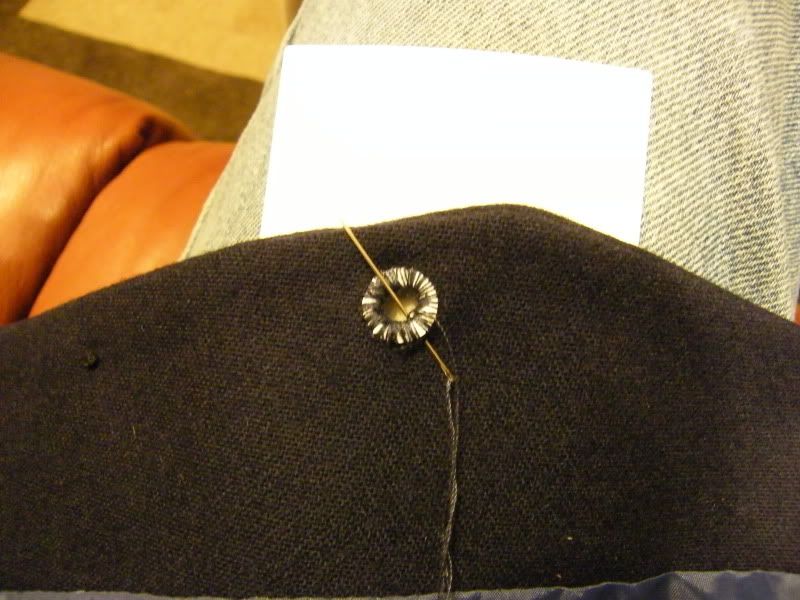
10 picture limit reached - More to come in part 2
Regards
Chas
-
Tags for this Thread
 Posting Permissions
- You may not post new threads
- You may not post replies
- You may not post attachments
- You may not edit your posts
-
Forum Rules
|
|


Bookmarks