I think that after I-don't-know-how-many kilts, I have finally mastered the art of removing the basting stitches. In the past, I have resorted to snipping them, which I know is dangerous, but I did it with utmost care. But besides being dangerous, it's tedious removing all those shards of floss.
Here, now, is how it should be done (I now believe):
First, you need a tool that is not sharp and will not puncture your tartan. A big knitting needle might work, but I don't knit, and I don't have one of those.
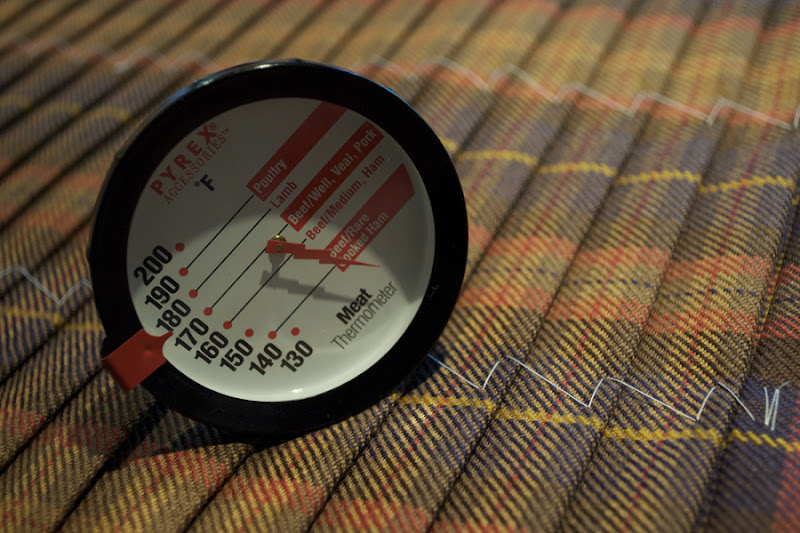
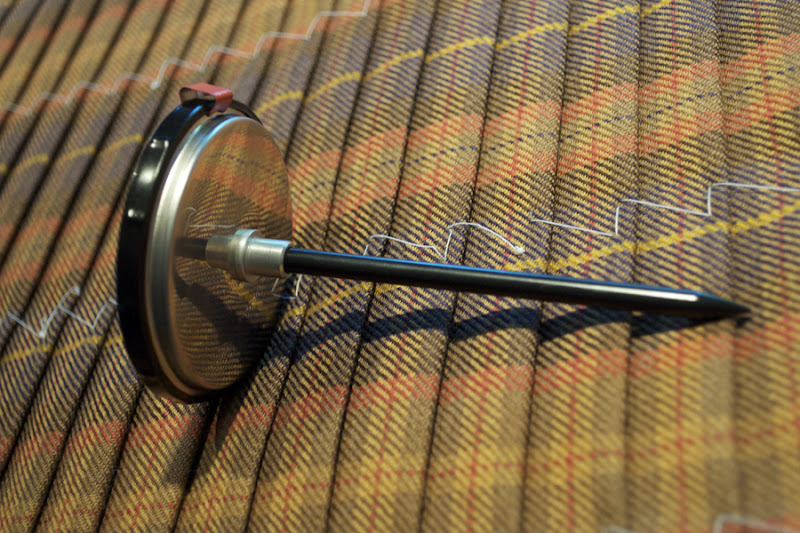
I do have a meat thermometer...
...with a rounded tip and coated in Teflon.
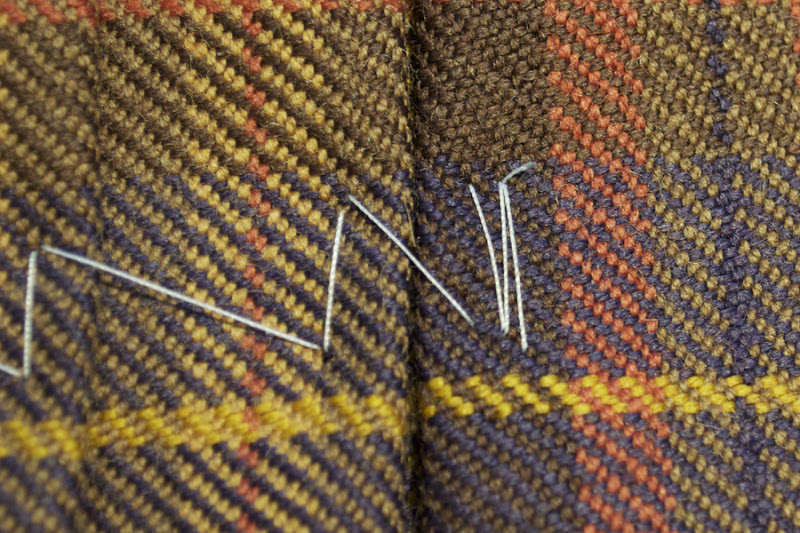
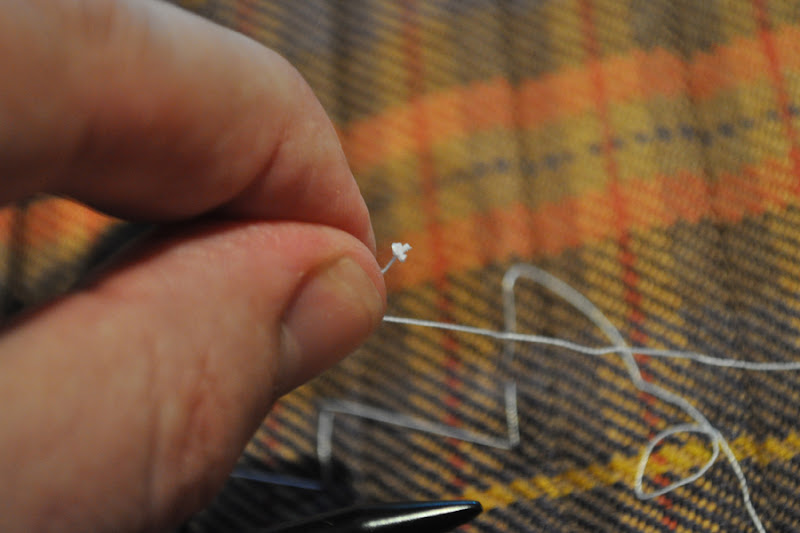
Locate the tacks on one end of the basting stitches.
Work out the tack.
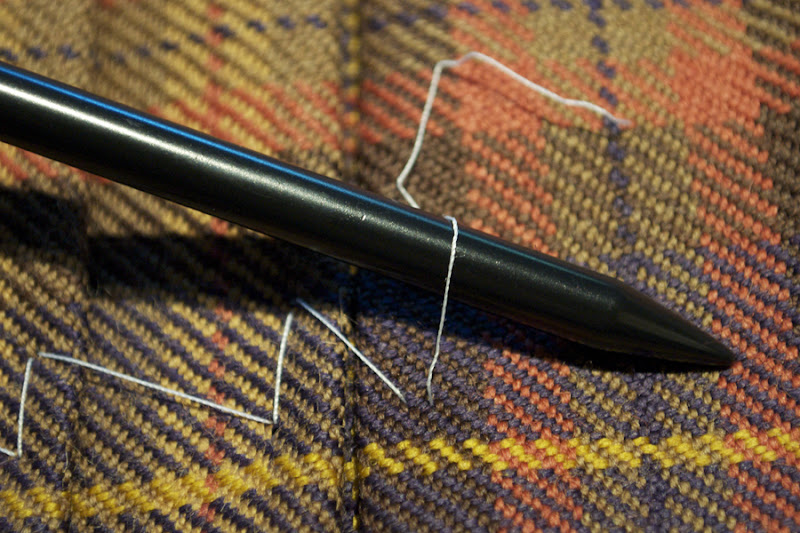
Then pull the stitches out one by one. I have to say, the non-stick coating was like lubricant, and it went SO FAST!
When you get to the end with the knot, just pull it out.
See, my problem was that I always tried to get the knot out and worked from the wrong end.
This took no time at all. Well, just a few minutes - but SO easy!
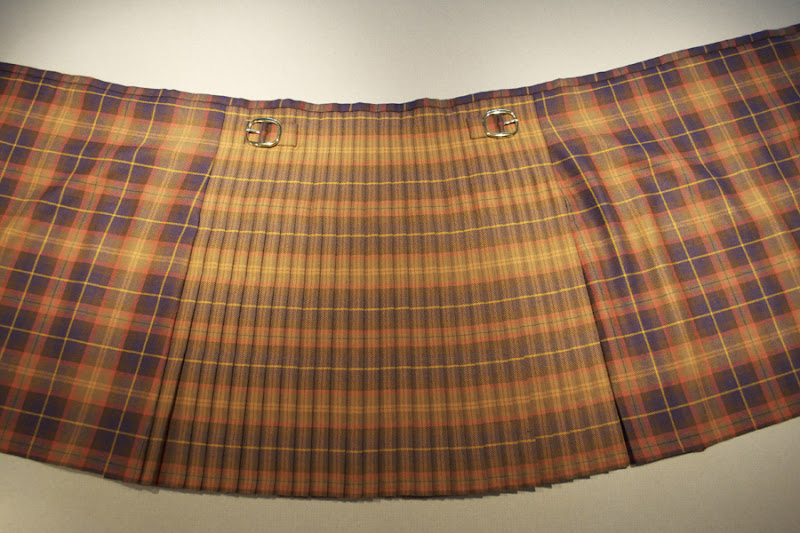
So, here's the pleat shot - not on me just yet - you might have to wait for that some more.
This is my first kilt ever pleated to the stripe. I designed the tartan with goal in mind - hoping that I would avoid the dreaded lawn chair effect. What do you think: did I succeed, or is it too stripey? I expect that it will flash dark checks when it moves.
One thing you might observe about this kilt in the above photo is that it won't lay flat - and that's one of the amazing things about Barb's skill - she makes a kilt designed and engineered to fit a body, which, if you haven't noticed, isn't flat.
At any moment you must be prepared to give up who you are today for who you could become tomorrow.


Bookmarks