|
-
4th November 10, 10:05 PM
#1
Sewn garter ties from woven fabric
So, after asking about this in the DIY help section, I decided to jump in and try it. They turned out great, and were really easy. Here's my step-by-step:
First, measure the garter ties I have for length (about 35.5 inches):
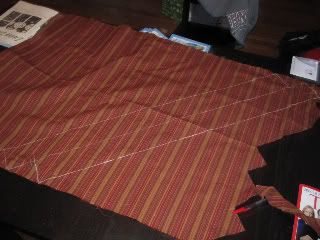
Then, choose fabric. This fabric was left over from a bow-tie I made. I decided to cut the ties on the bias, so that they would have a little give in them like a knit tie does. Without this, I think they would probably be uncomfortable. Here, two ties laid out on the bias, 3" wide:
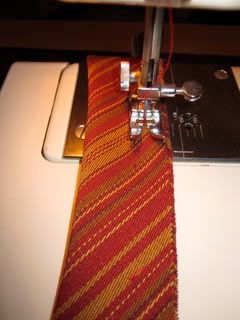
After cutting them out and ironing them, I sewed each into a tube, sewing about 1/4" from the edge:
Iron the seam open:

Then, turn them right-side out. A large crochet hook is very helpful for this:

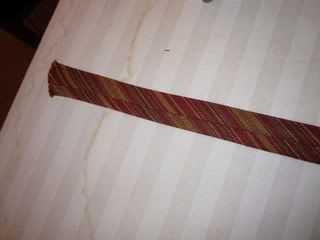
Right-side out and ironed, they look like this:
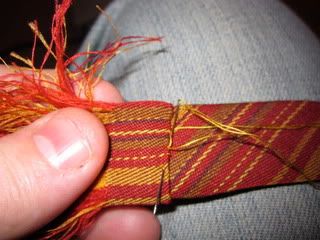
Next, cut two pieces of fabric about 6" wide and 4 - 5" high. Pull the weft out so that you have an equal length of fringe on each side. (You could do one piece 12" wide if you have the fabric. This means fewer weft threads to pull
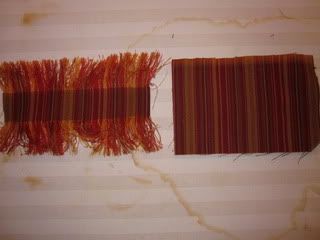
Cut each piece in half, so that it's about 3" wide. Choose one, fold the sides in and iron. Fold it in half so that the fringe is all pointing in one direction. Wrap it around an end of the tie, and sew it down around all the edges, so that it's not going anywhere. Invisible stitches are good here. The two folded edges should meet in the back on the seam:
Measure your tie to final length, and affix the other fringed end. Repeat with the second tie.
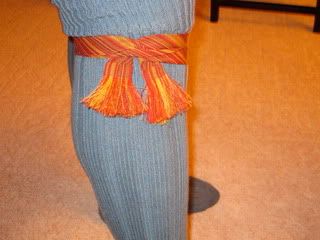
Here's what they look like:
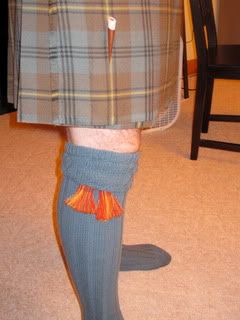
And a shot to show more of the ties themselves:
All in all, a quick, easy project that I'll probably use quite a bit.
Cheers!
Triforme
-
Similar Threads
-
By triforme in forum DIY Kilt and Accessories Help
Replies: 17
Last Post: 7th November 10, 07:23 PM
-
By scotchmaster in forum How to Accessorize your Kilt
Replies: 12
Last Post: 2nd April 09, 05:10 AM
-
By Rob Wright in forum How to Accessorize your Kilt
Replies: 28
Last Post: 30th March 09, 11:01 AM
-
By Southern Breeze in forum How to Accessorize your Kilt
Replies: 12
Last Post: 13th March 06, 01:07 AM
 Posting Permissions
- You may not post new threads
- You may not post replies
- You may not post attachments
- You may not edit your posts
-
Forum Rules
|
|


Bookmarks